The word "pyrography" comes from the Greek words "pyro," meaning fire, and "graphos," meaning writing.
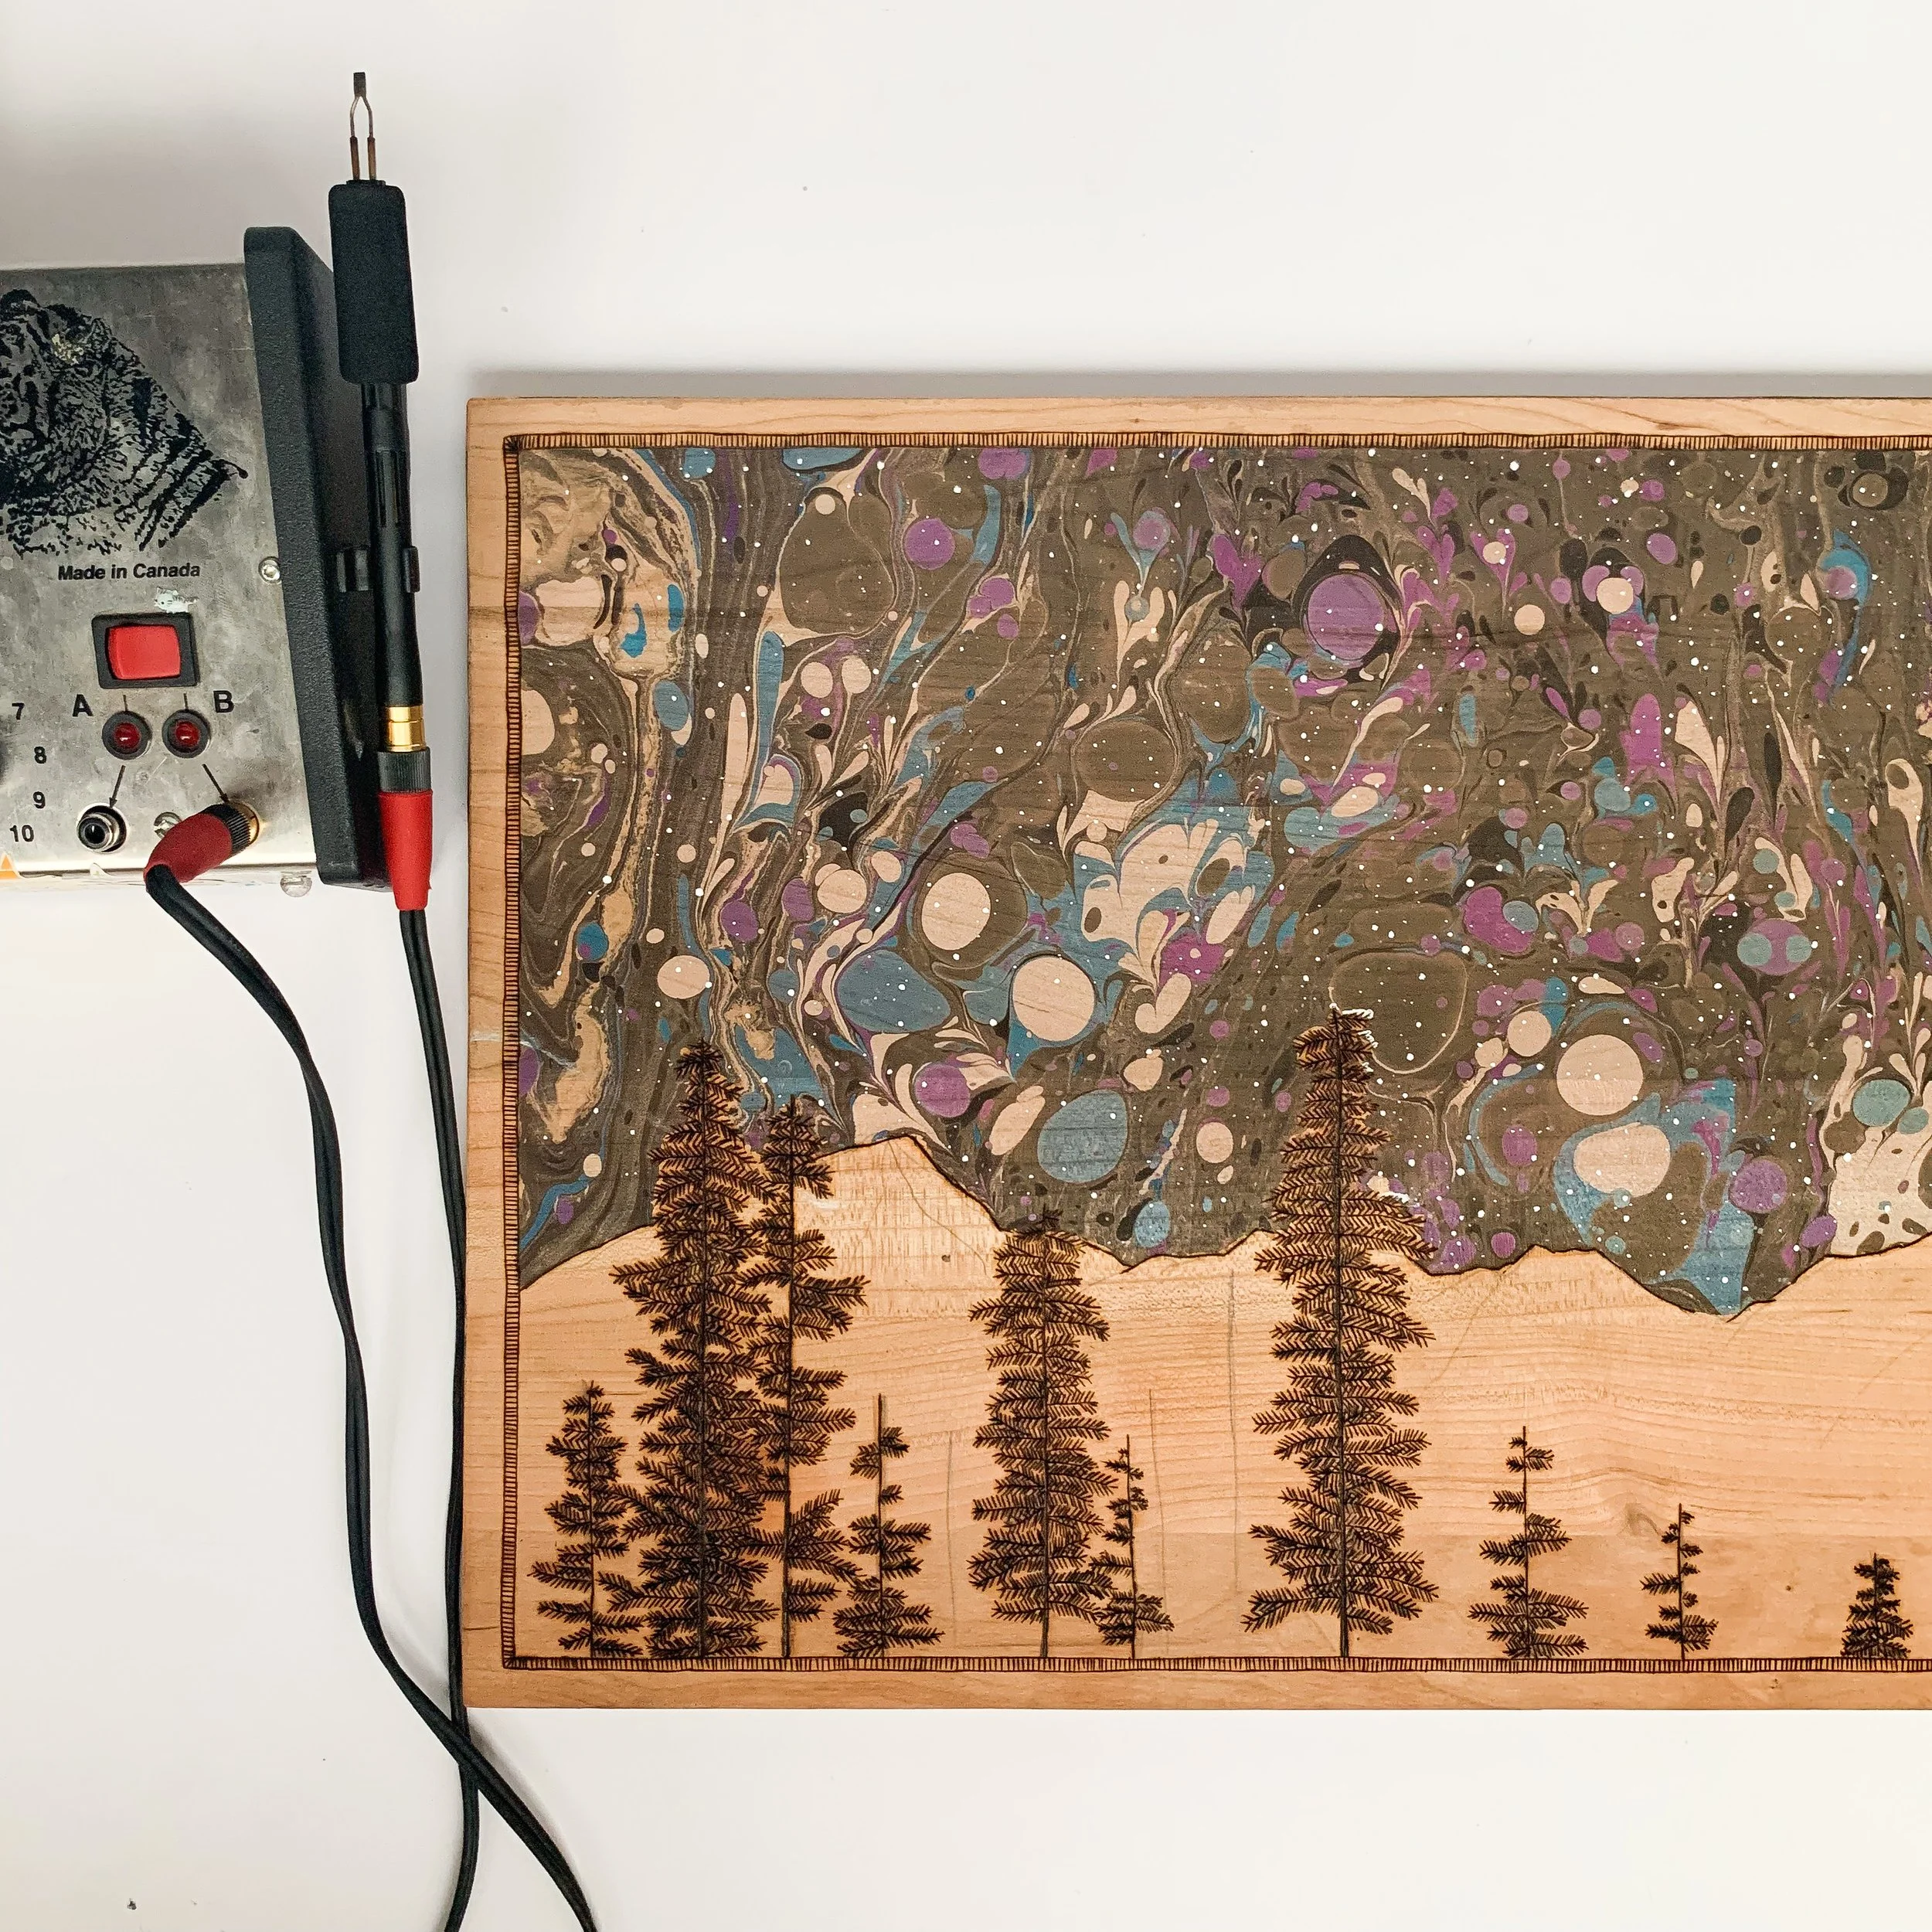
Pyrography, also known as wood burning, is a form of art that uses a hot tool (similar to a soldering iron) to burn designs into wood by using heat to burn the surface.
this technique has been used for centuries by artists all over the world, and it continues to be a popular form of artistic expression today.
One of the advantages of pyrography is that it is a relatively inexpensive art form. A basic pyrography pen can be purchased for a reasonable price, and wood is readily available in many stores. This makes it accessible to anyone who wants to try their hand at this art form.
keep reading to learn how to start the art of pyrography.
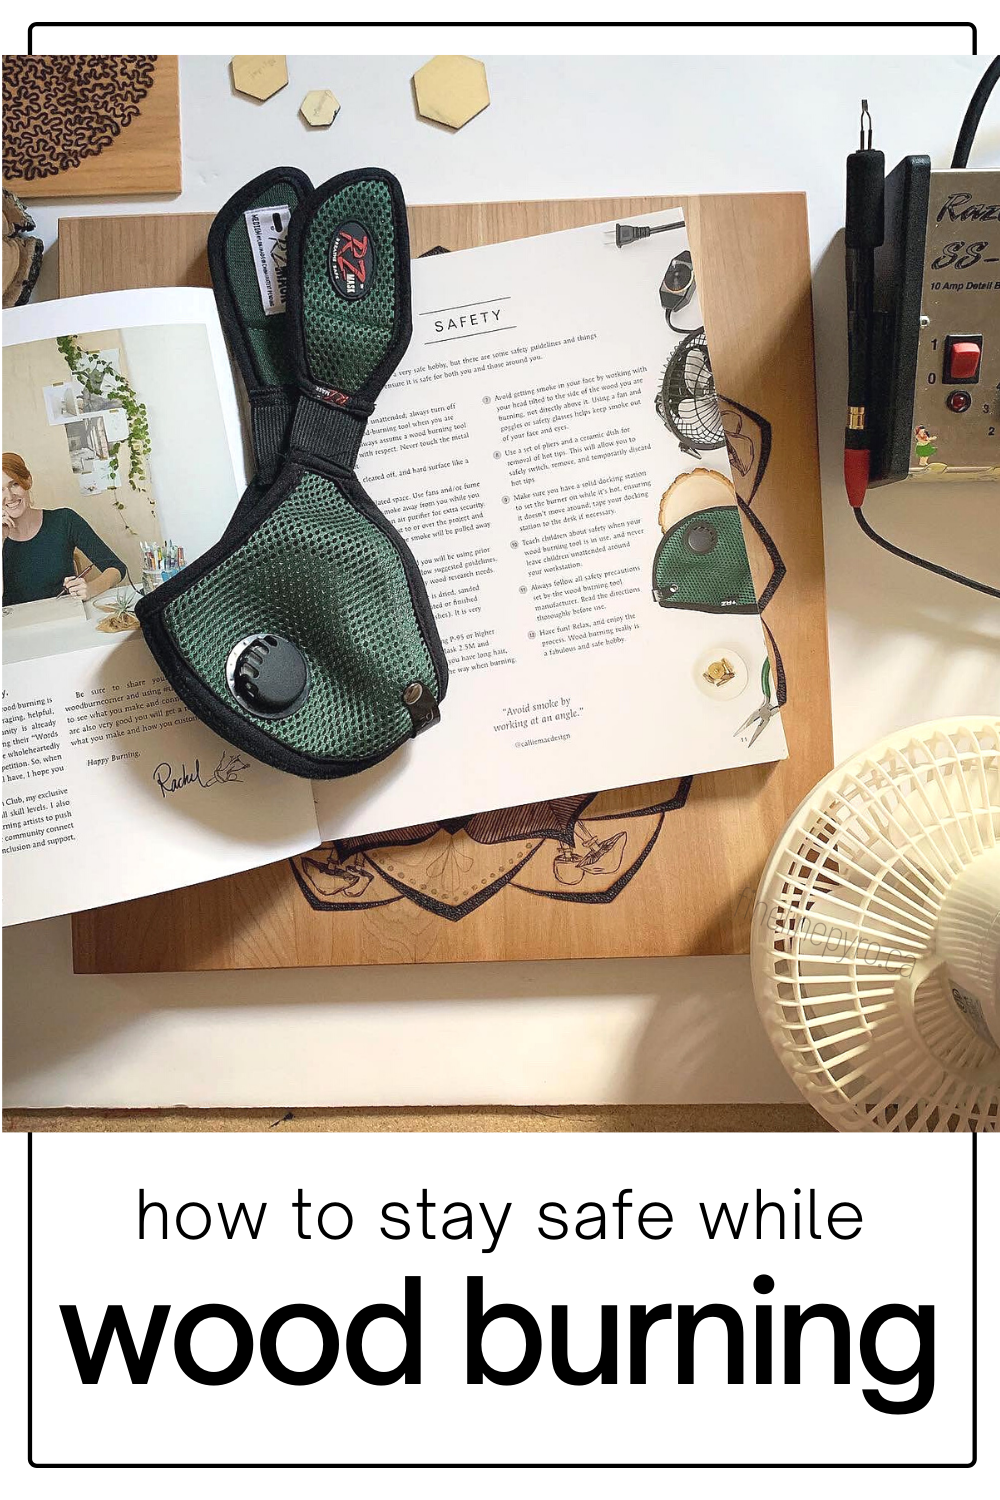
safety first:
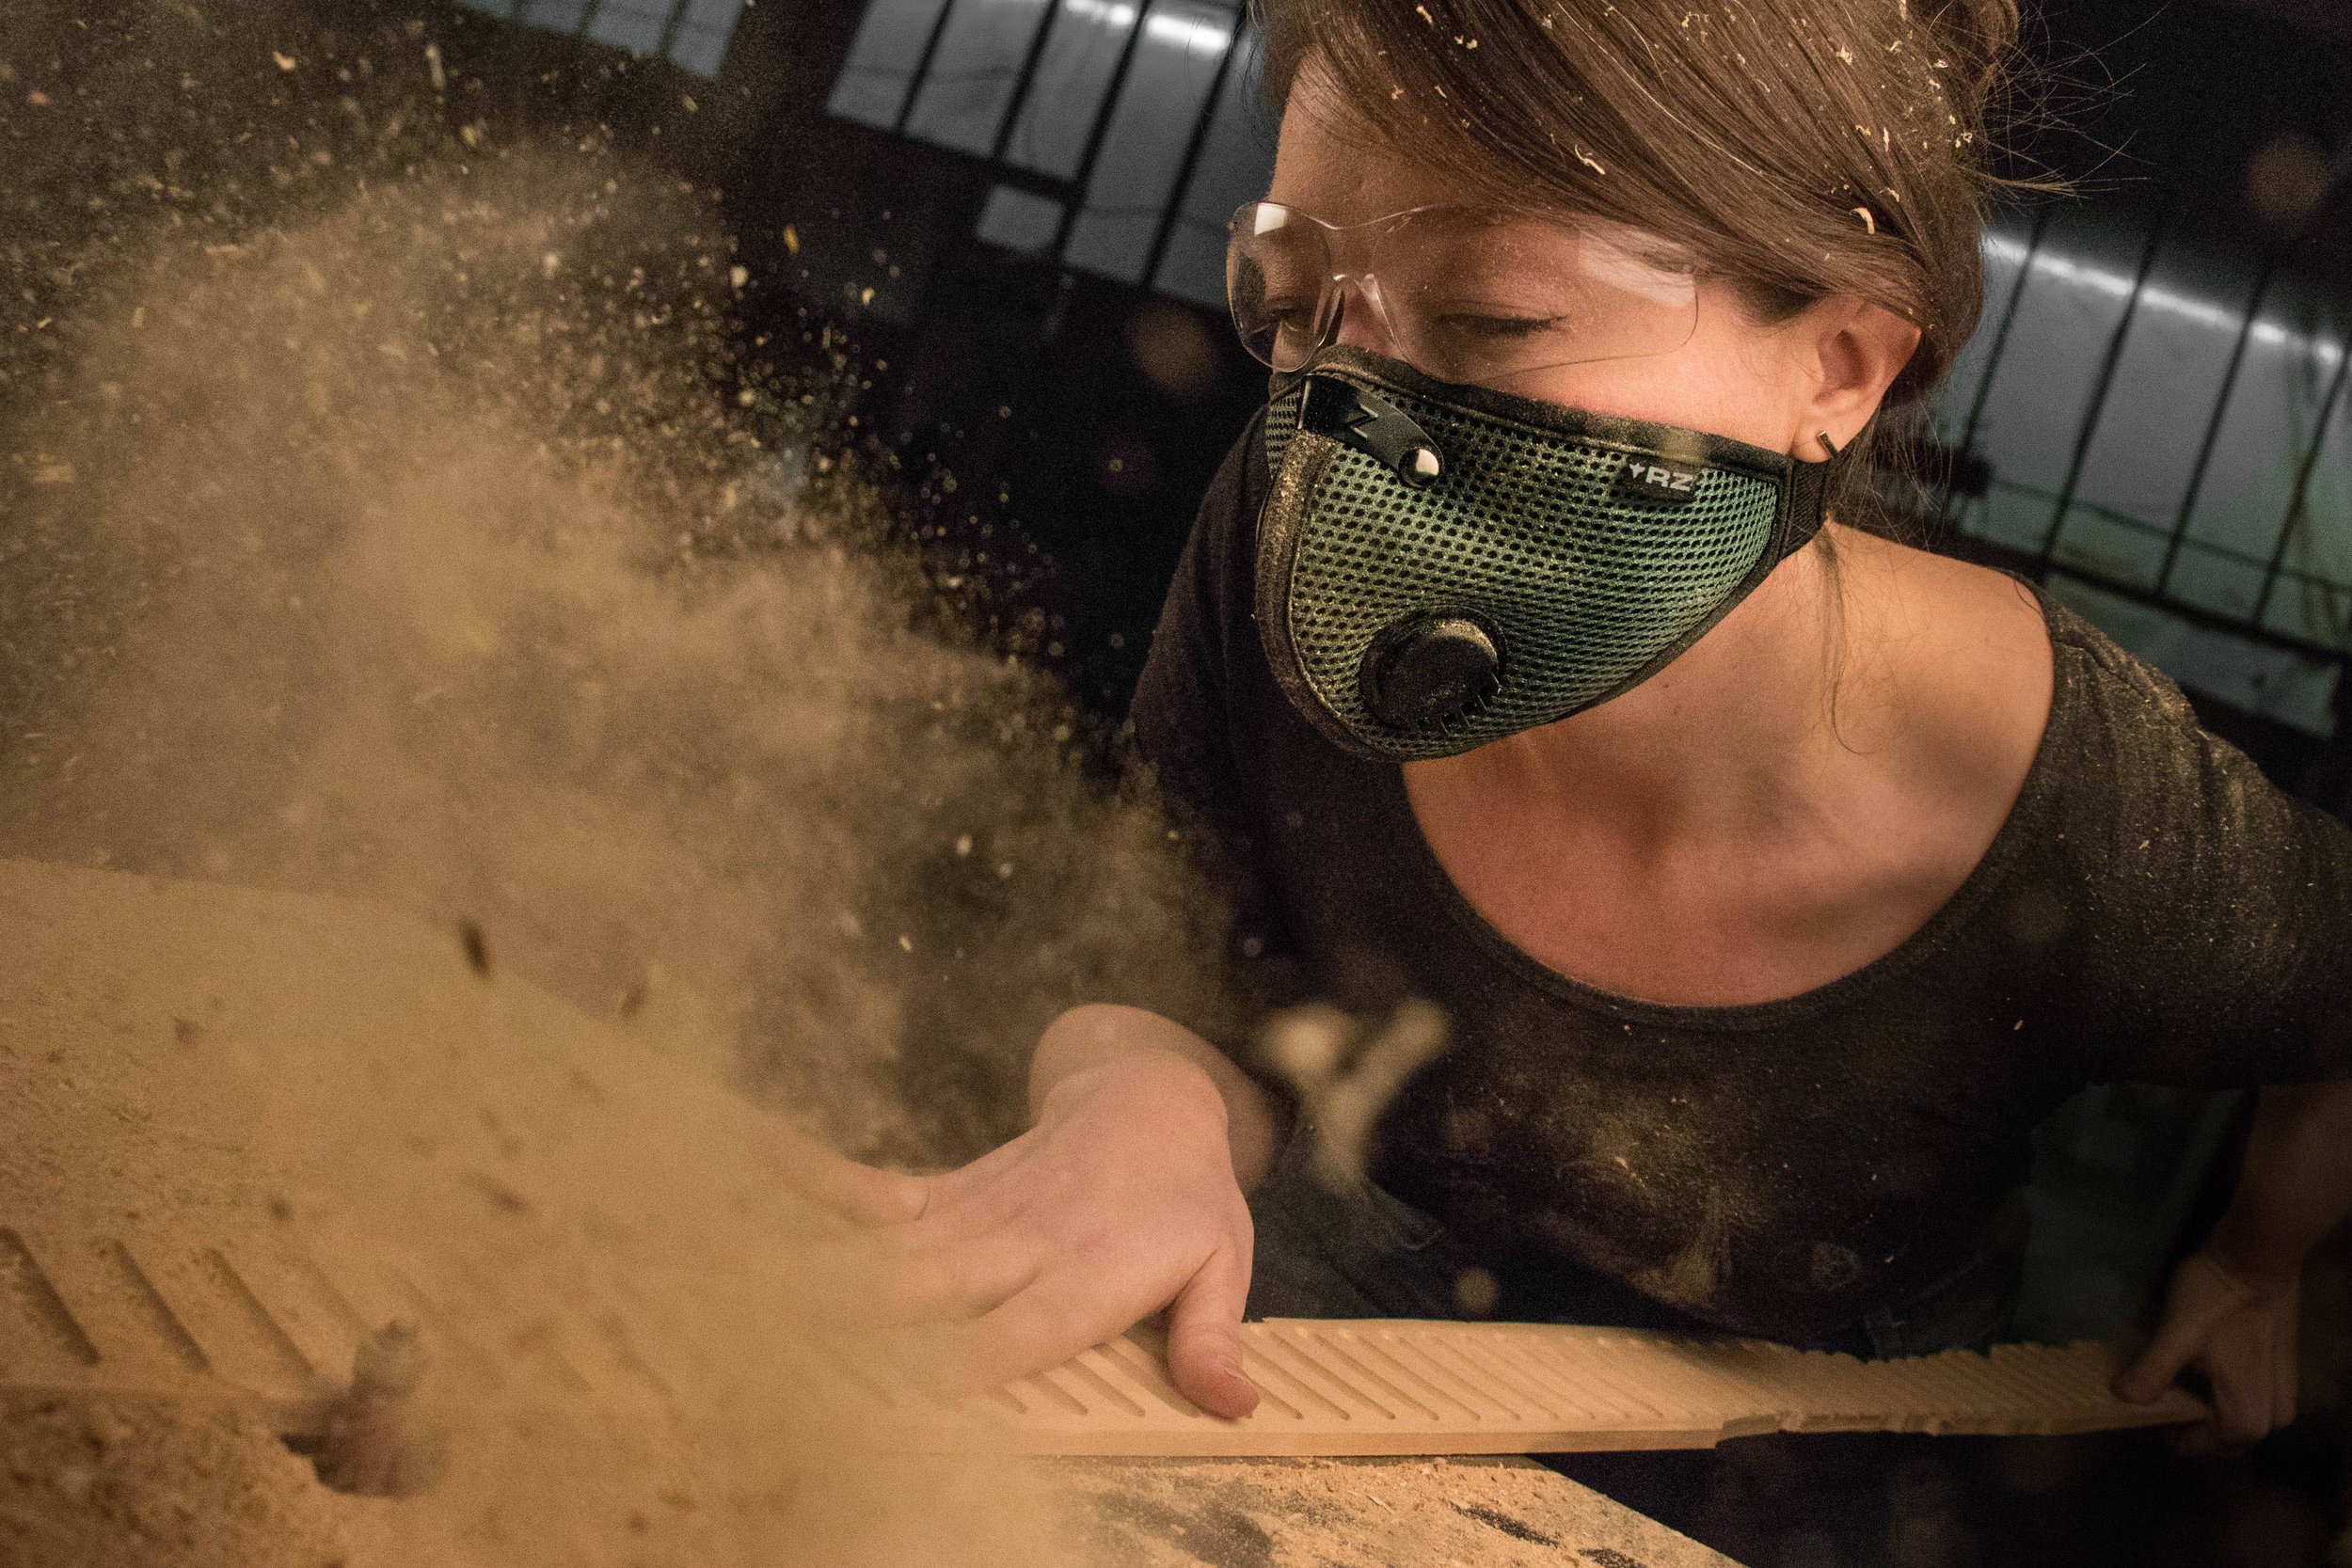
Please take a moment and make sure to review the safety guidelines provided by the manufacturer of the tool you are using and wear your safety gear when burning!! check out this blog post for extra tips on how to keep yourself safe while you burn: how to wood burn safety
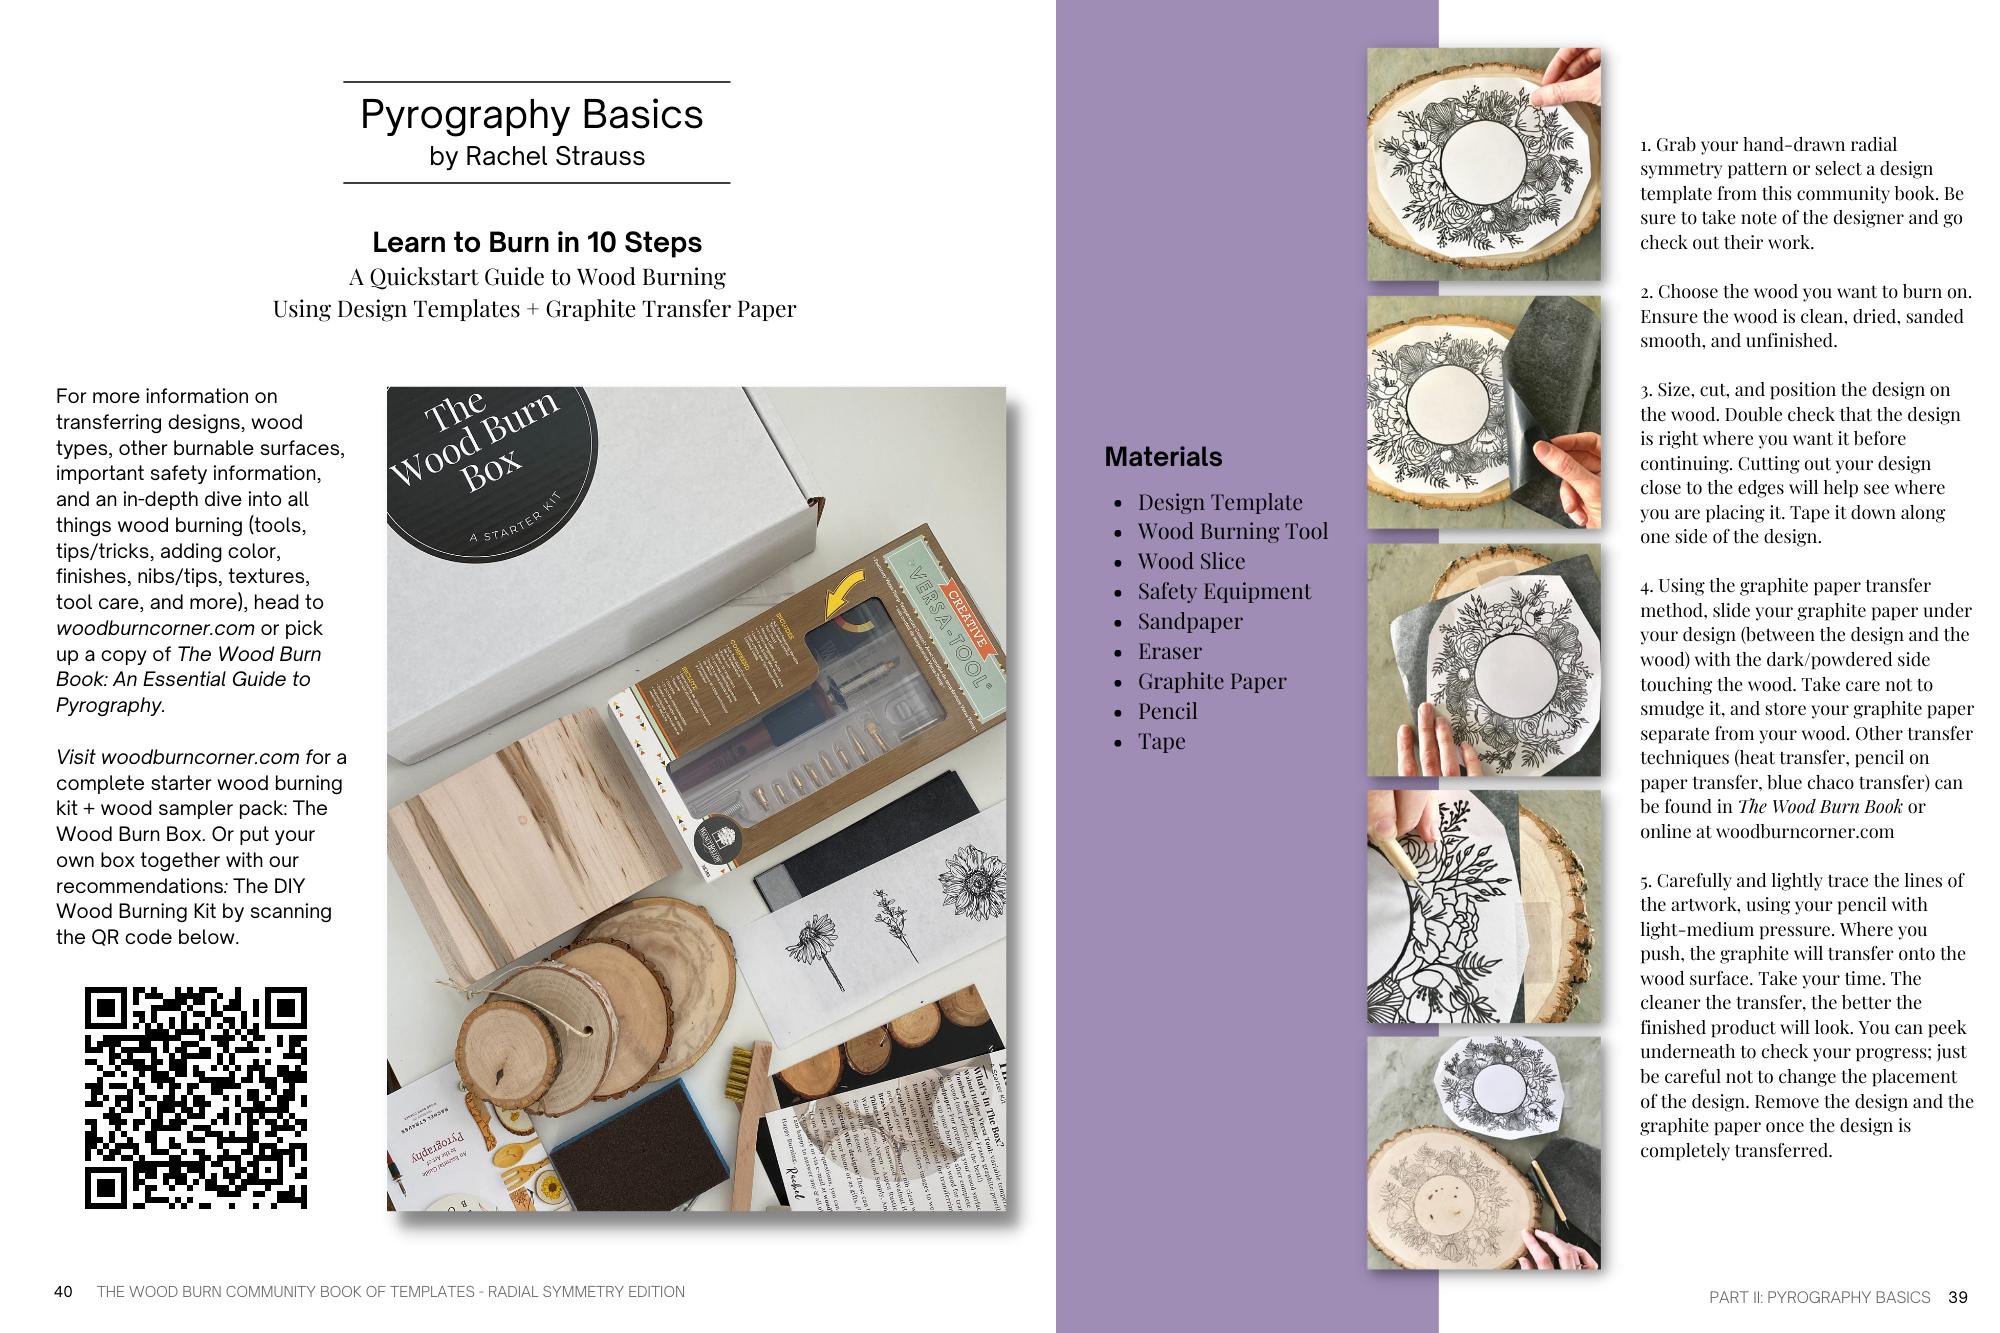
A quick start guide to pyrography
Step one:
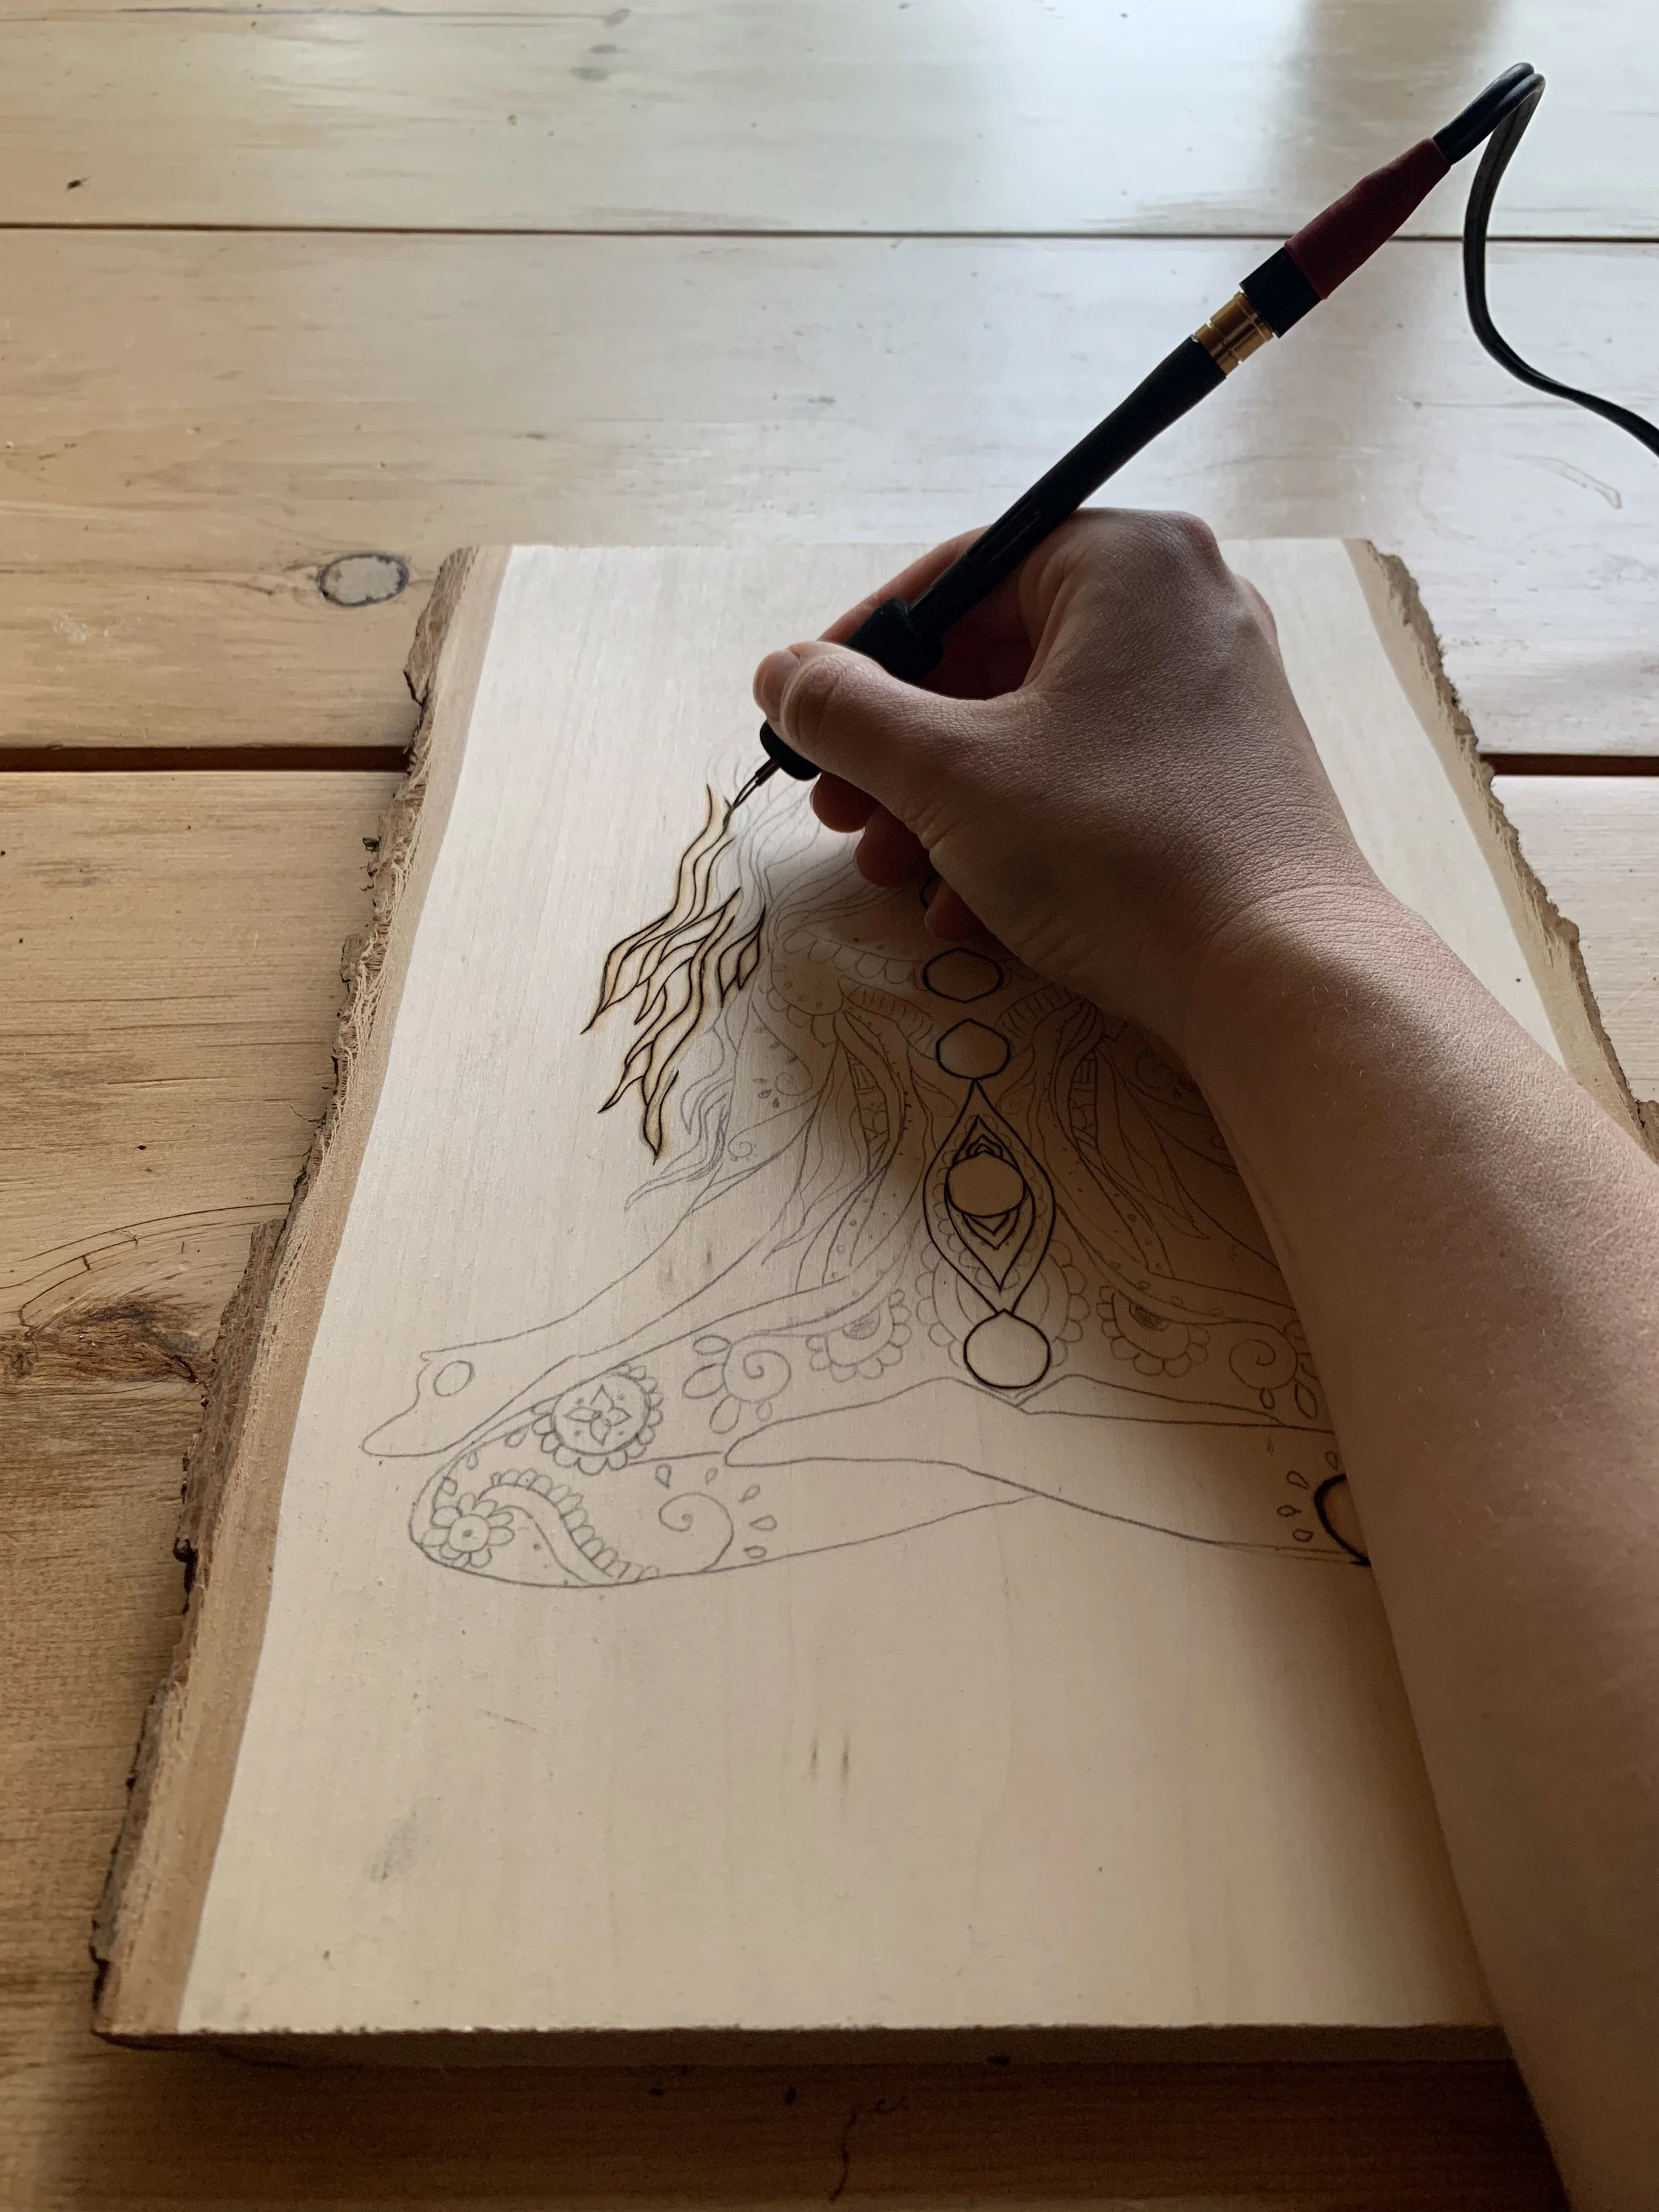
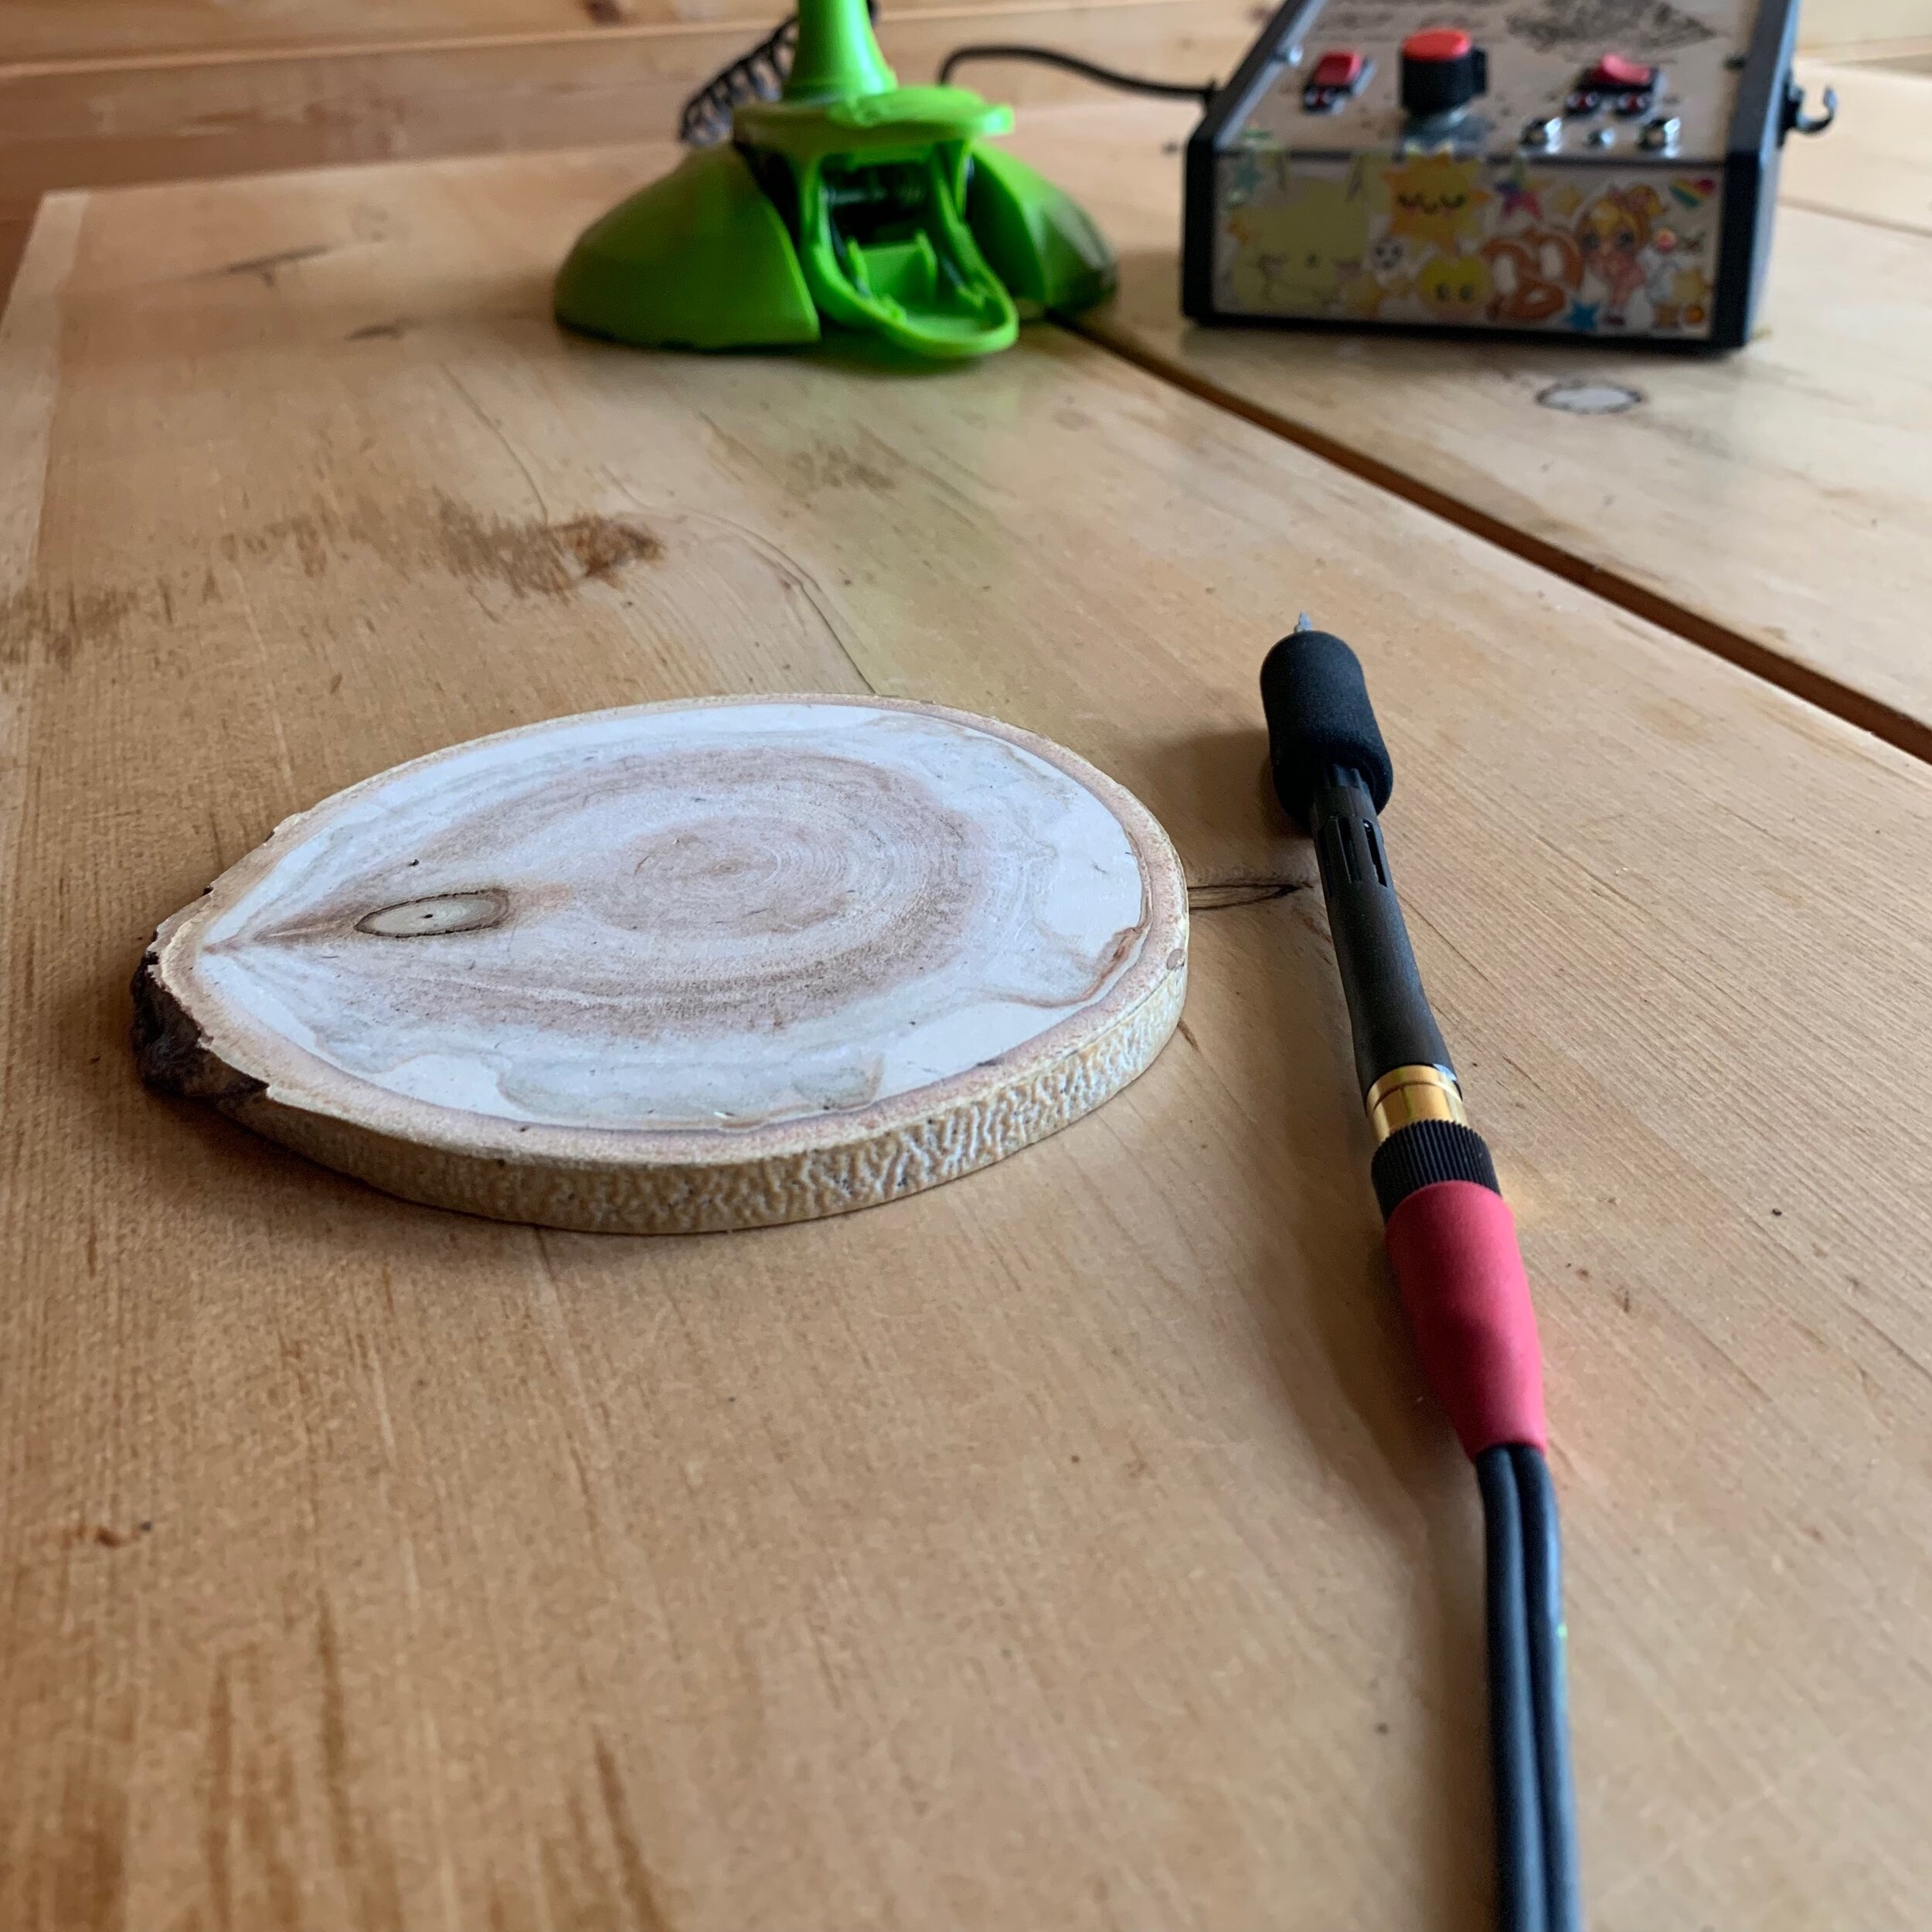
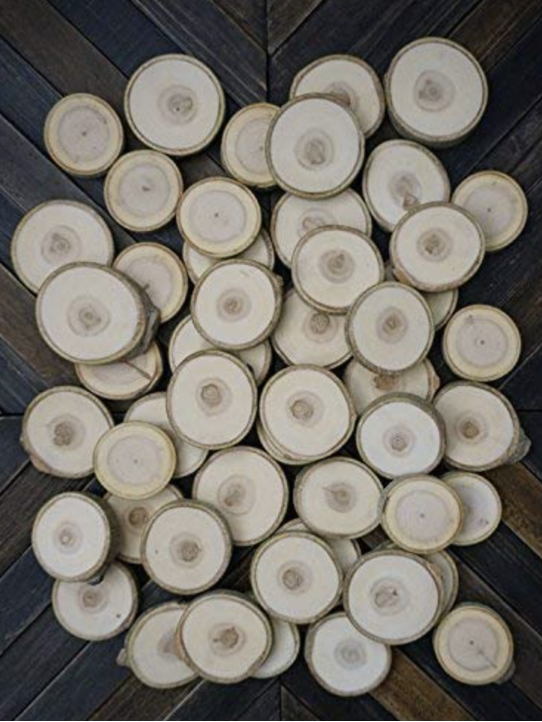
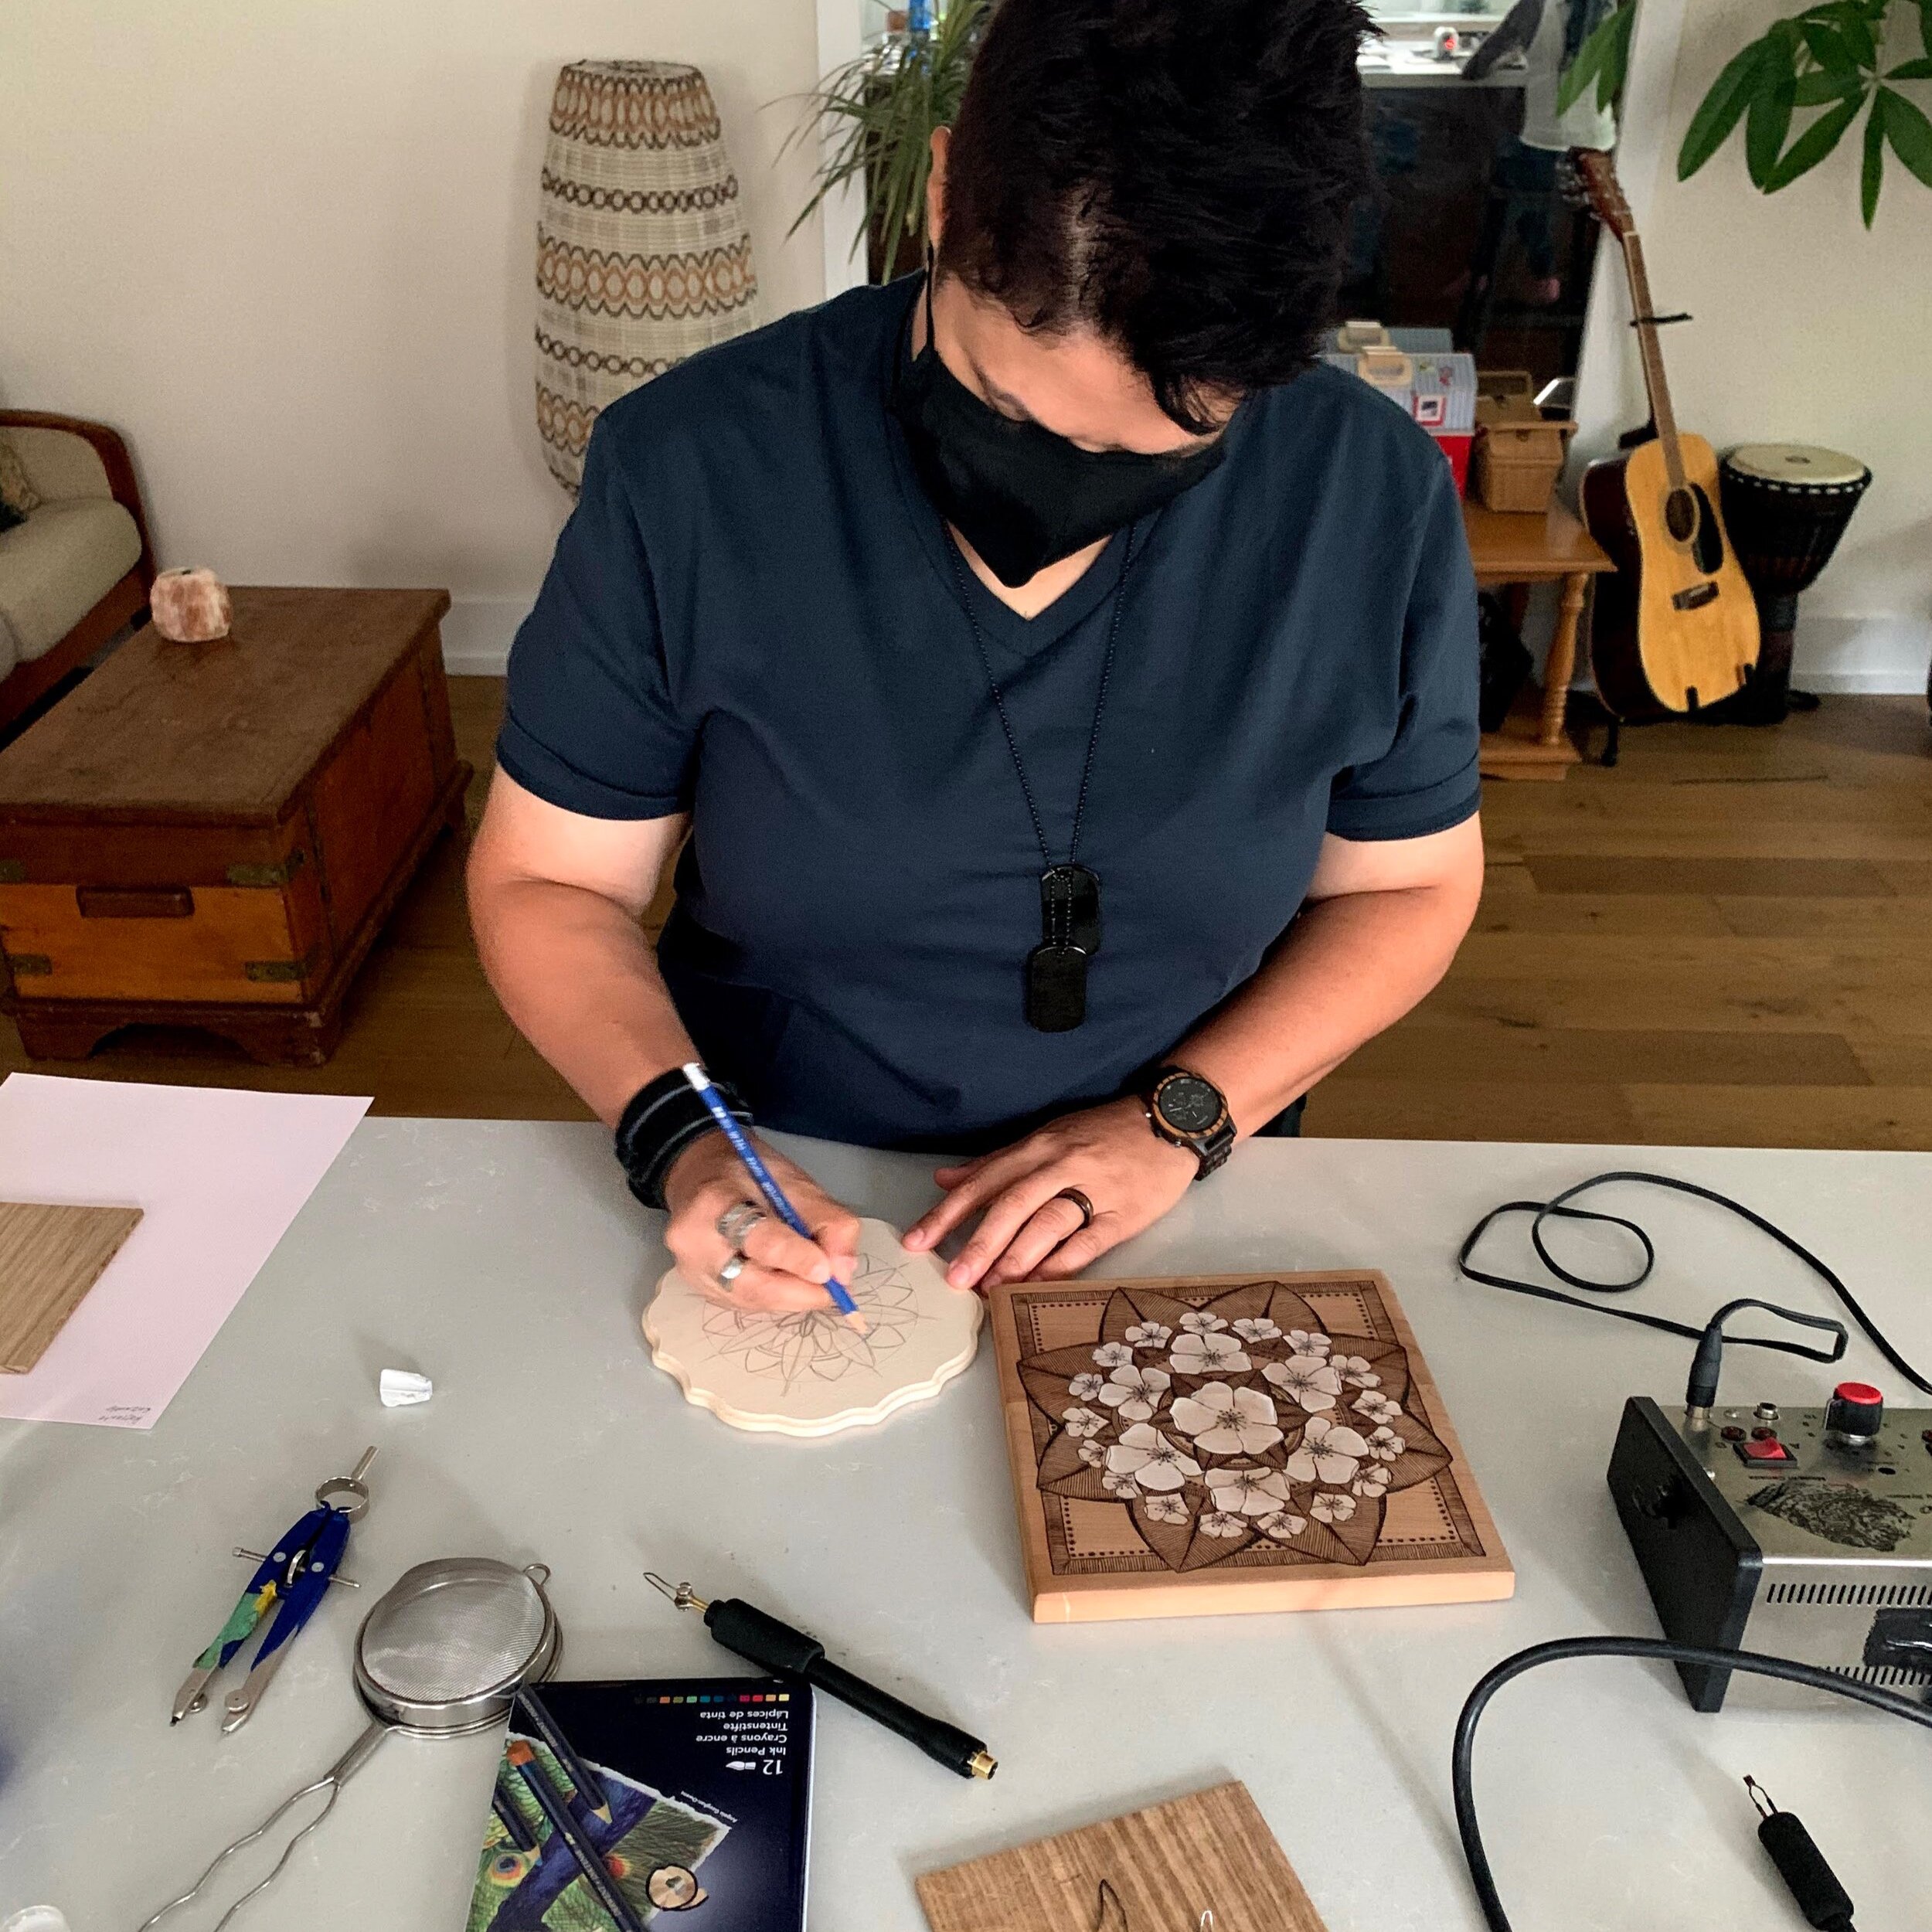
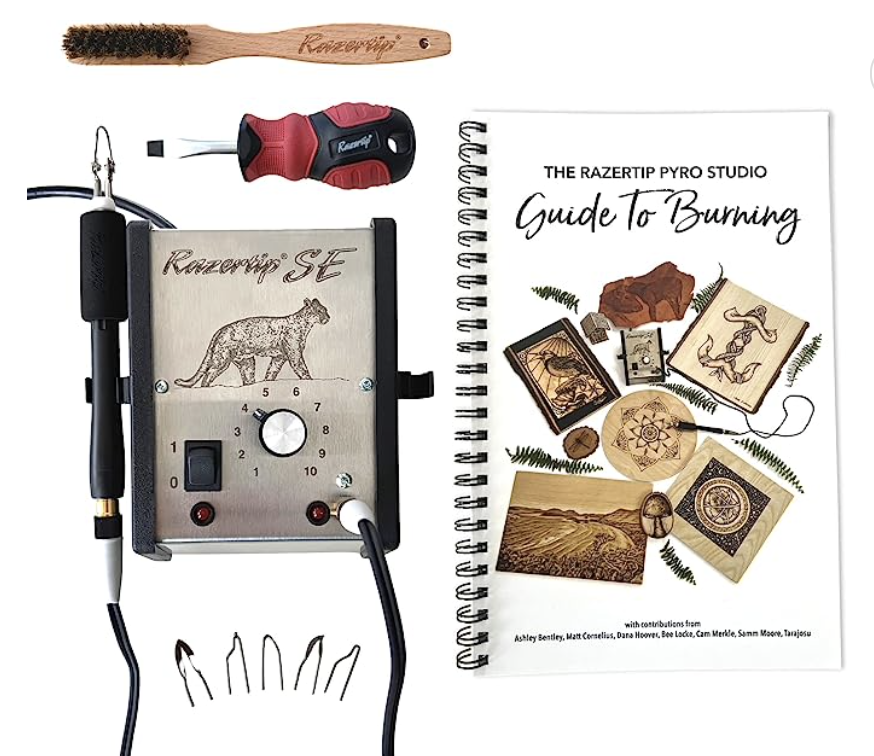
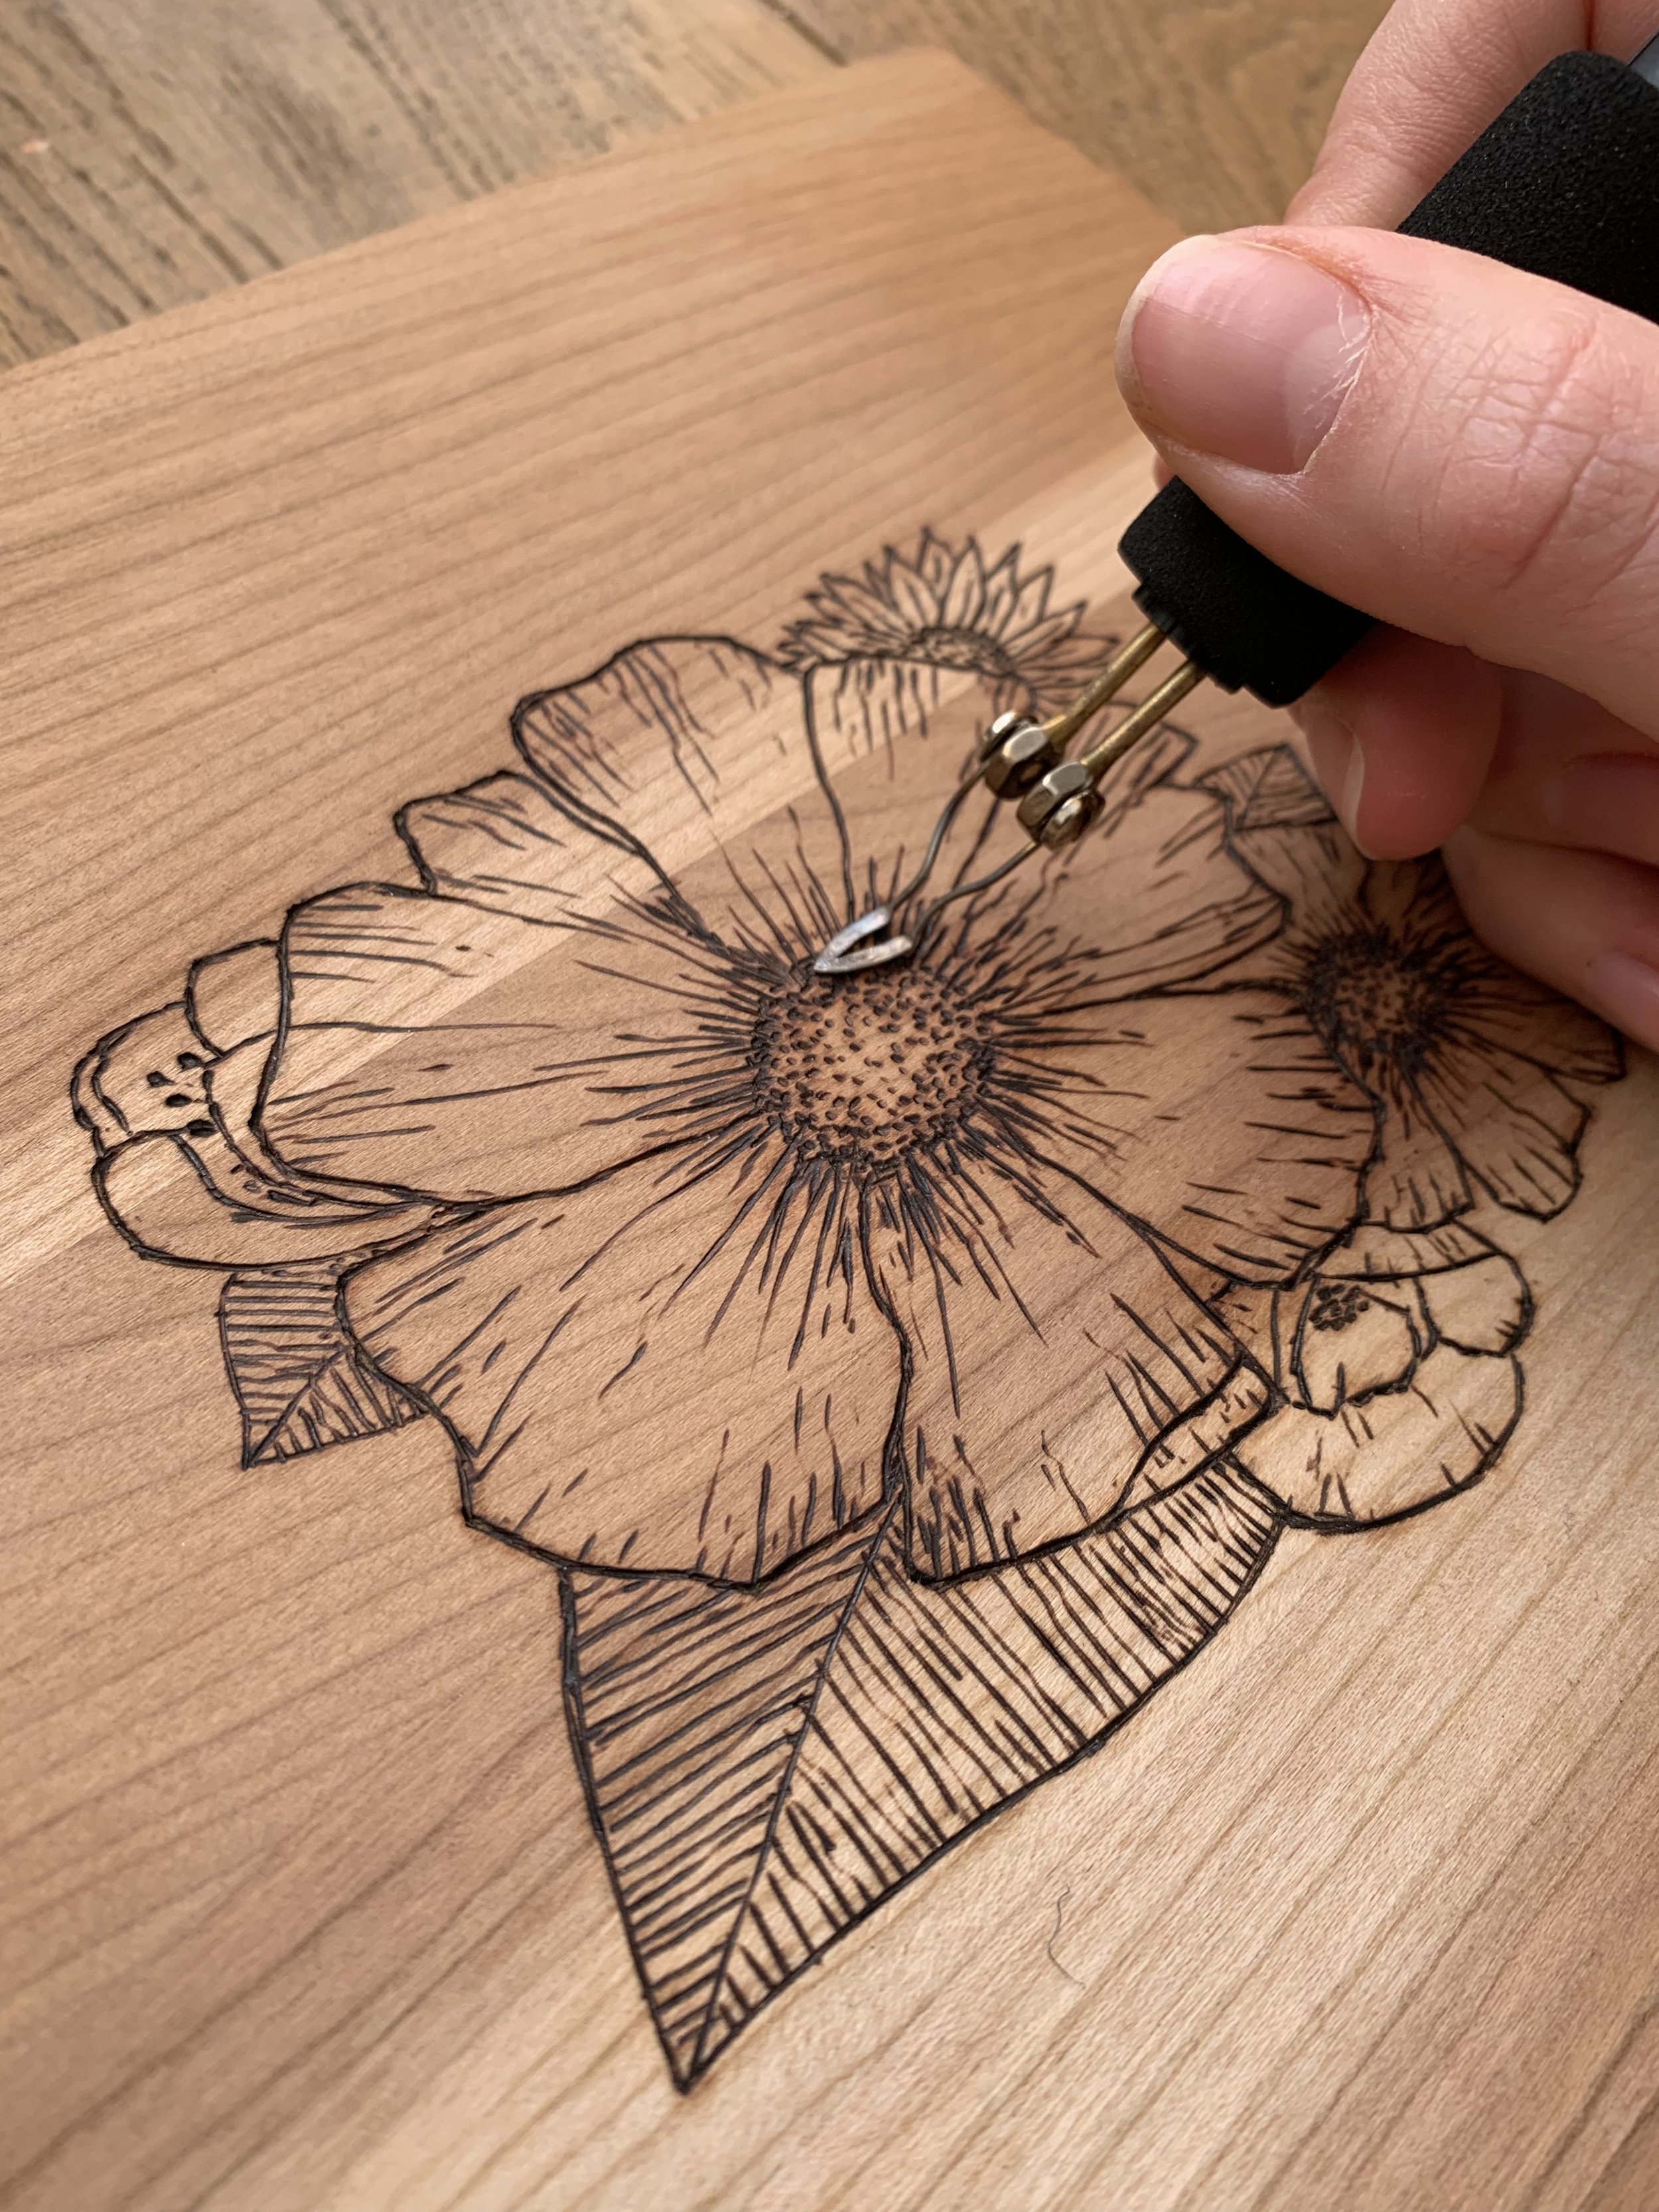
in order to get started, all you essentially need is a tool and a surface to burn on.
If you need help knowing which tools is right for you, check out my community website with a rundown on how to choose a wood burning tool.
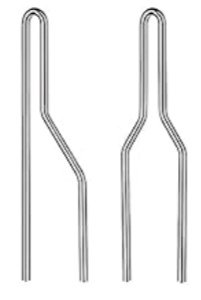
Everyone likes different nibs for different reasons. I found that general the favourite was the ball point nib or a writing nib (these have round tips so they tend to write like an actual pen and don’t get stuck to the wood). If you don’t have the budget to try a variety, start with this one.
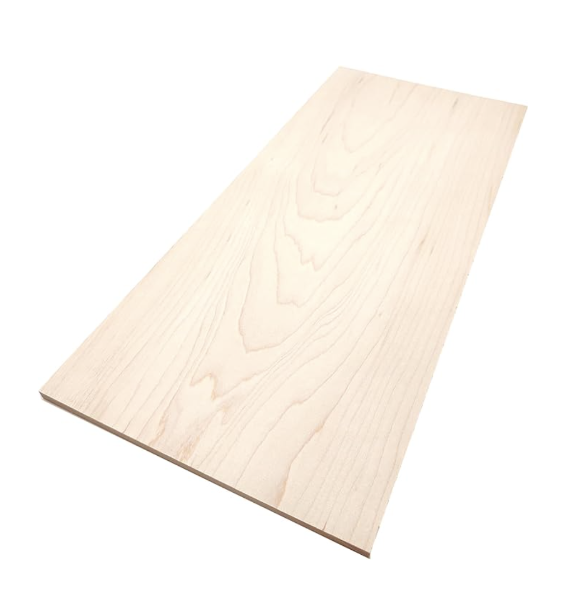
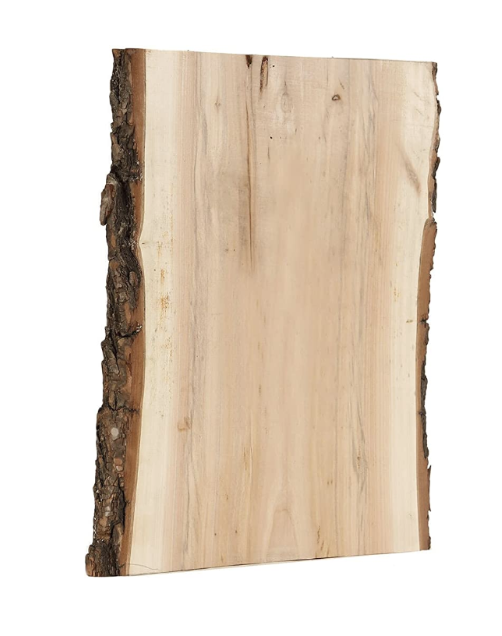
I also created a list of best woods to burn on for all skill levels.
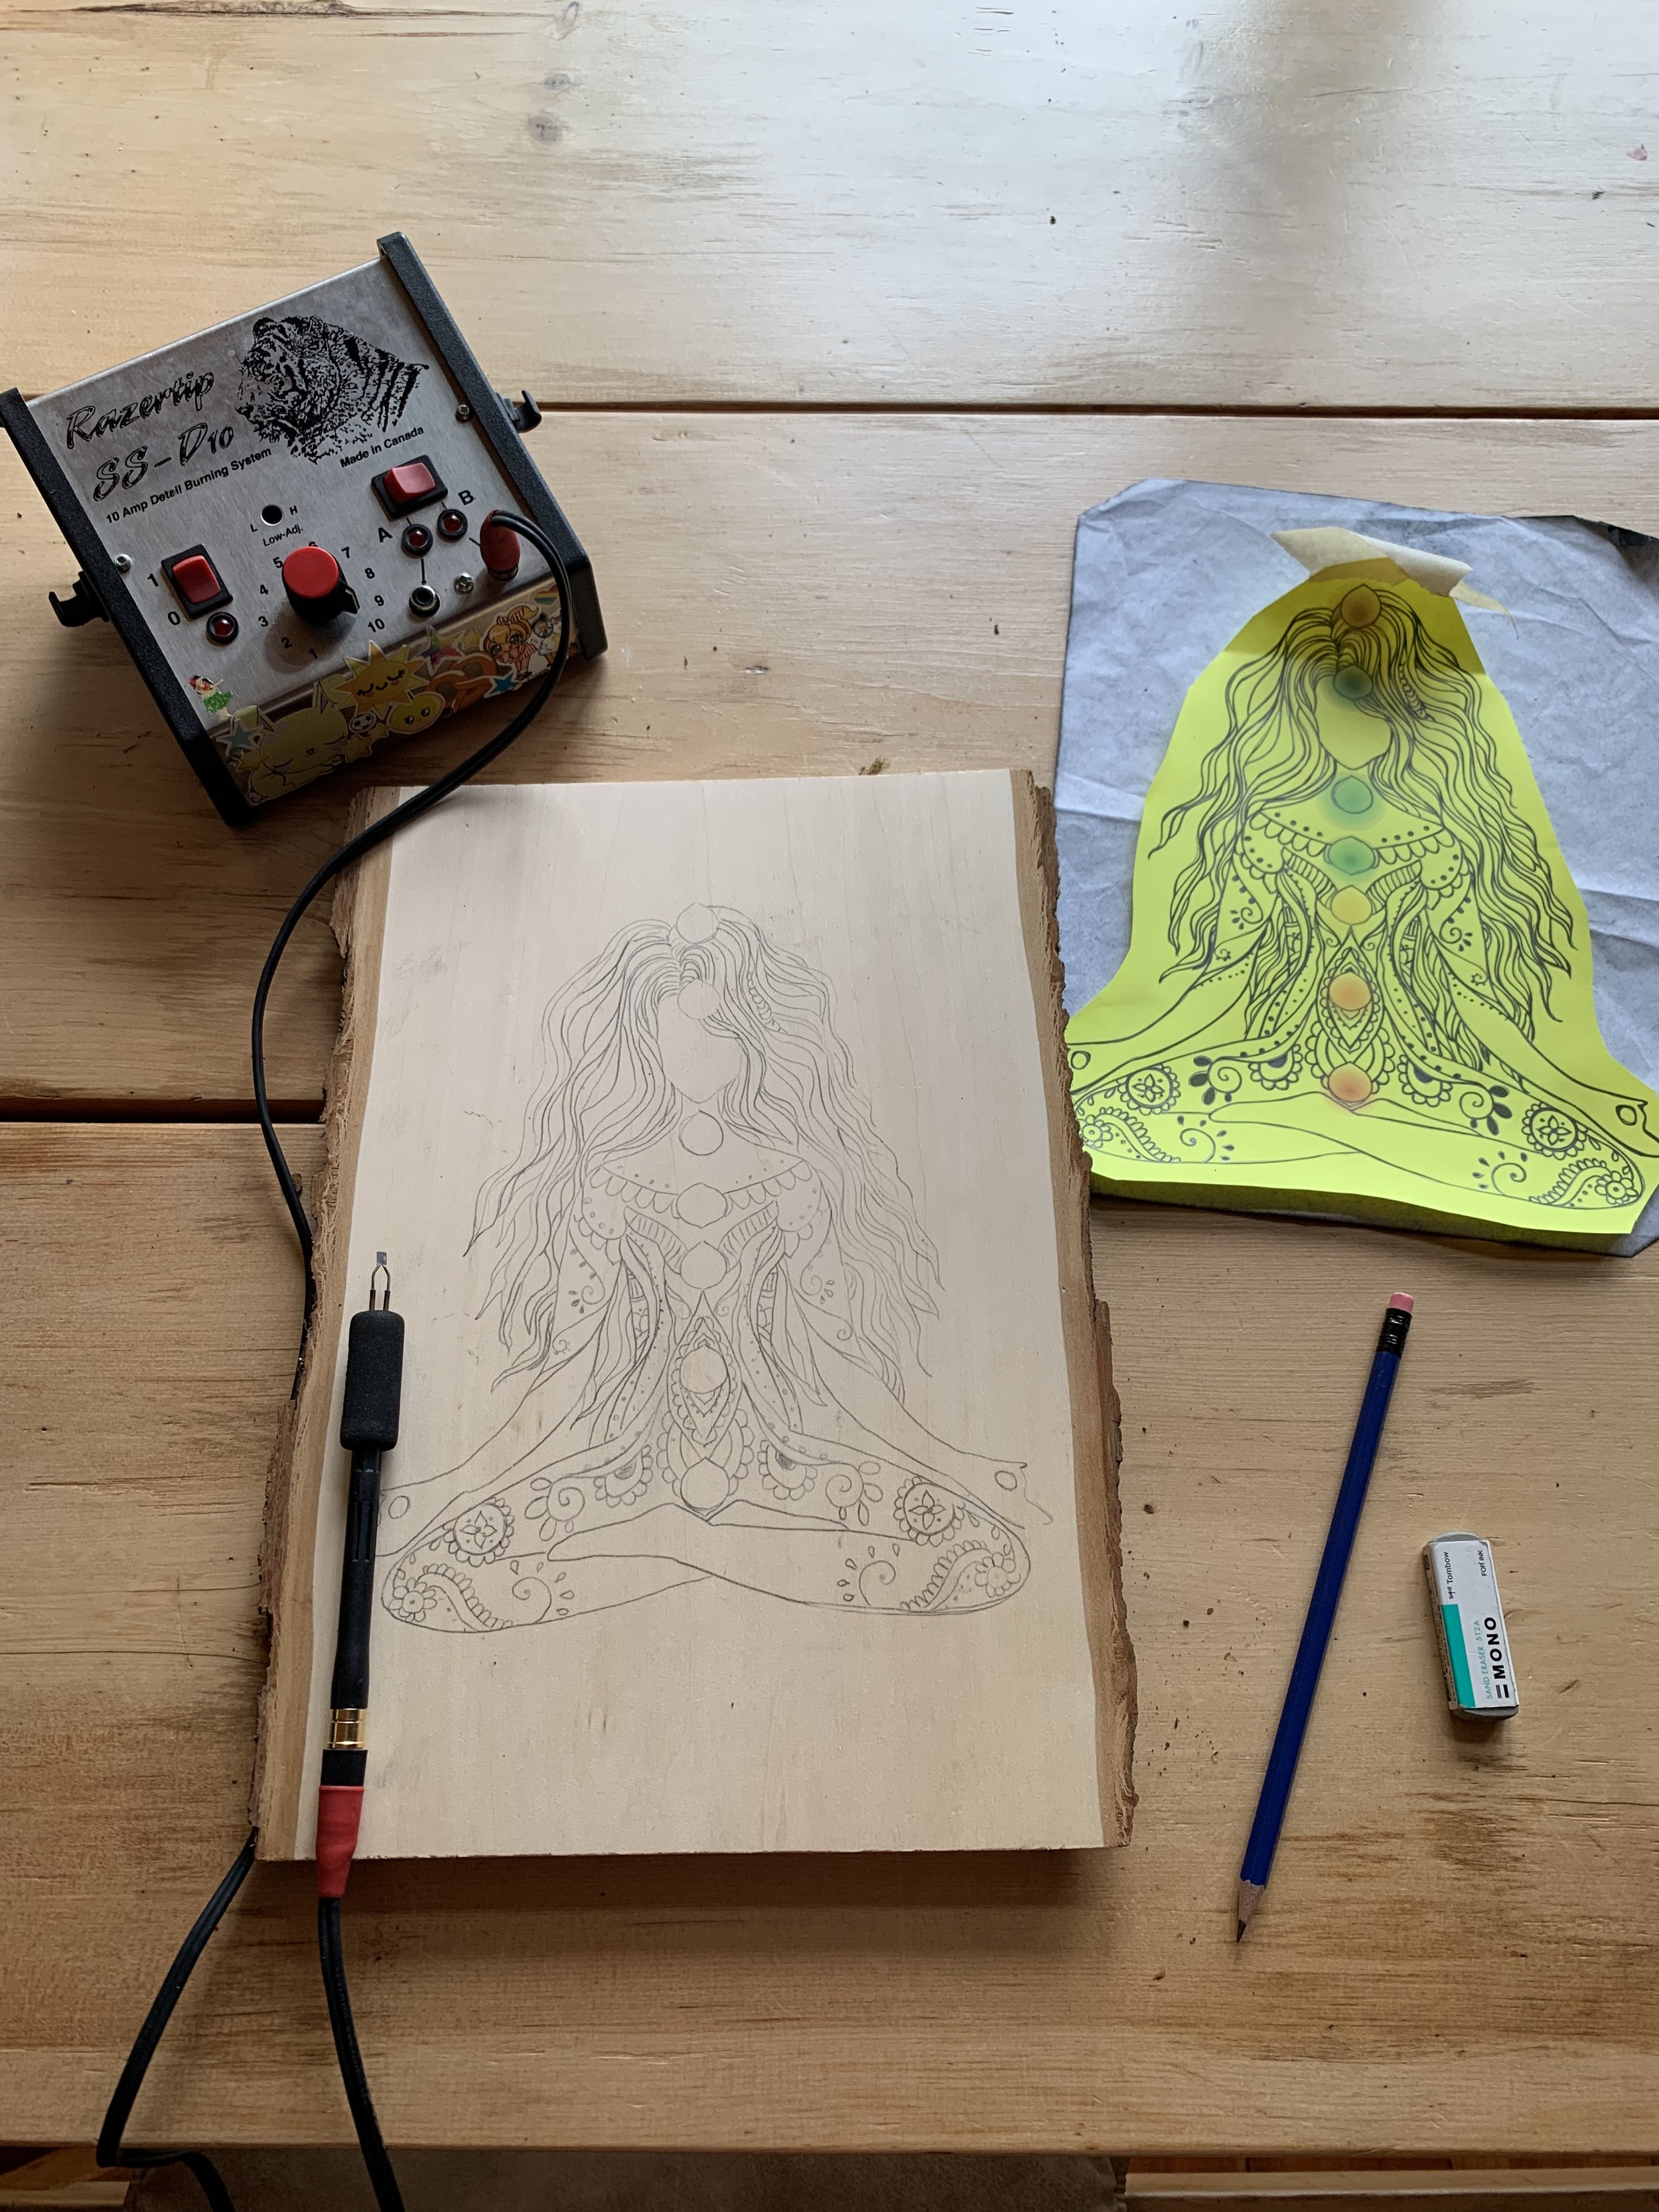
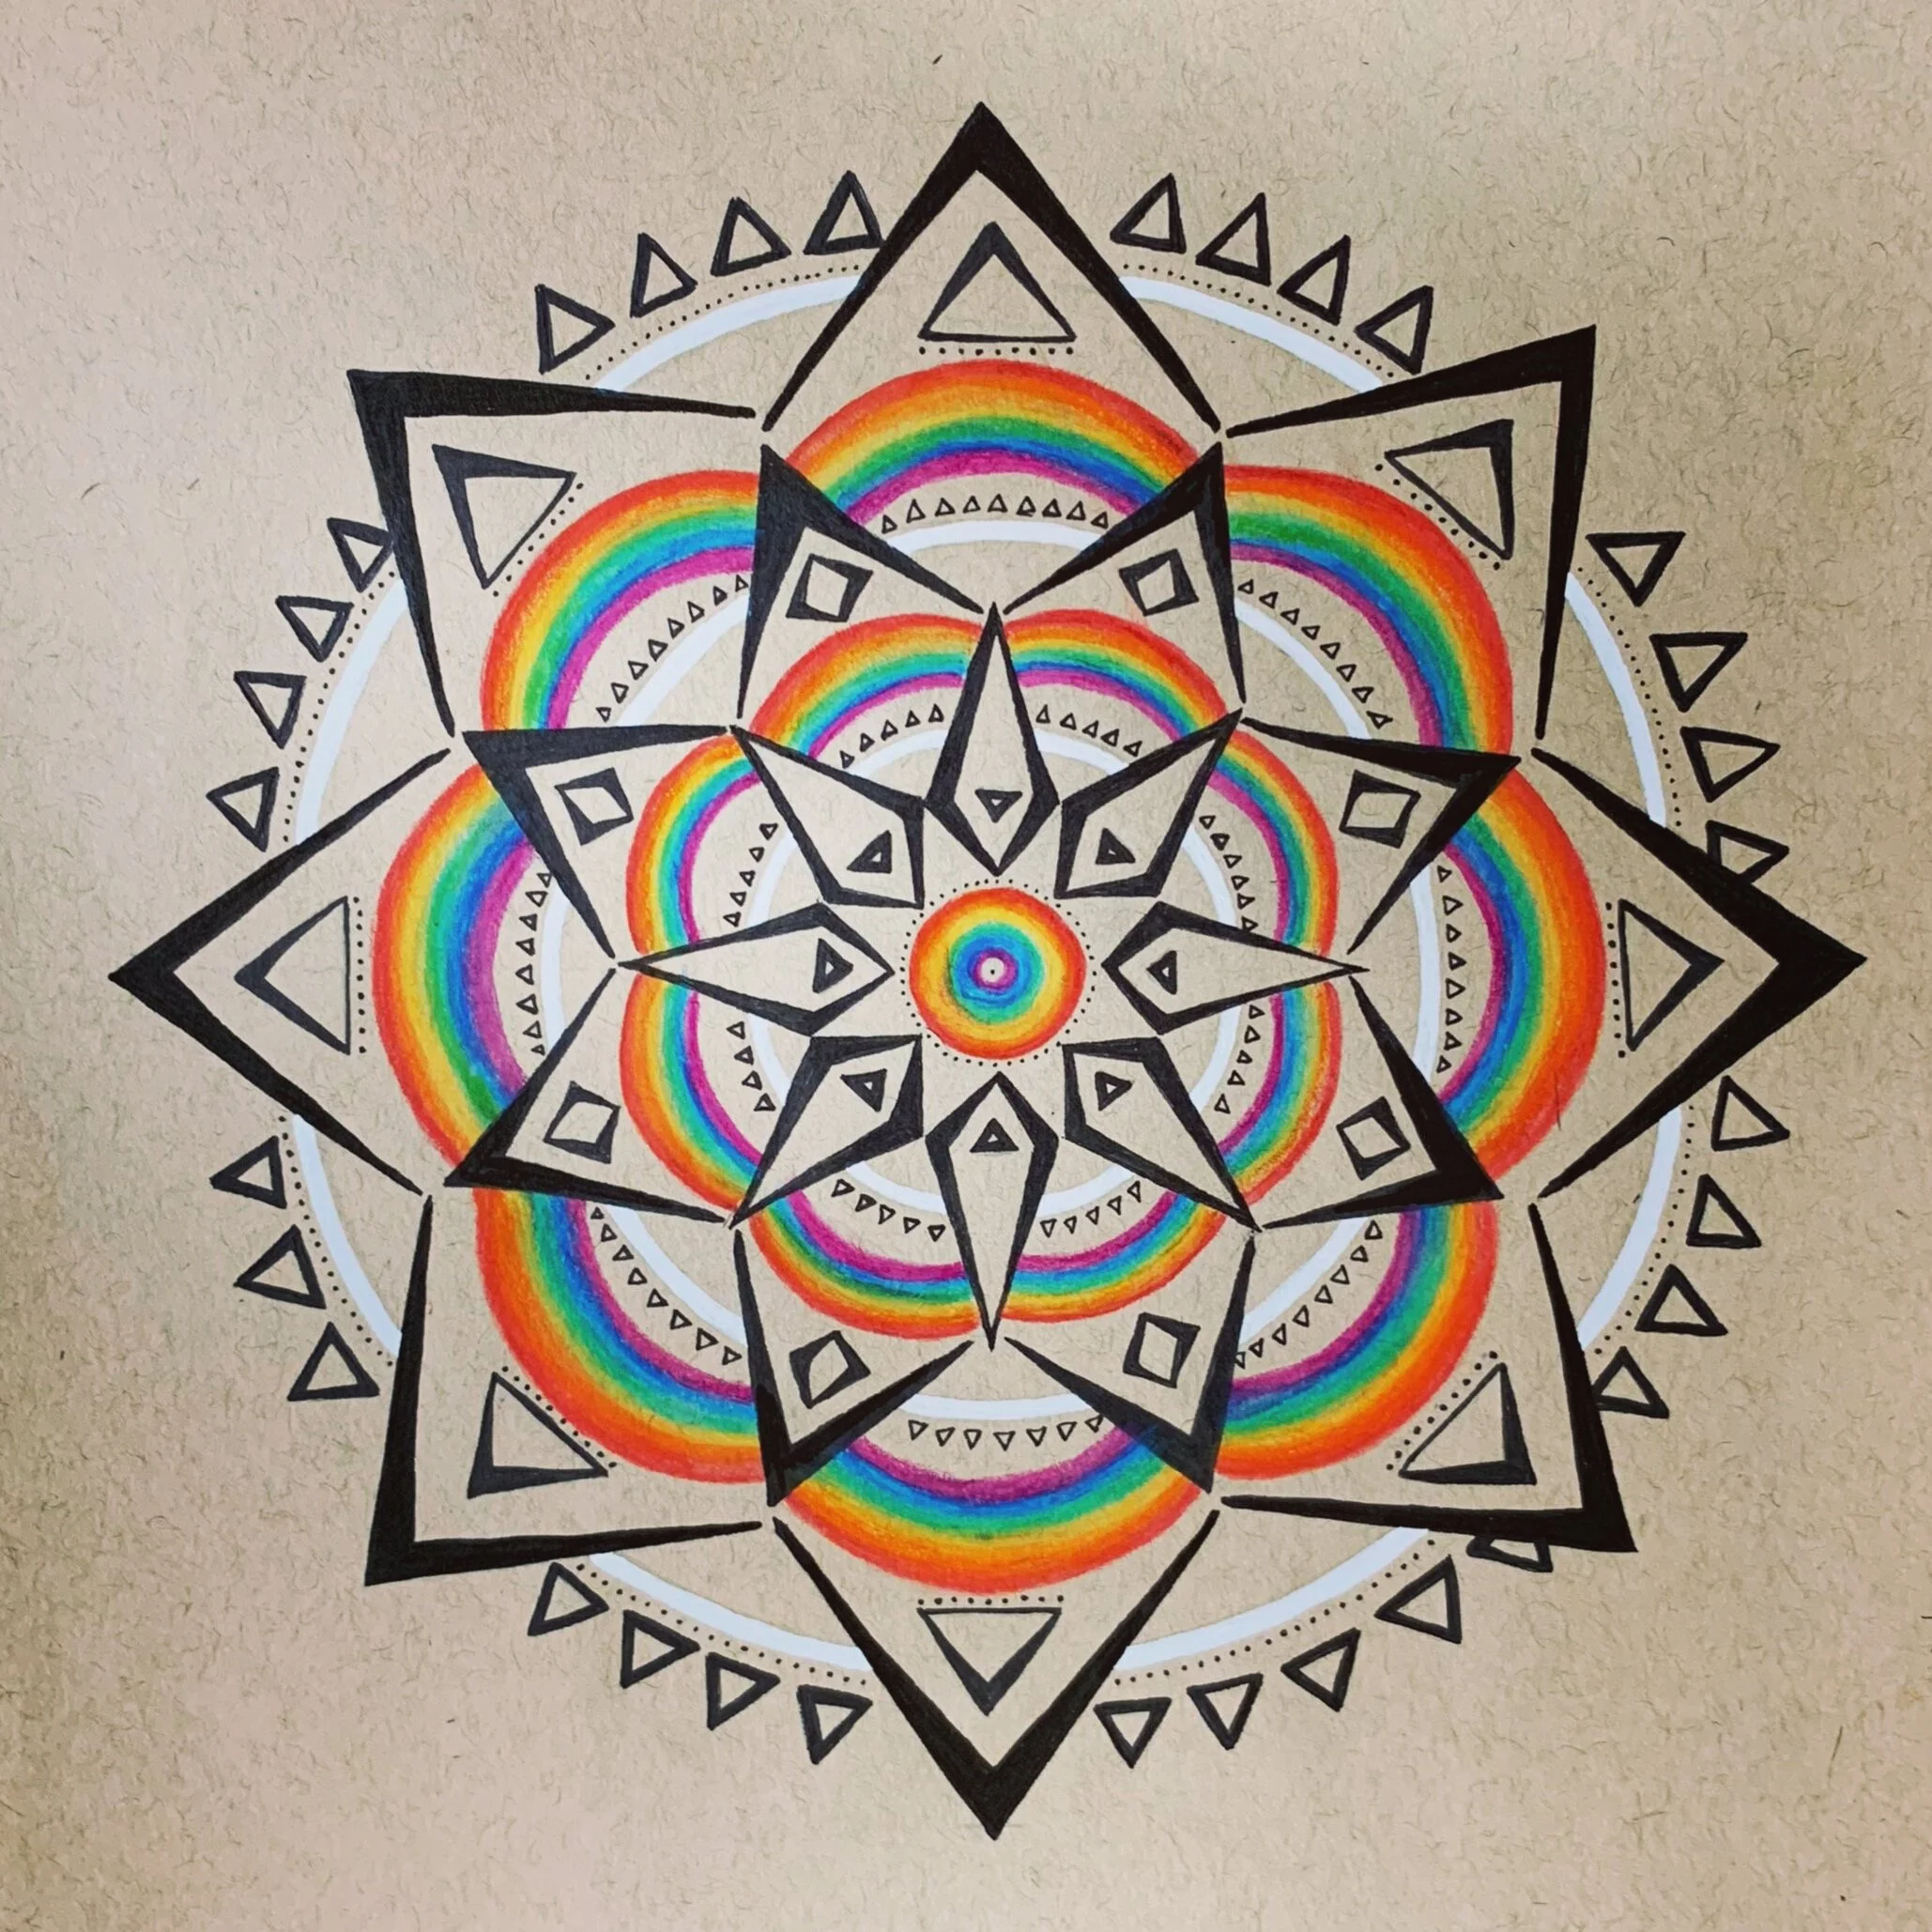
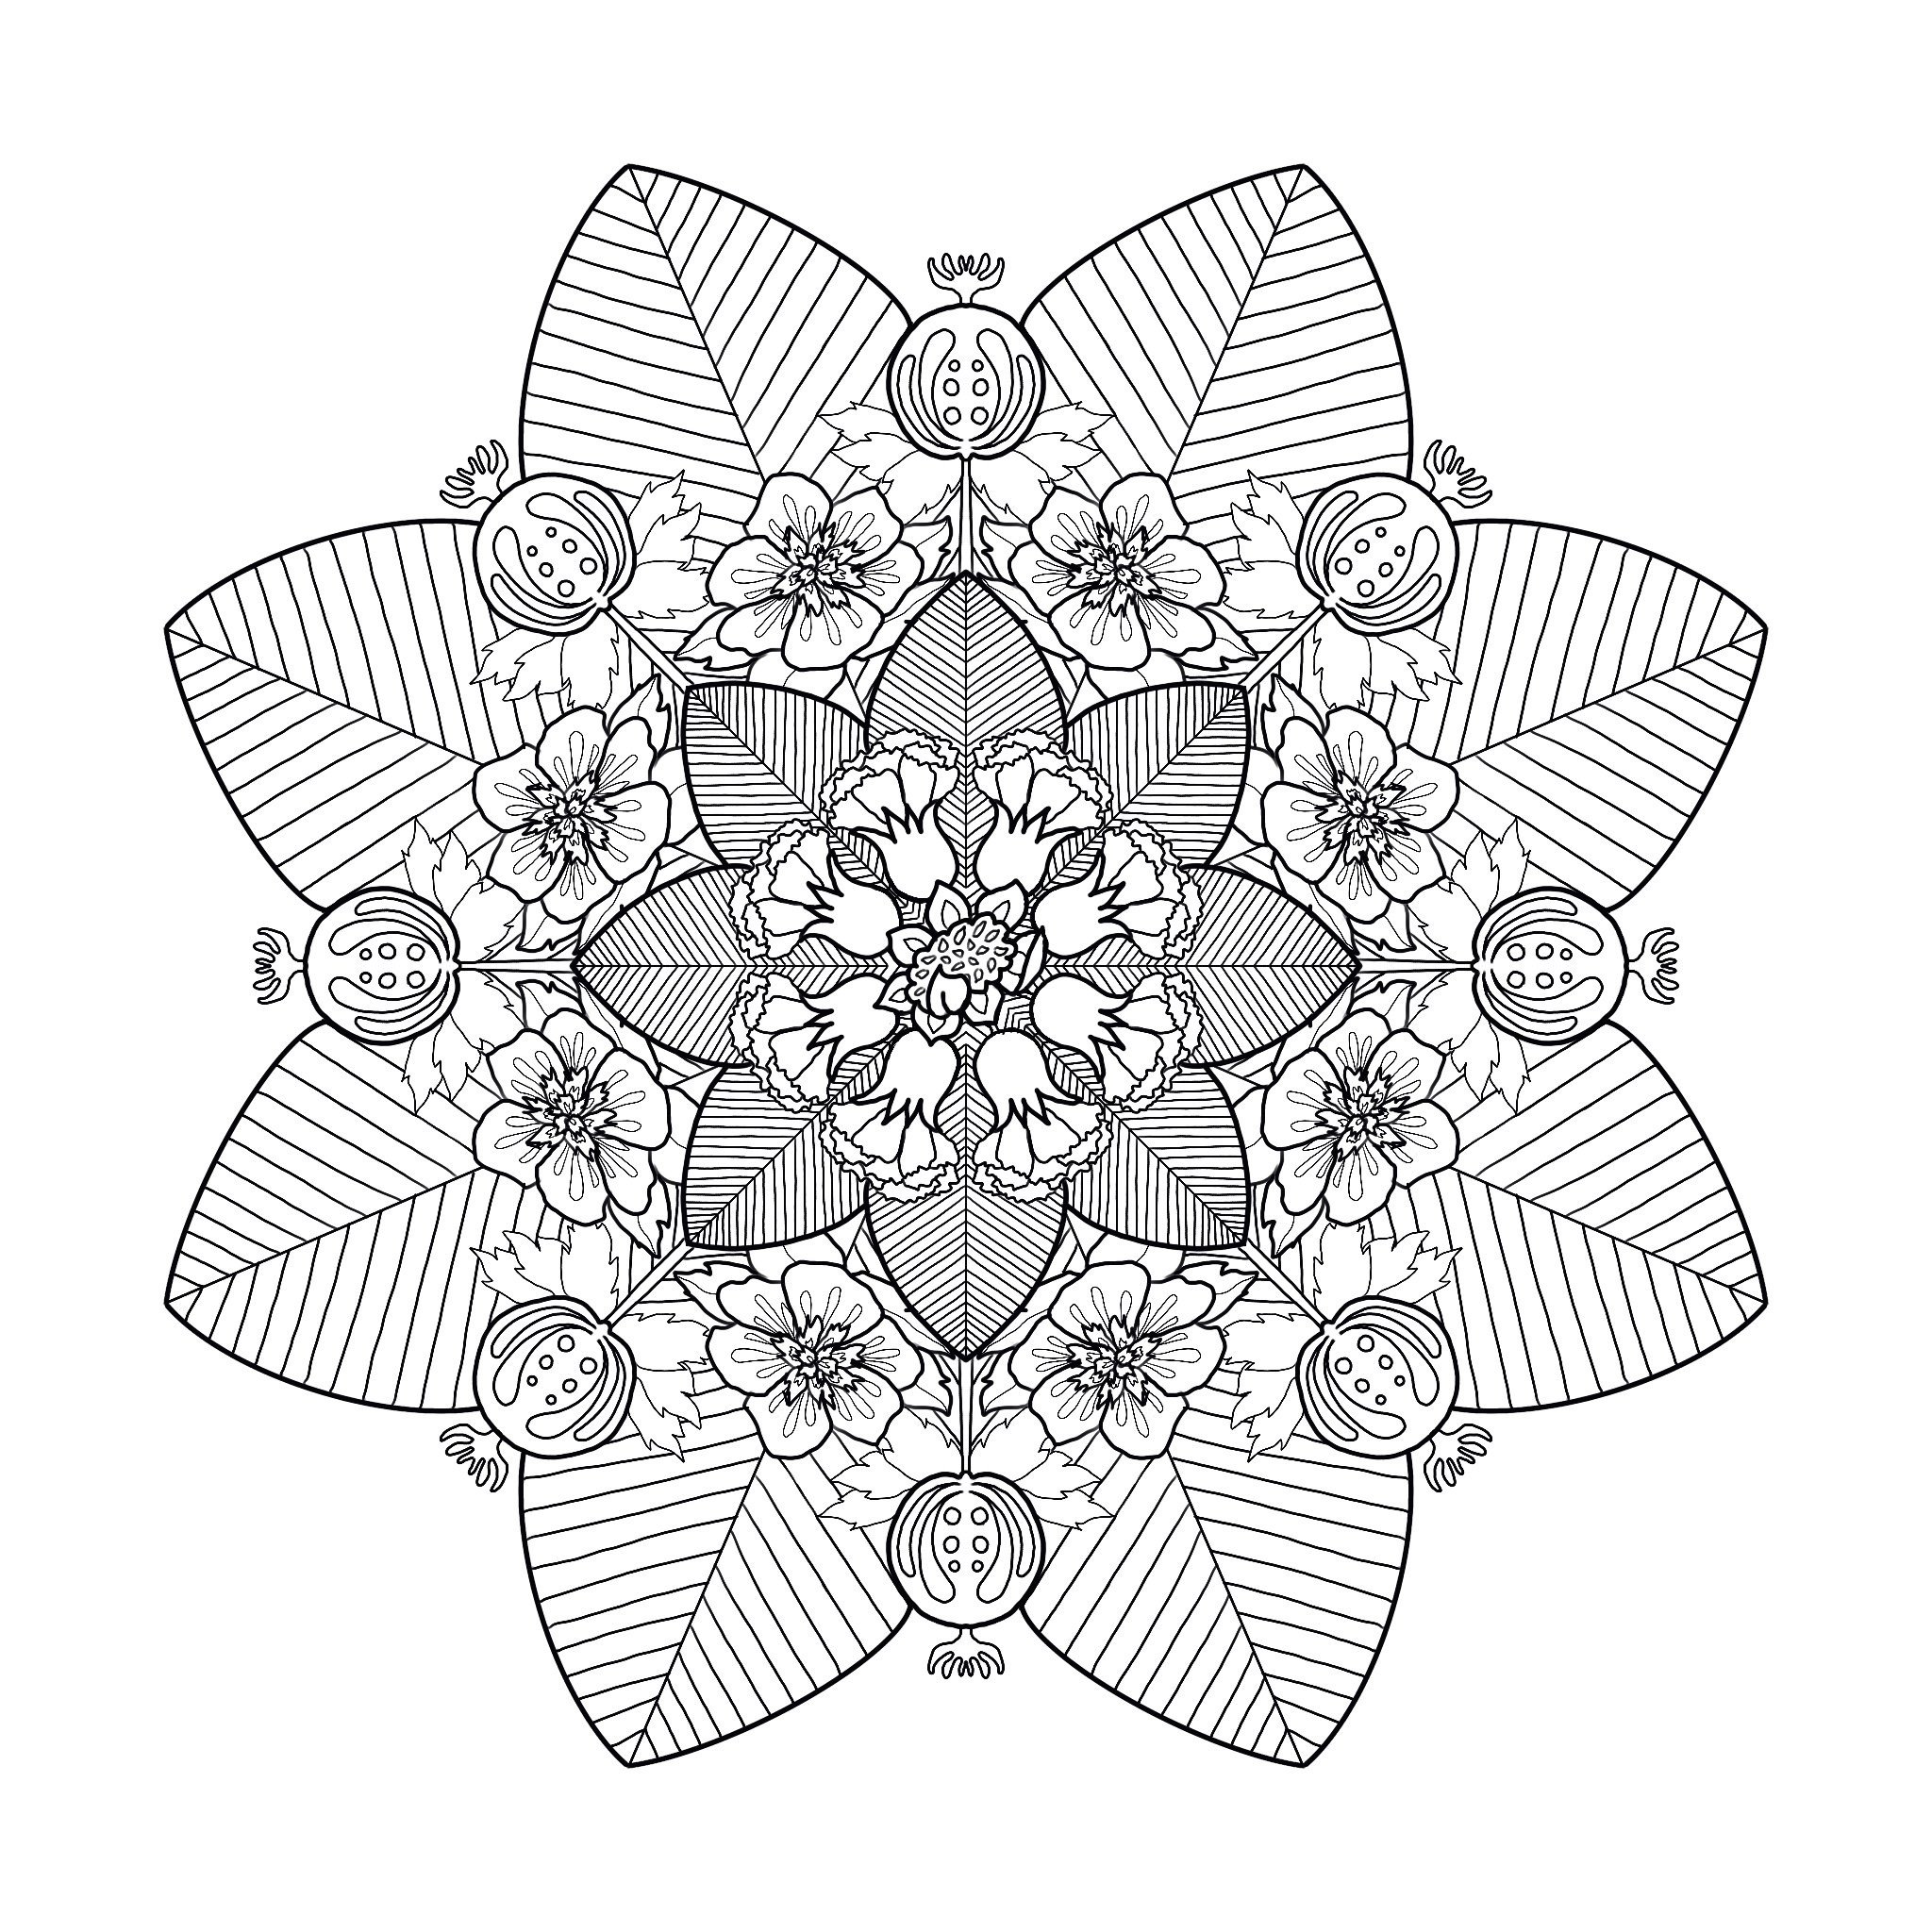
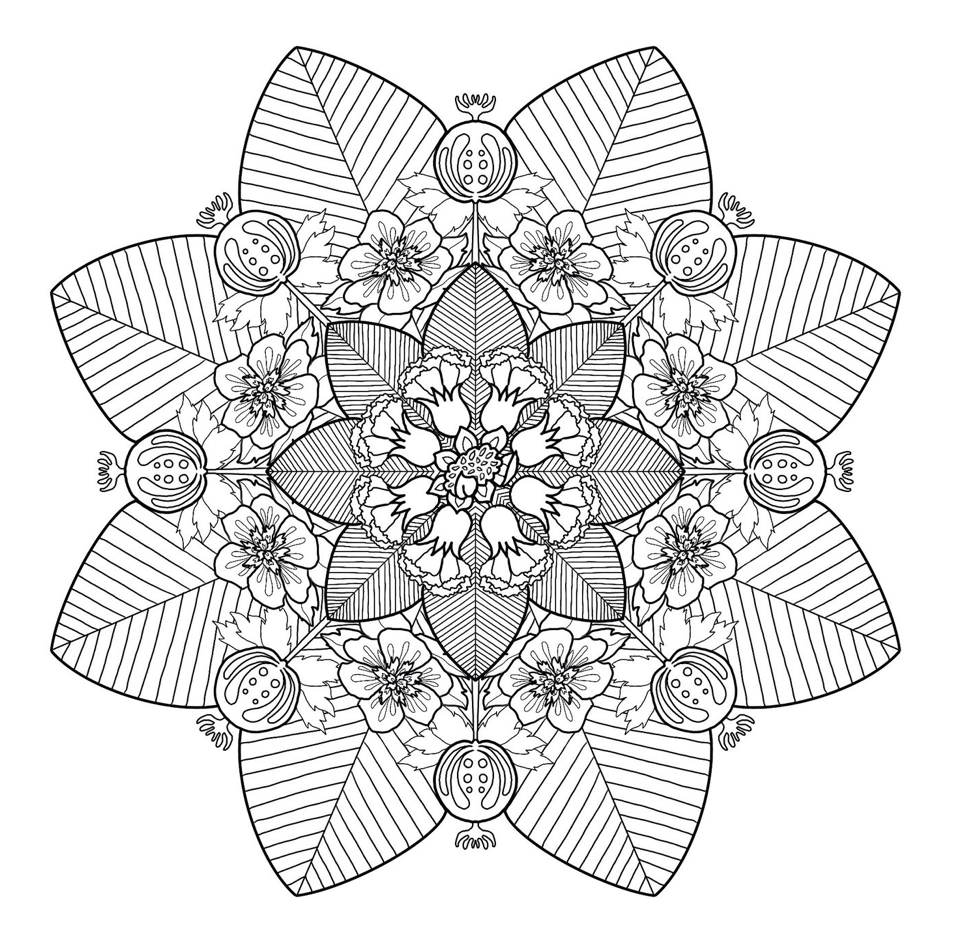
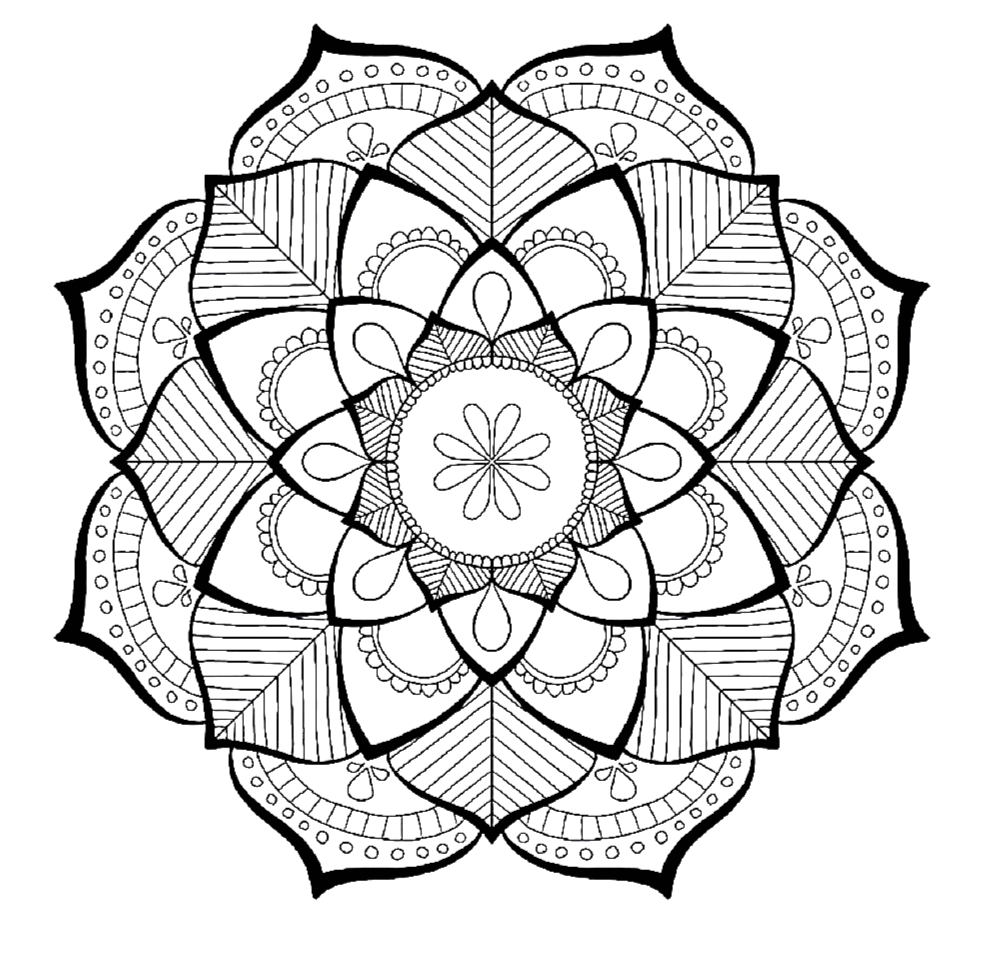
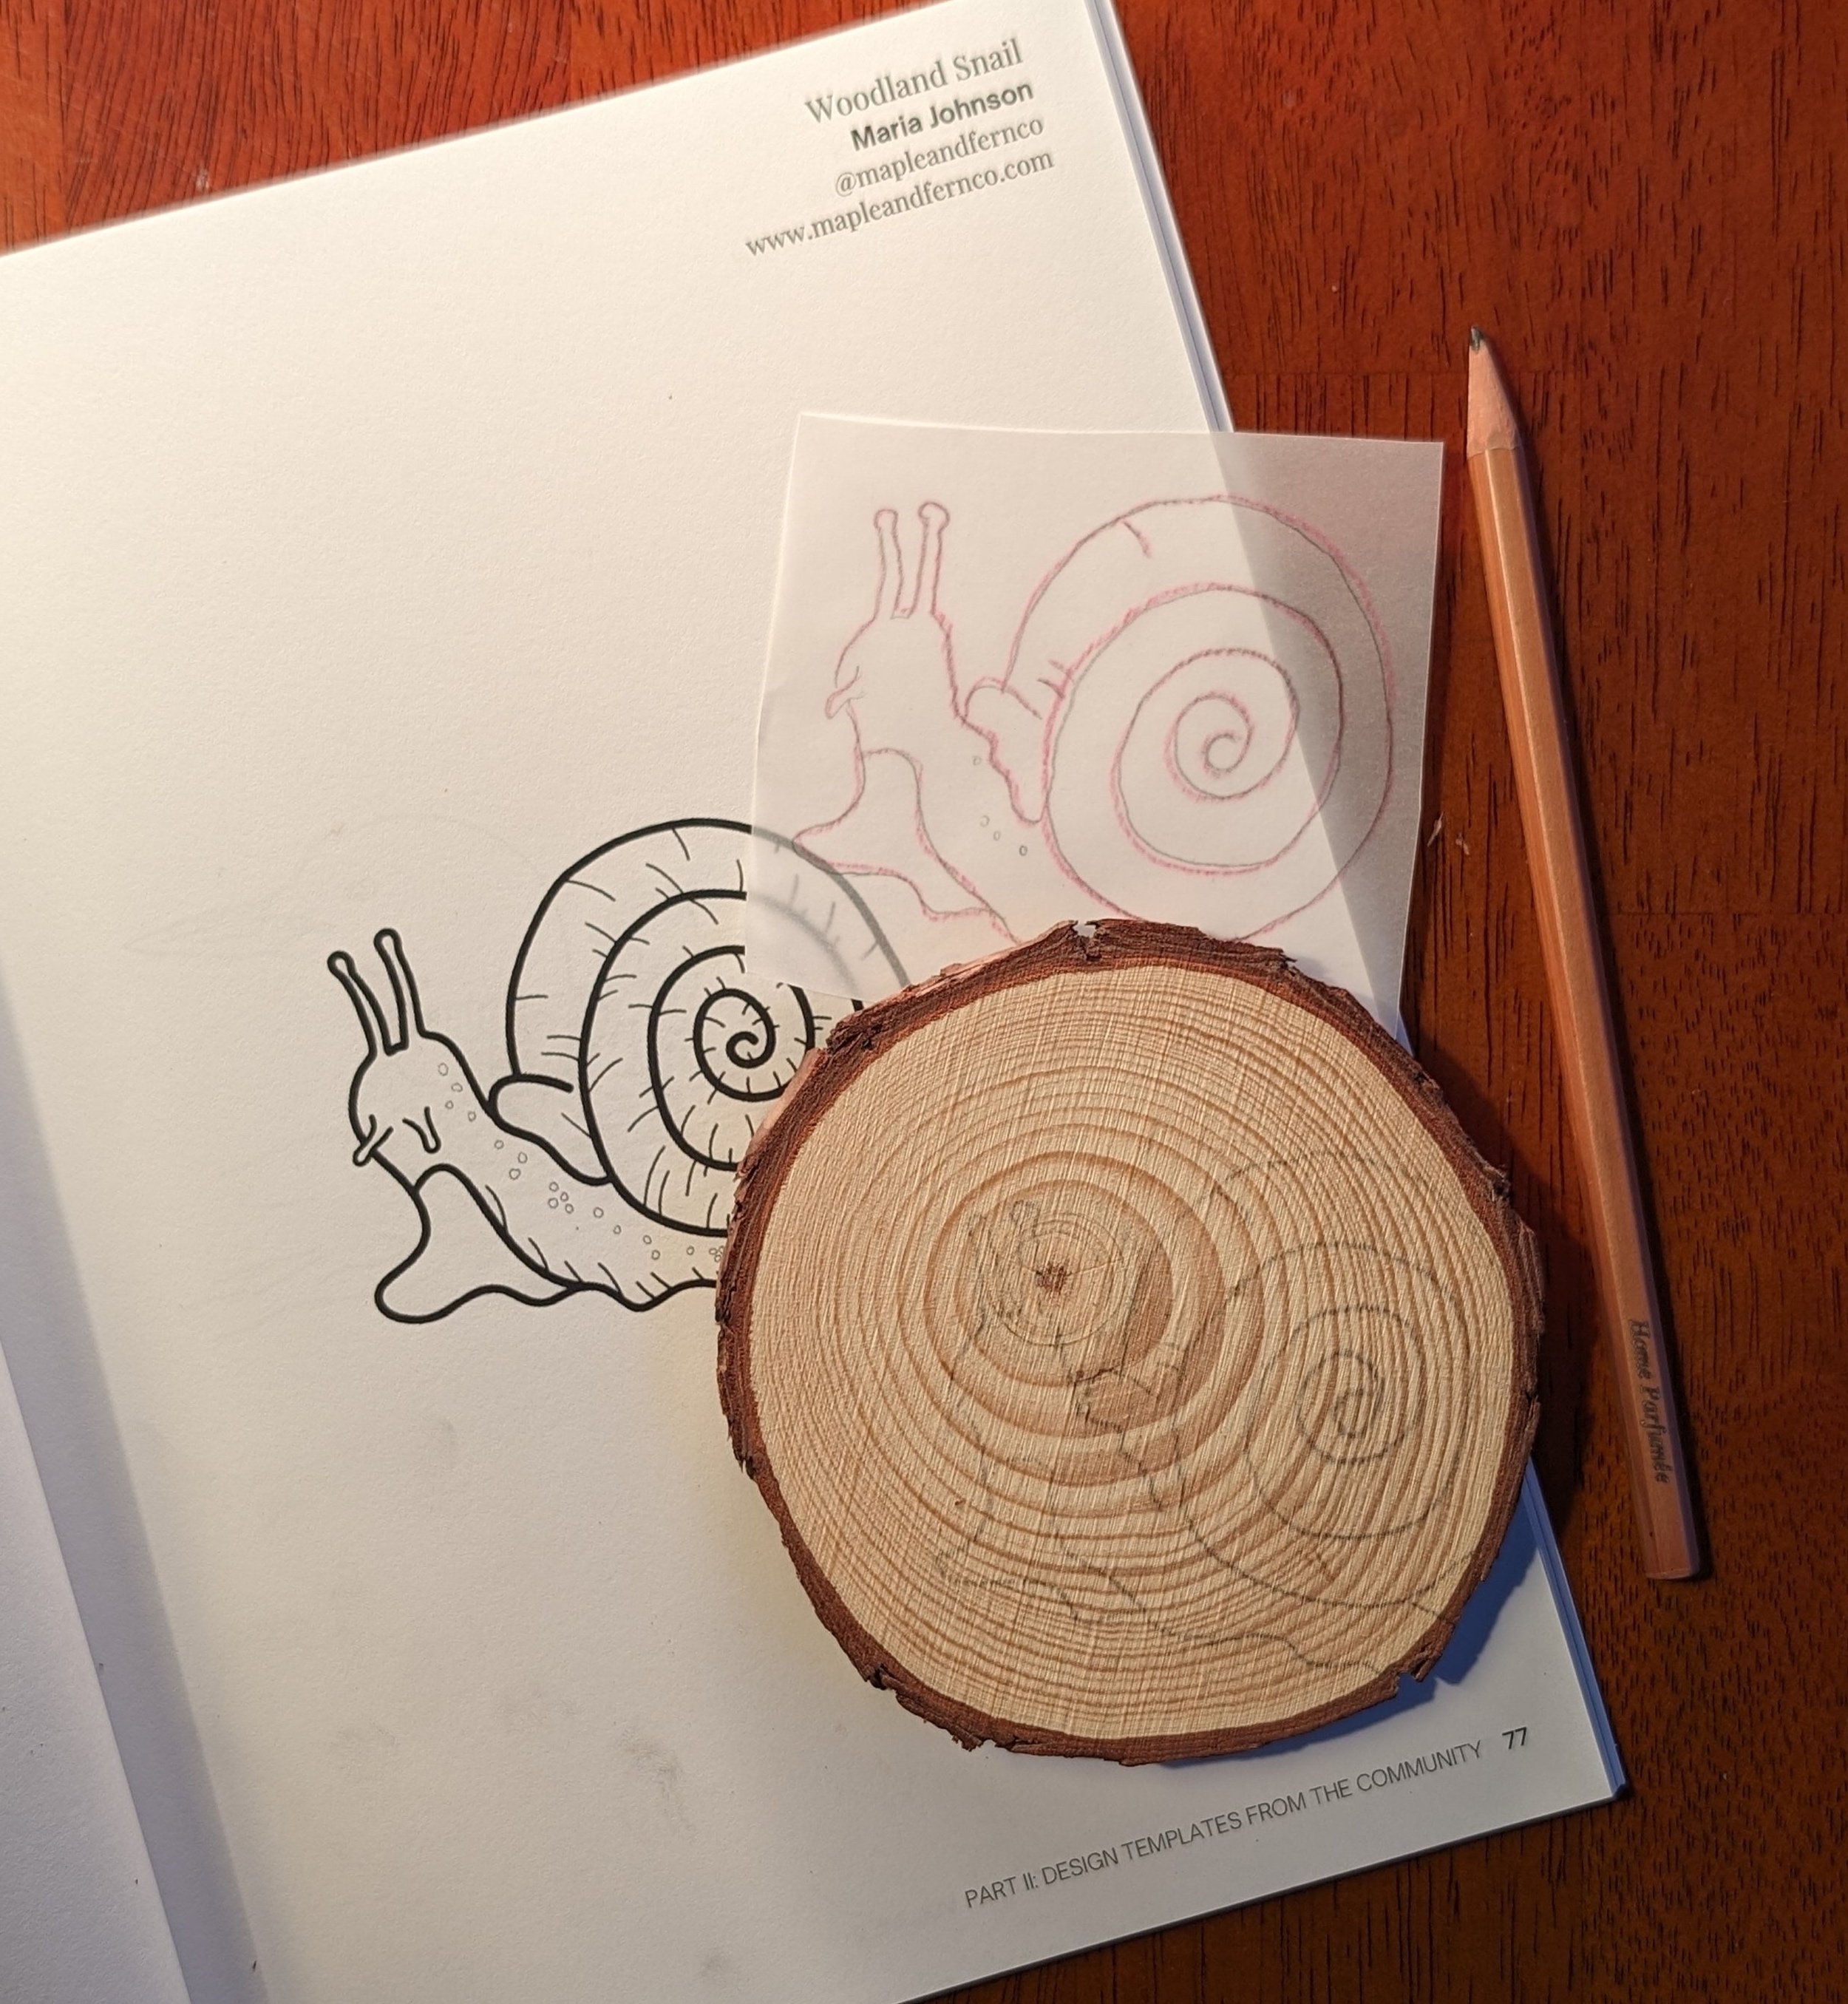
Oh and you will also need an idea of WHAT you want to burn! You can dive into burning freehand, you can draw your design on the wood slice with a pencil and burn over your lines with the hot tool or you can transfer a design onto your wood slice.
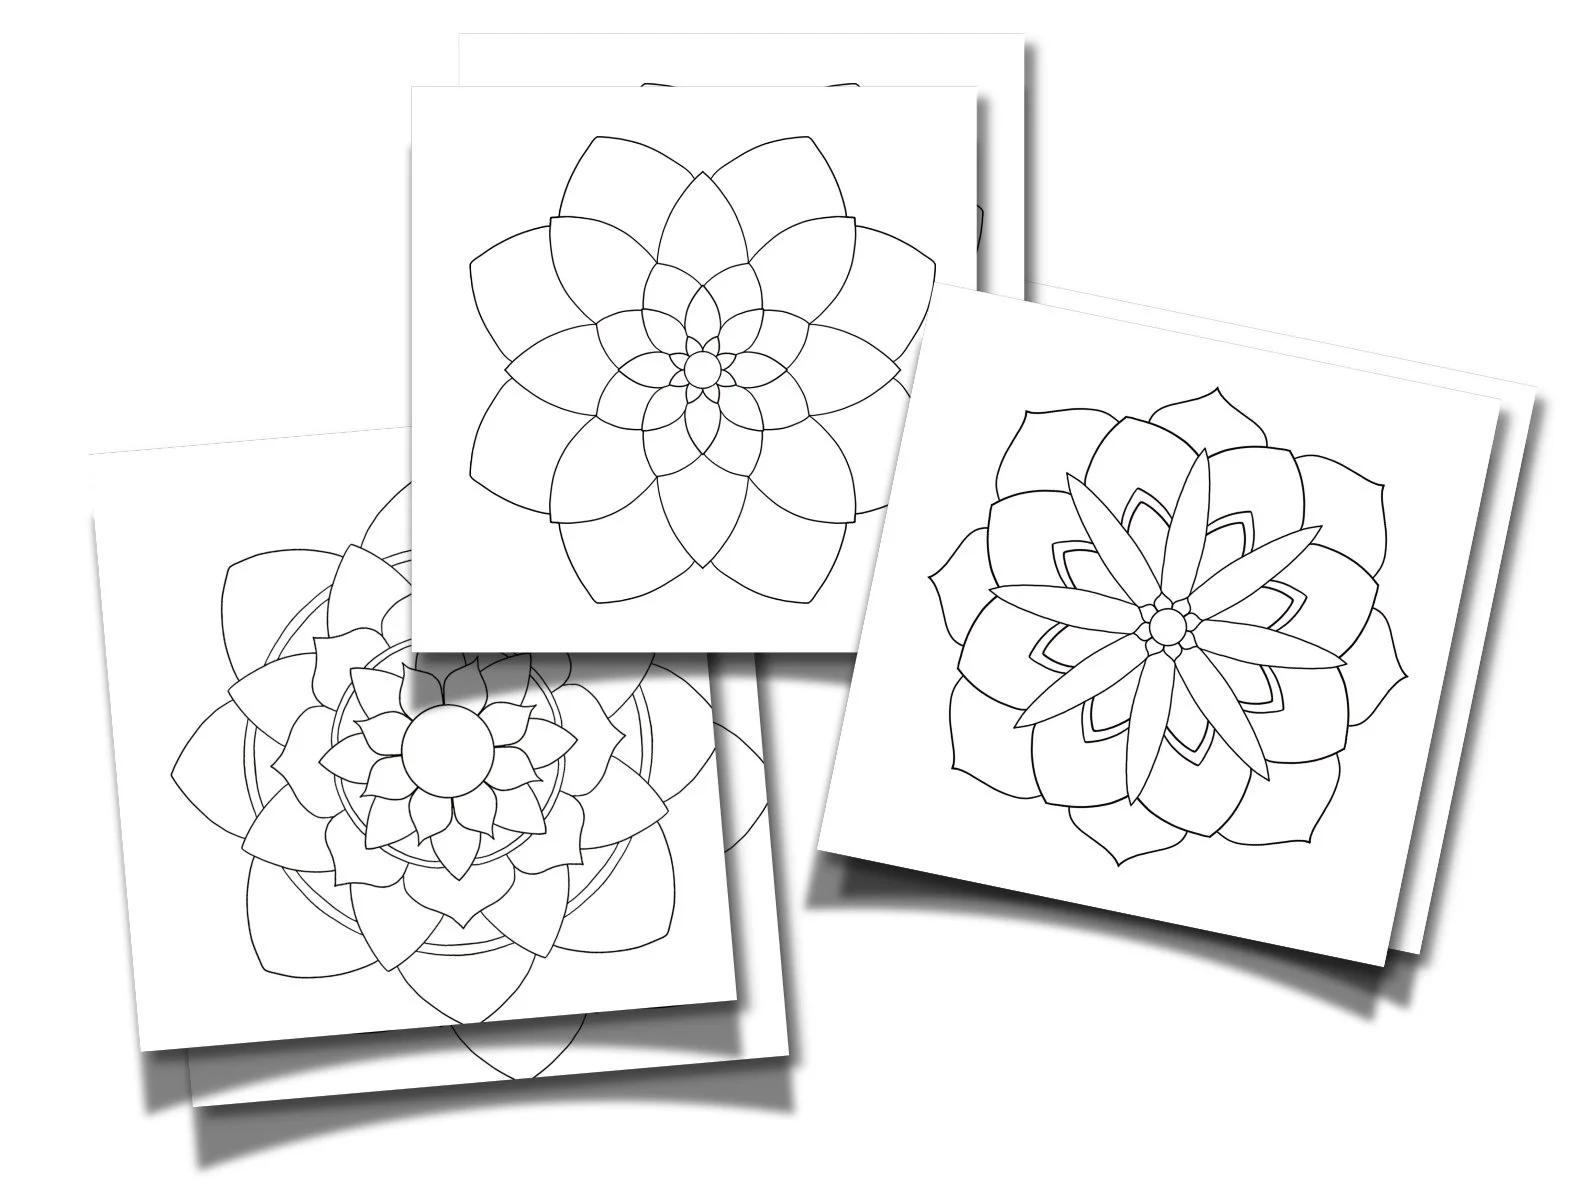
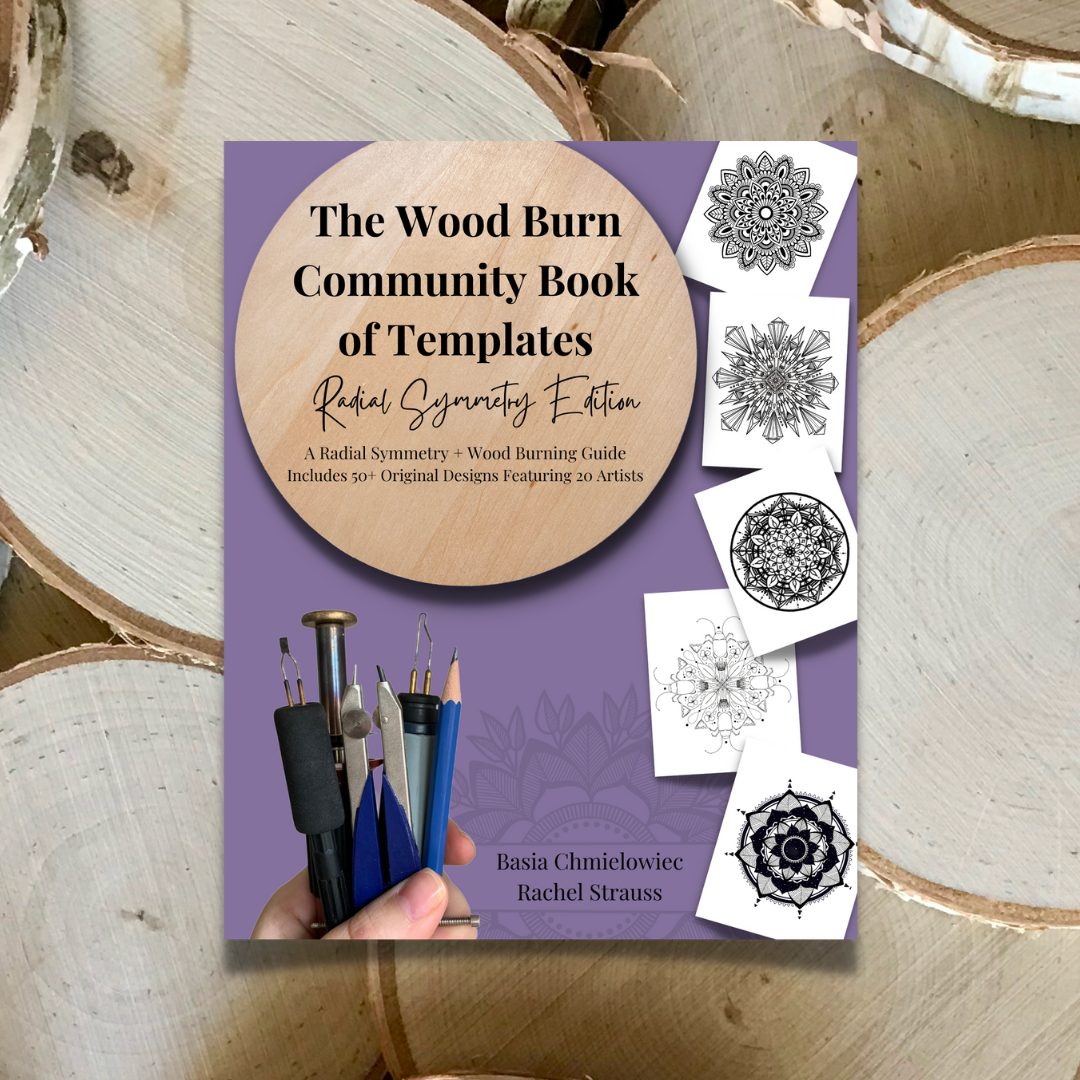
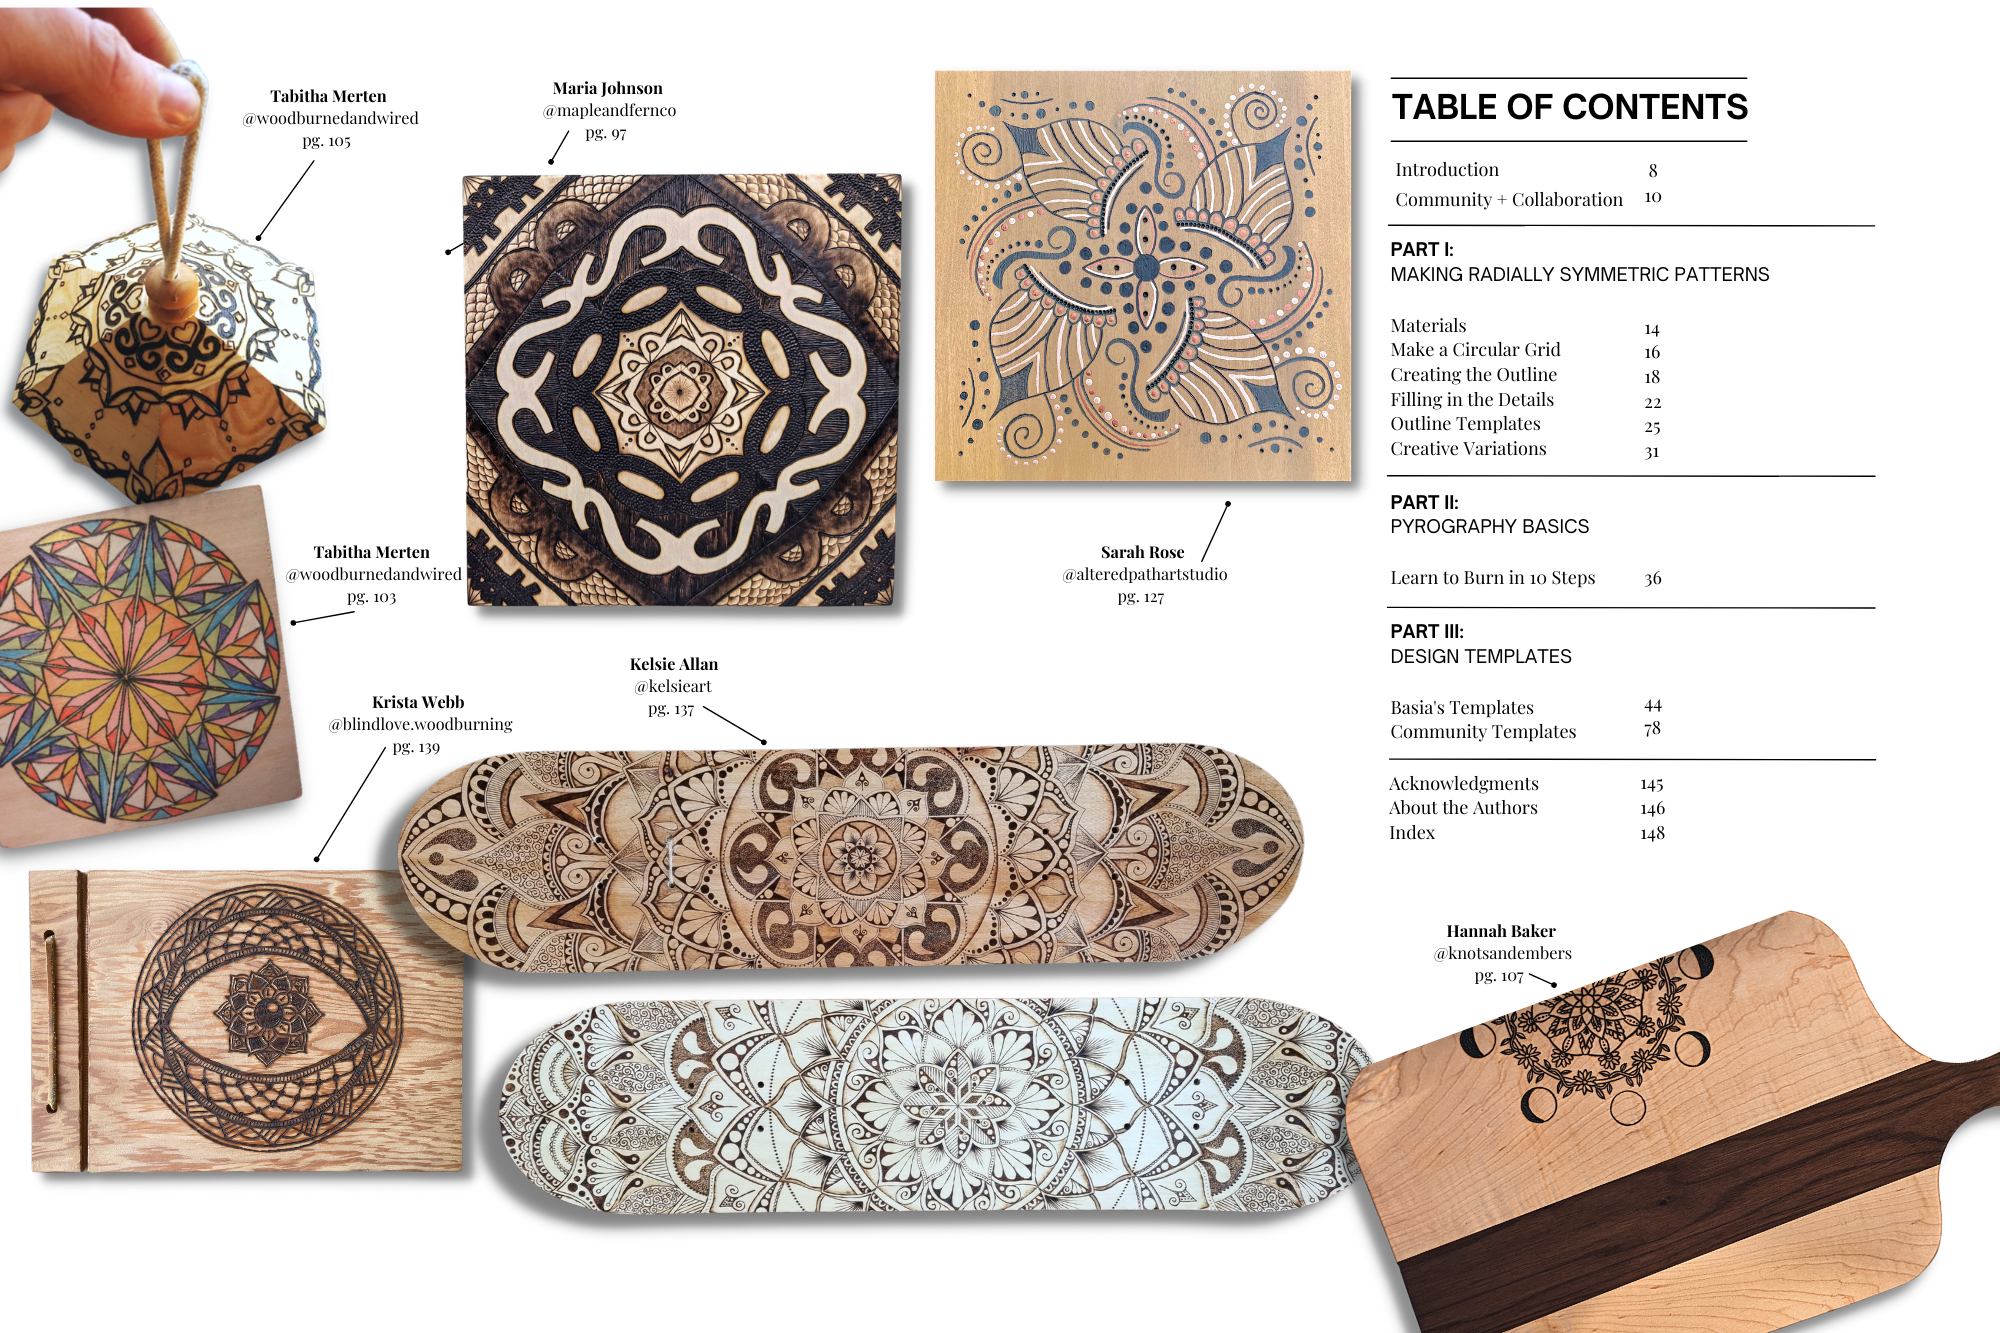
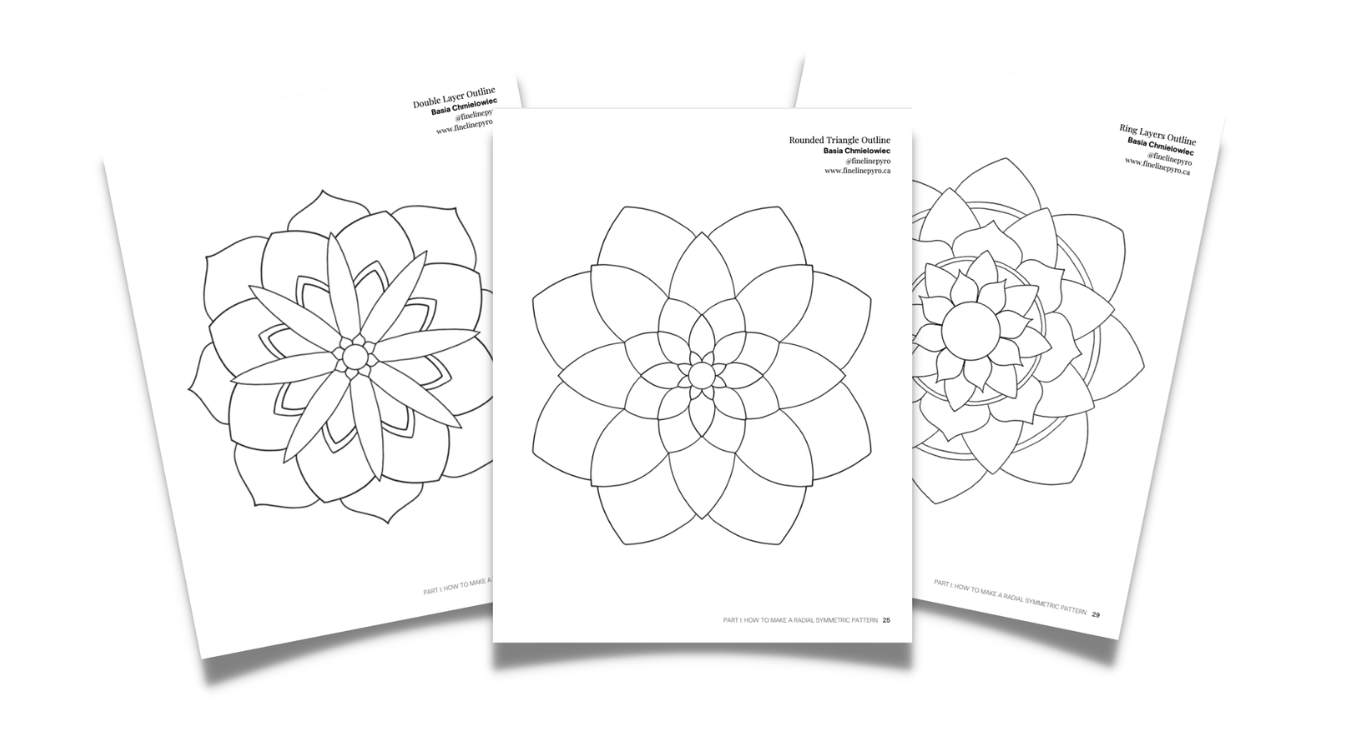
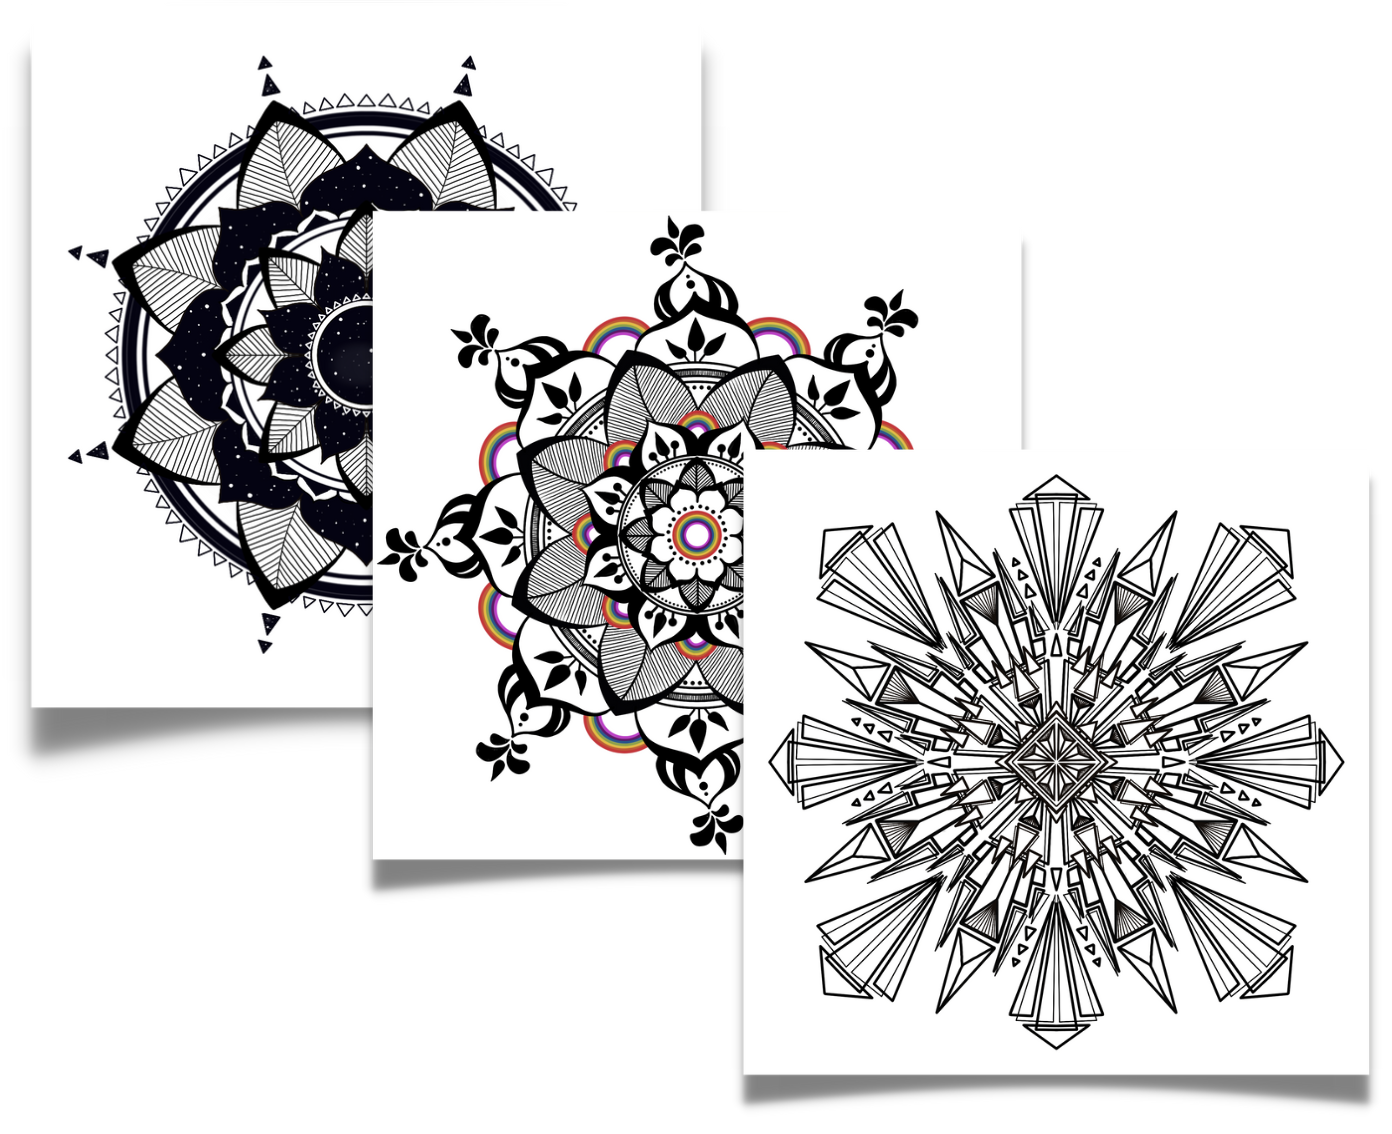
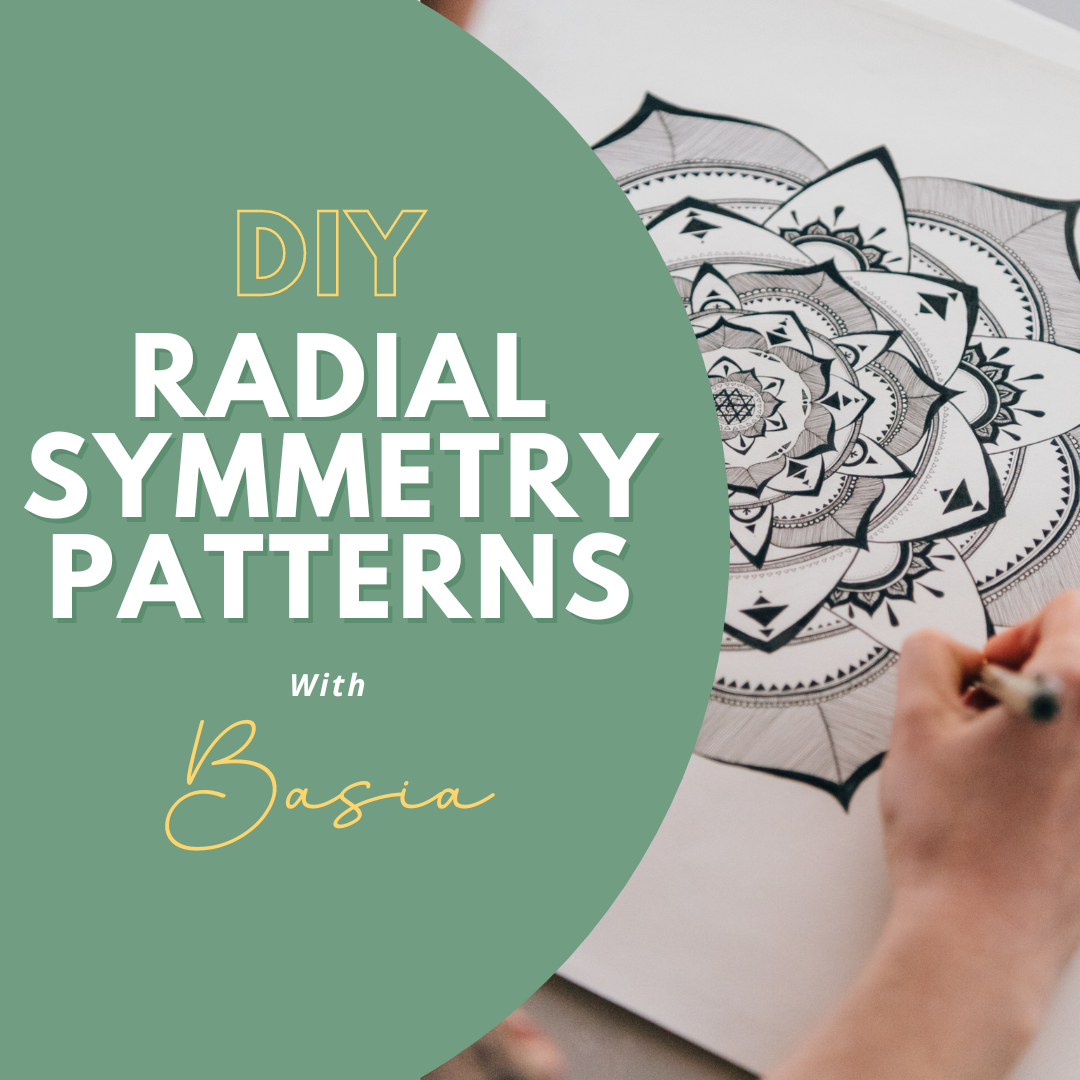
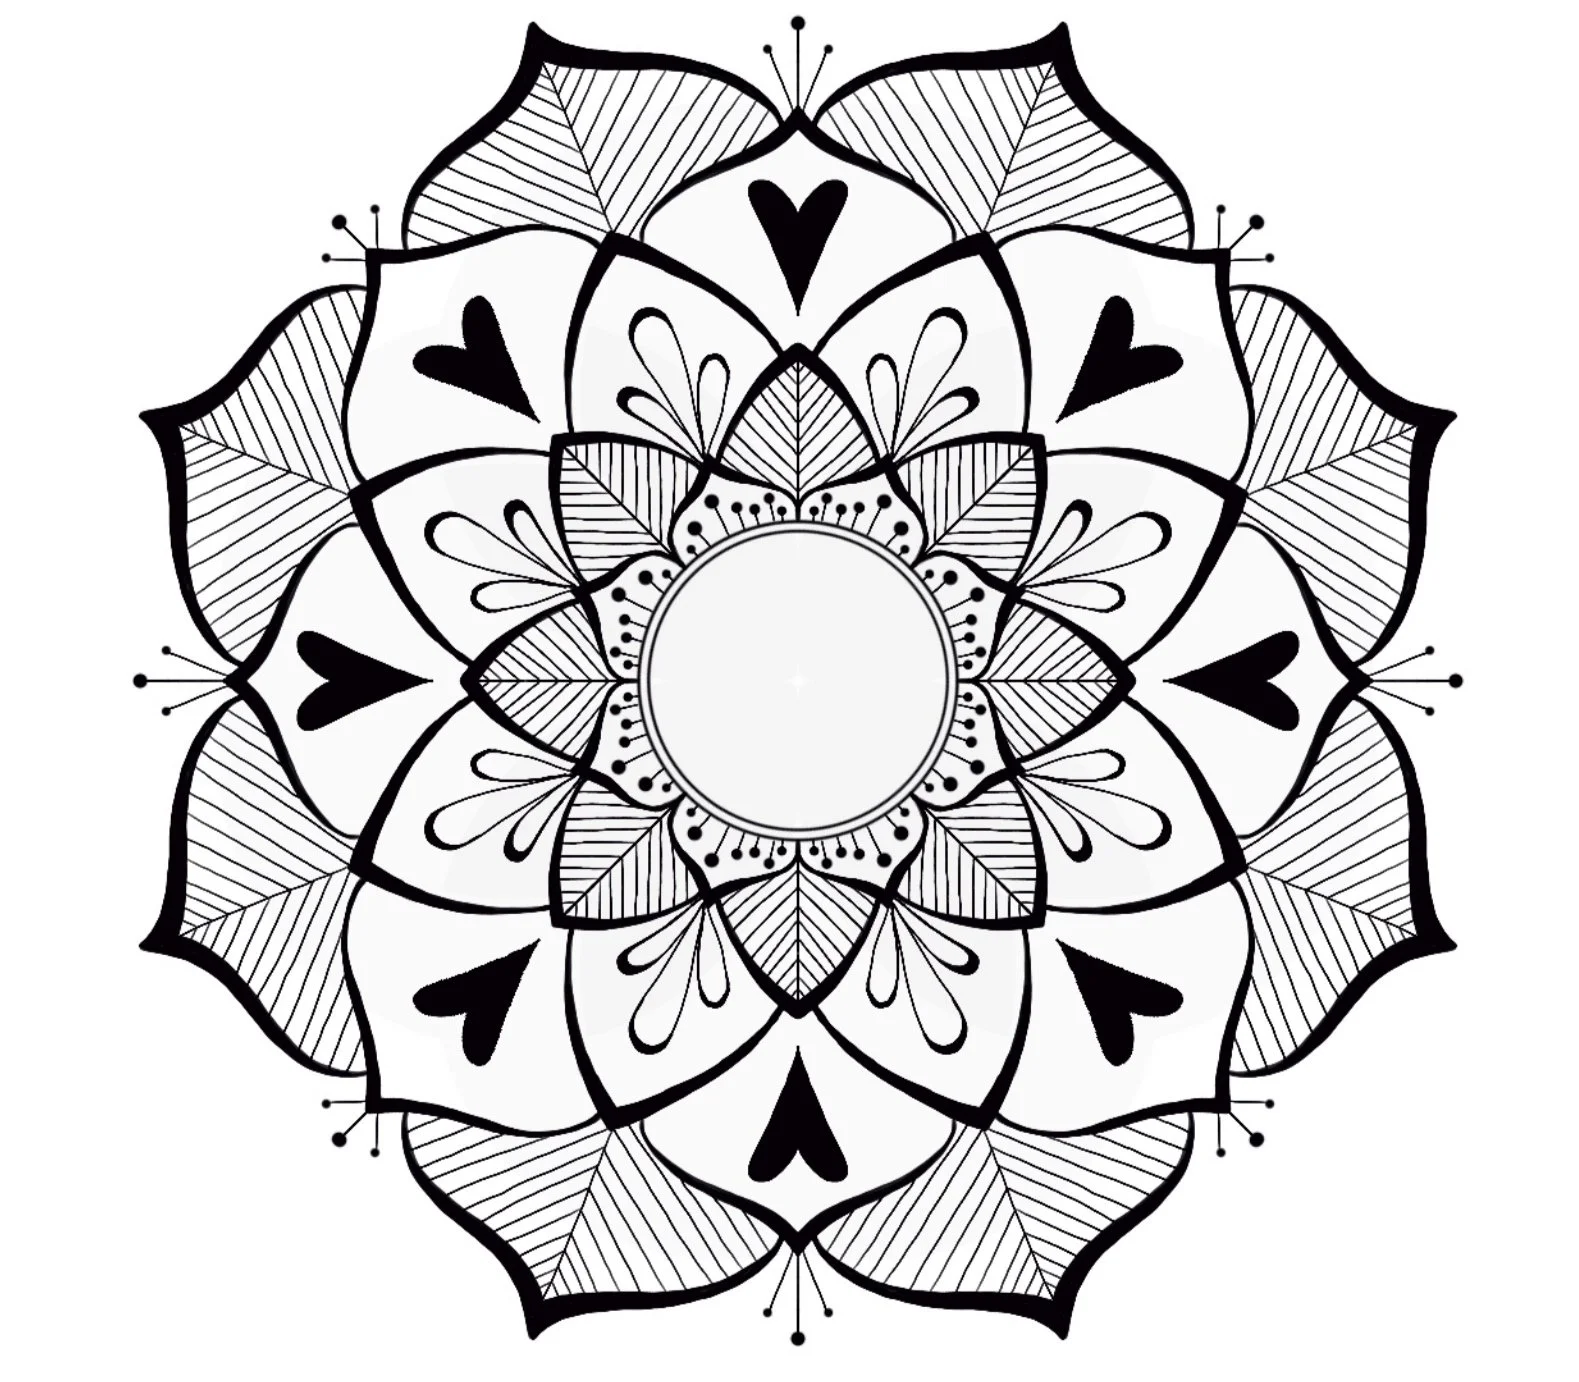
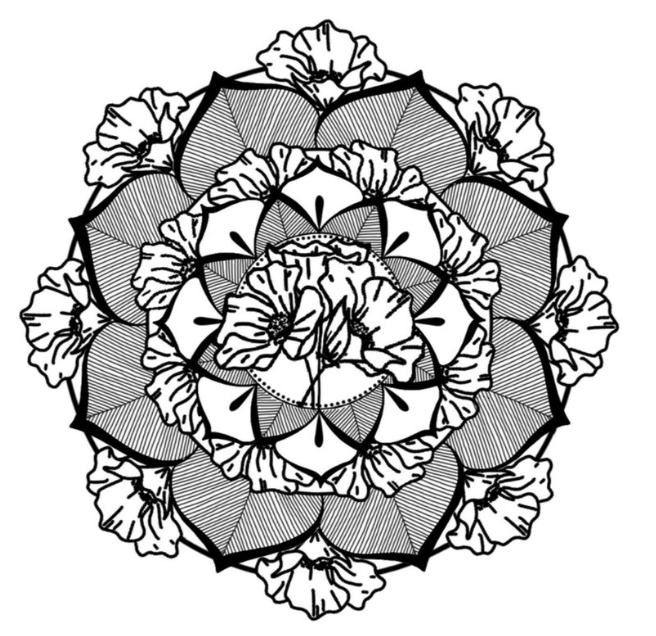
DESIGNS AND TEMPLATES:
If you want a design to practice with, check out my freebies page, grab a one of my Community Template Books or visit the templates store full of individual patterns for sale.
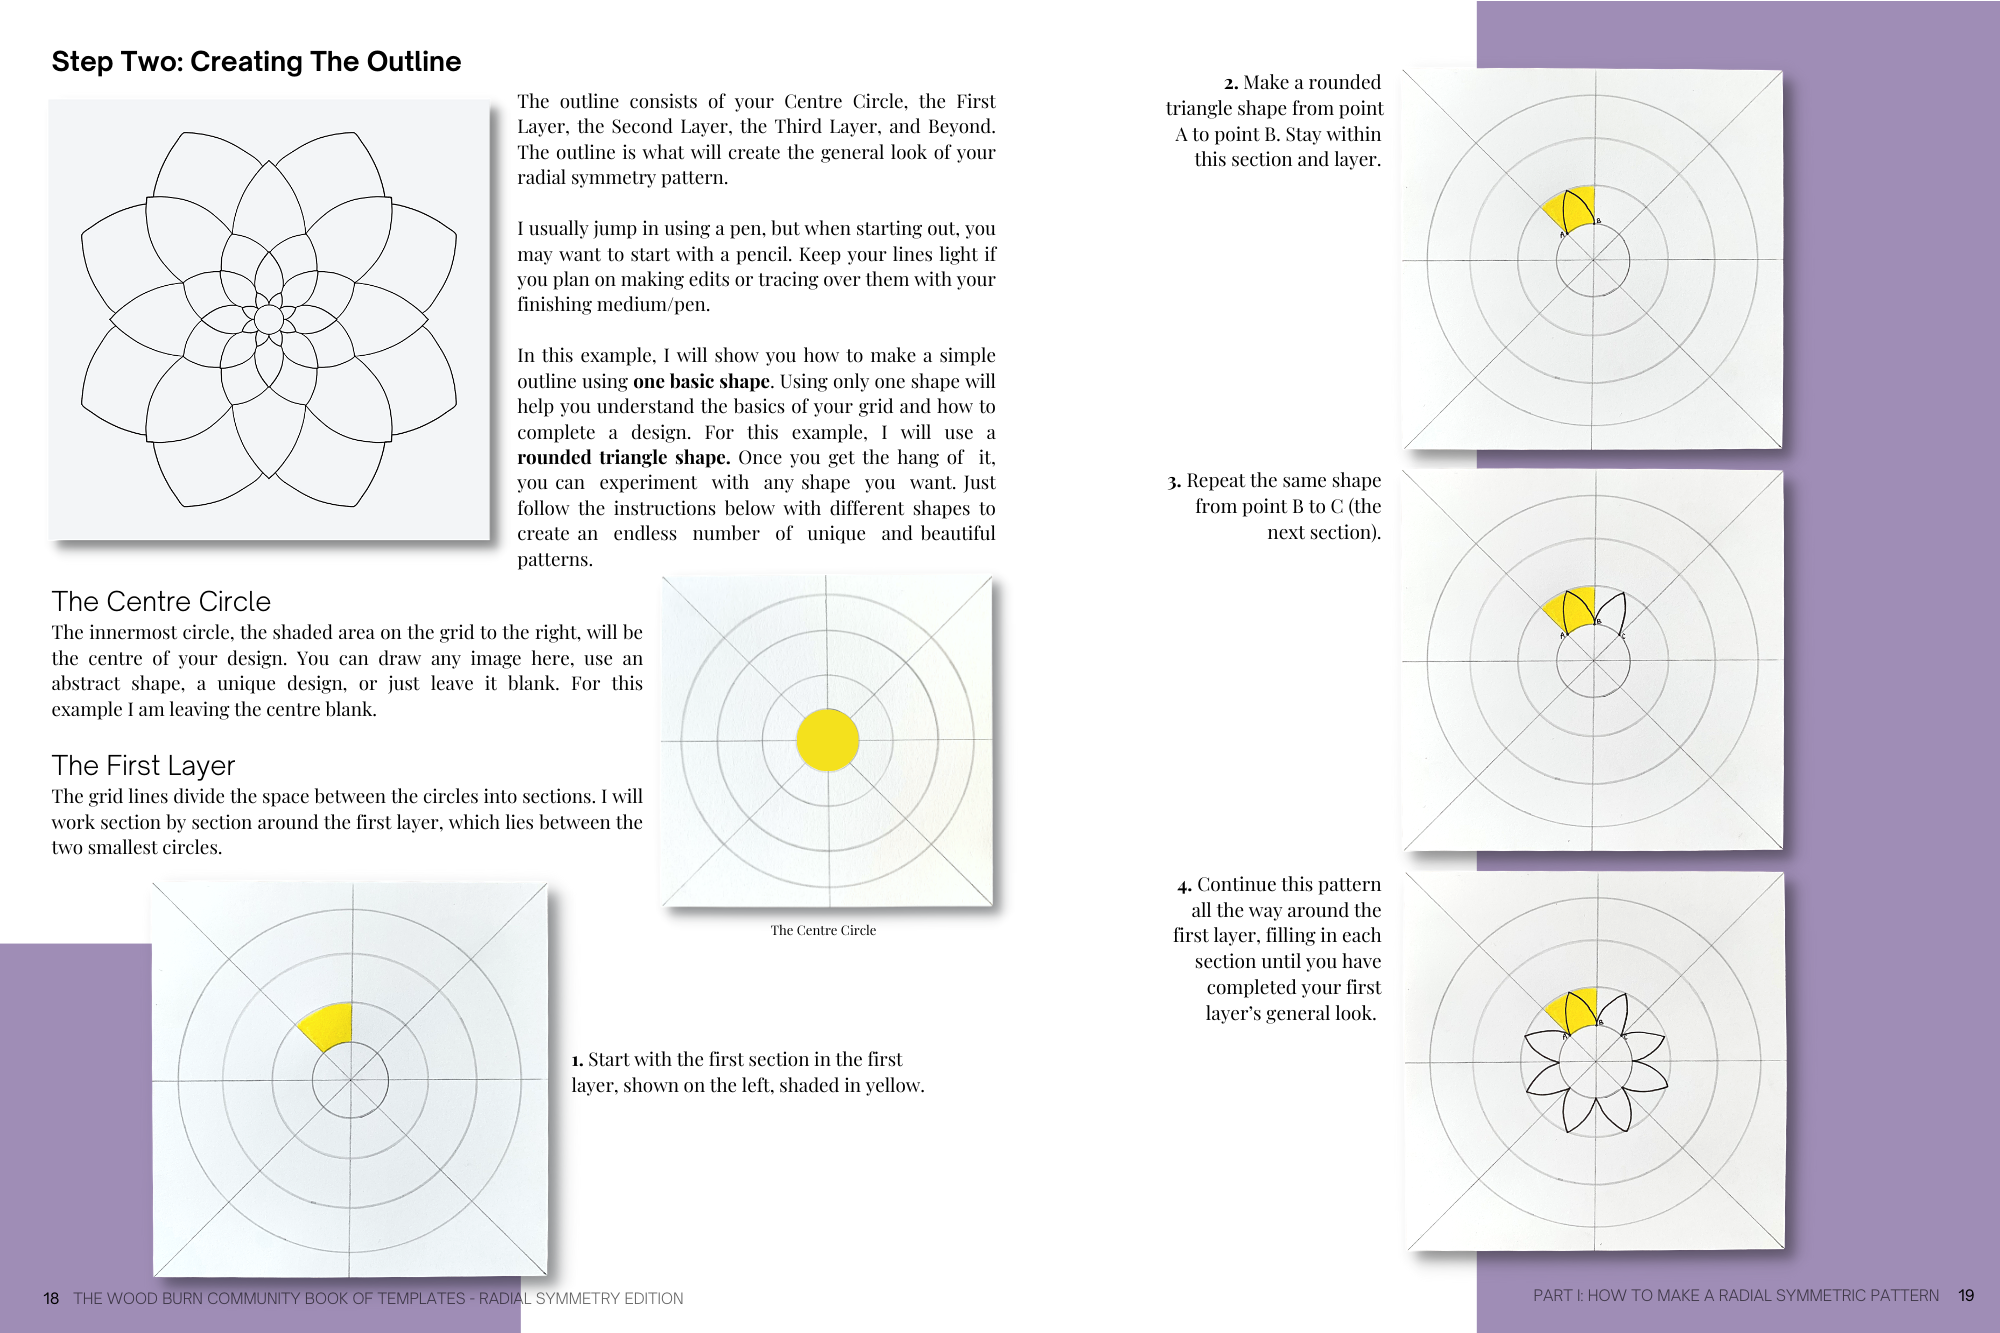
step two:
transferring your design/template onto wood:
if you are not drawing directly on your wood slice and you are not freehand burning, transferring a template is your next choice. You can learn how to transfer your design here: how to transfer a design onto wood: top three ways
step three:
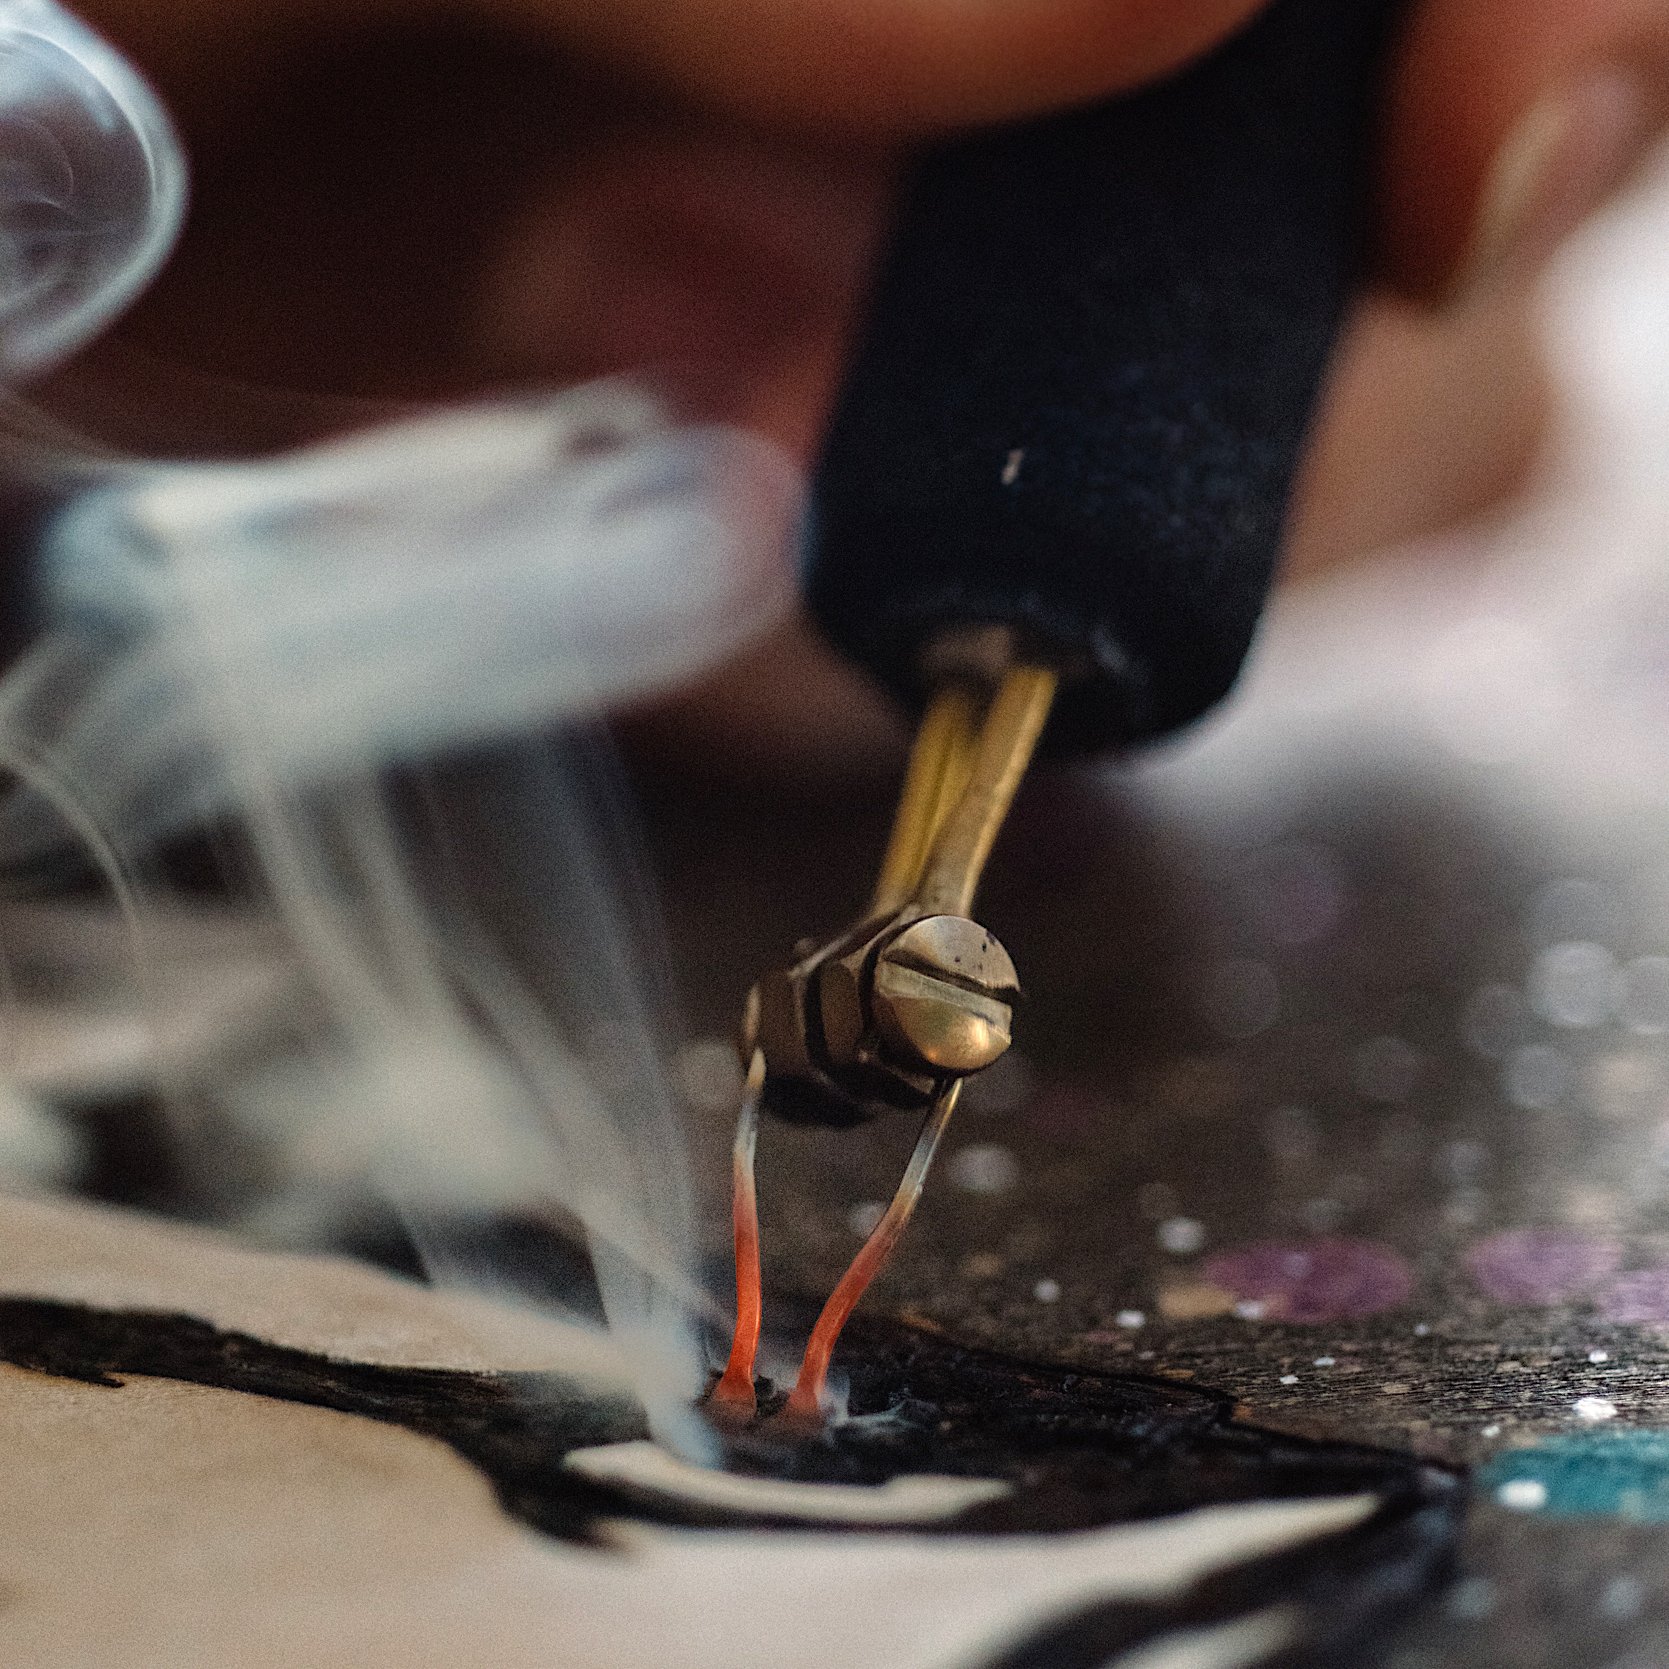
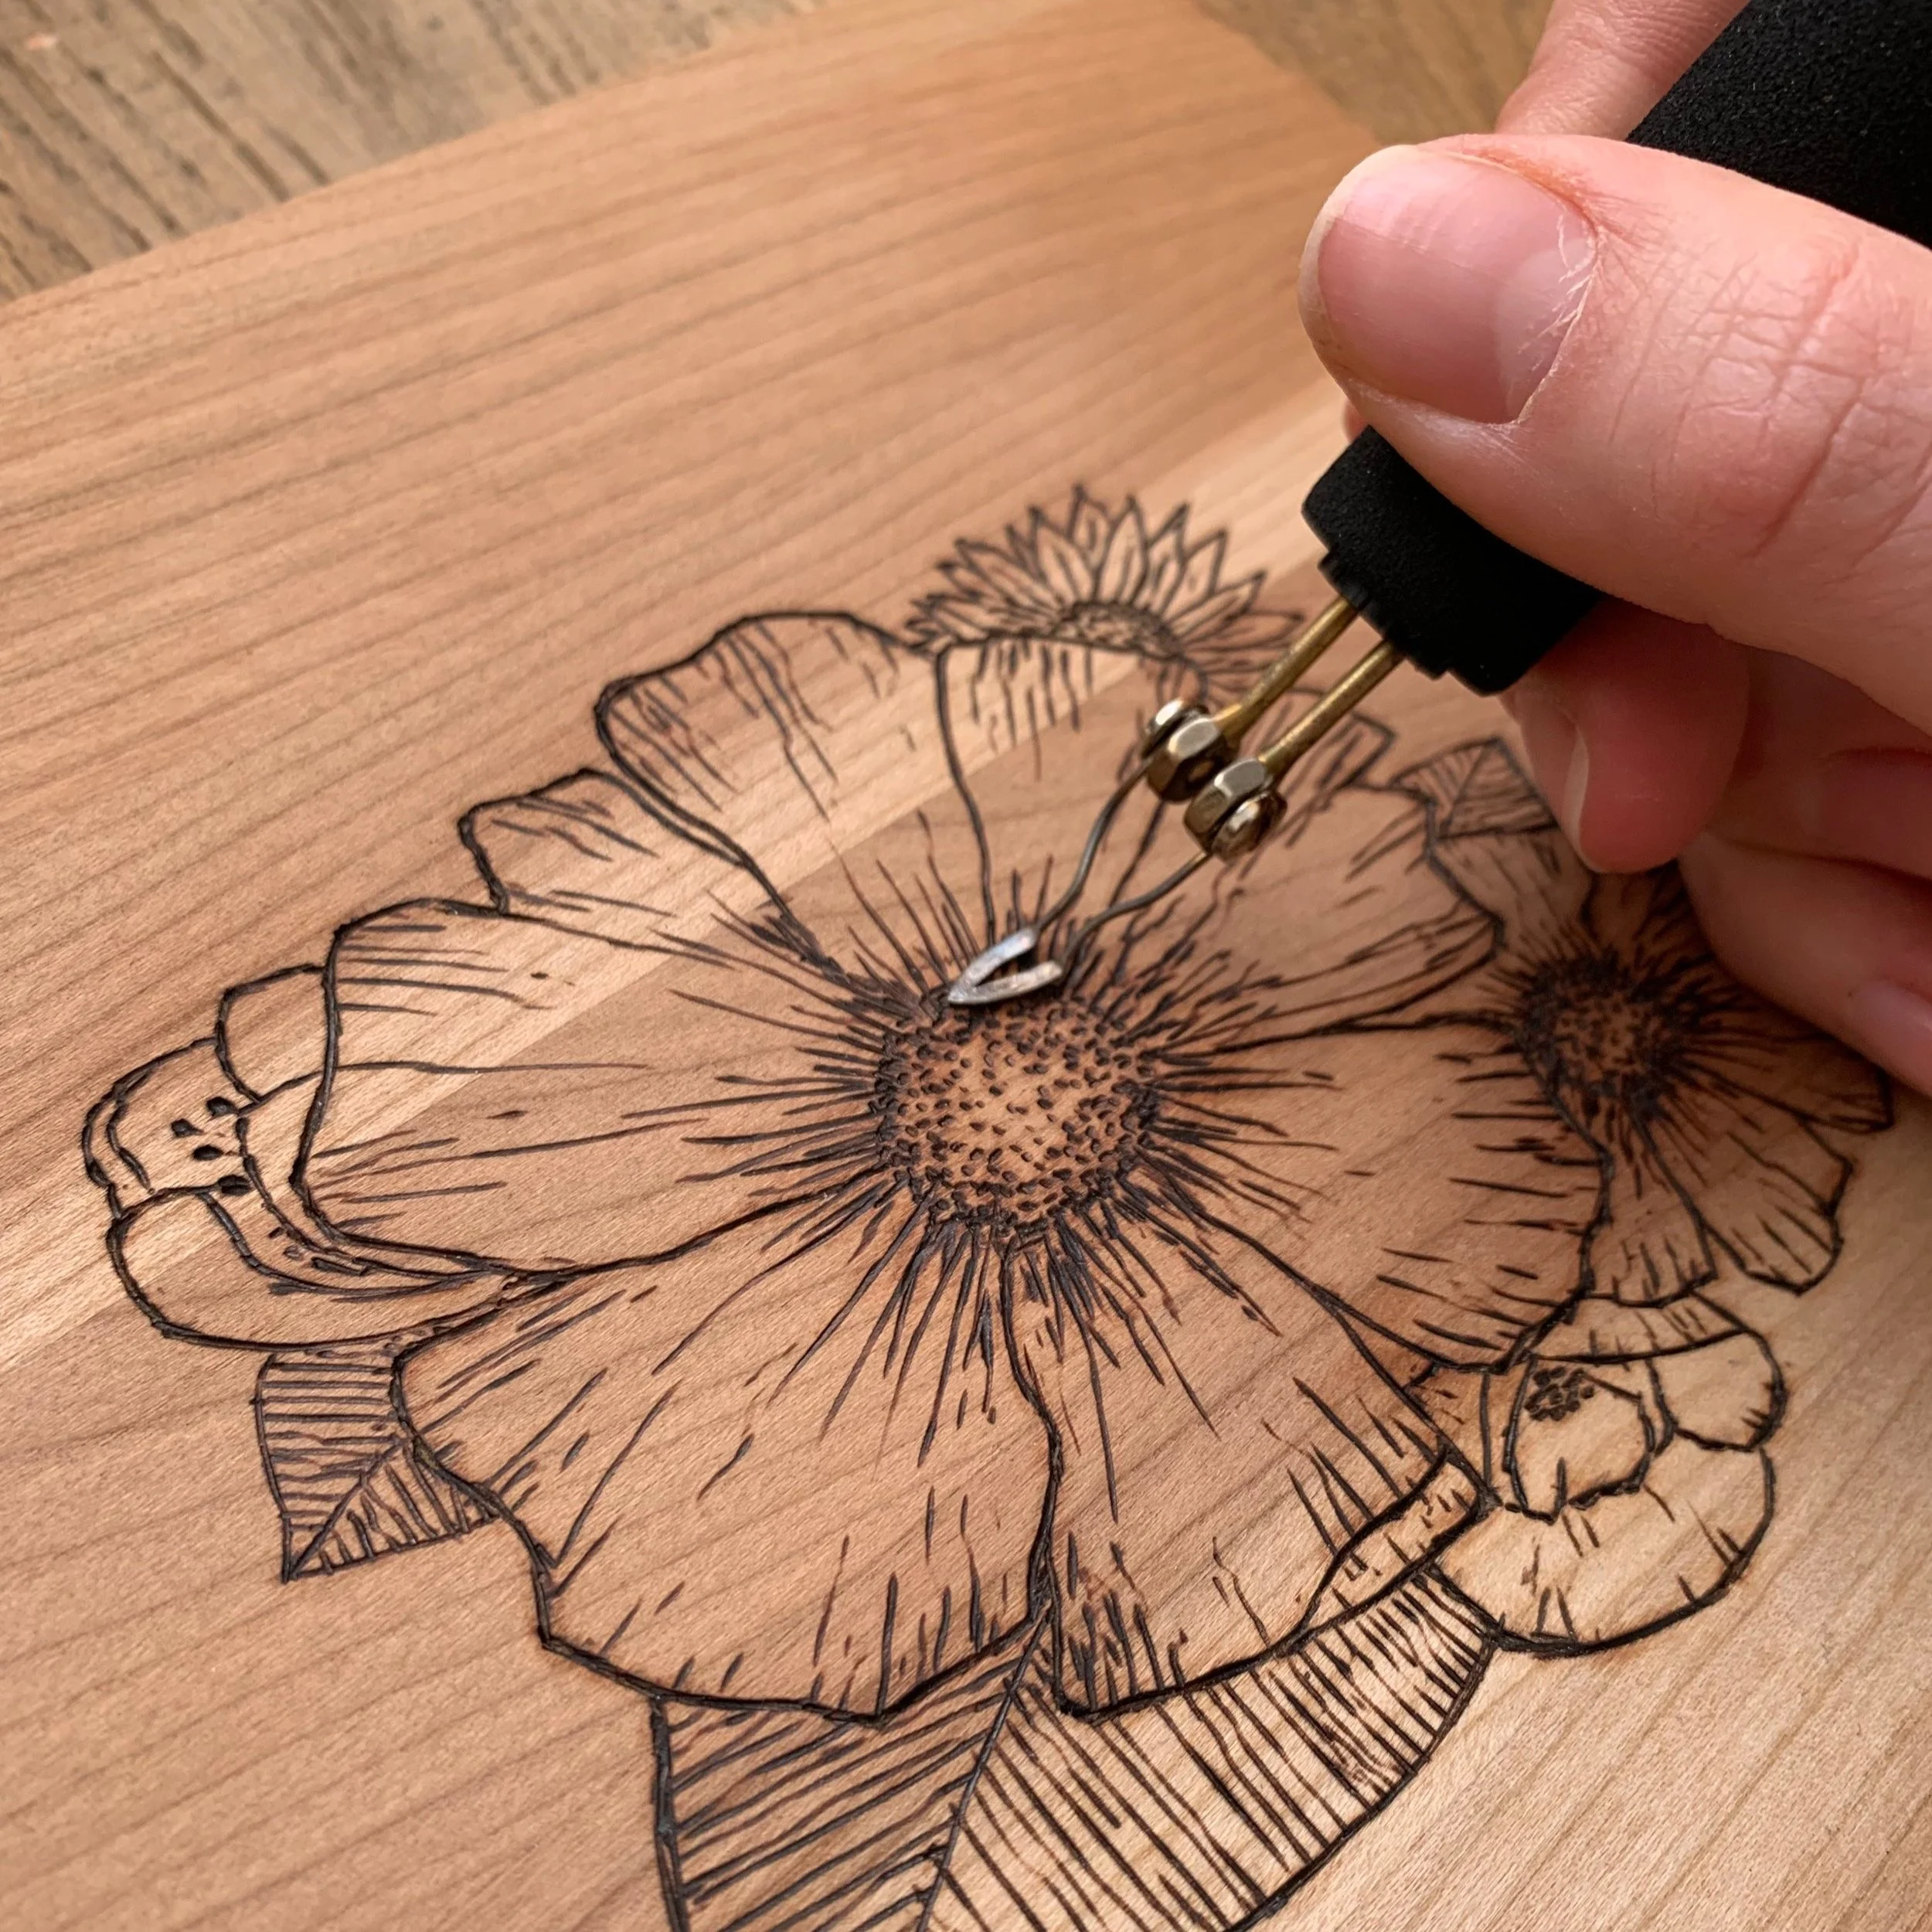
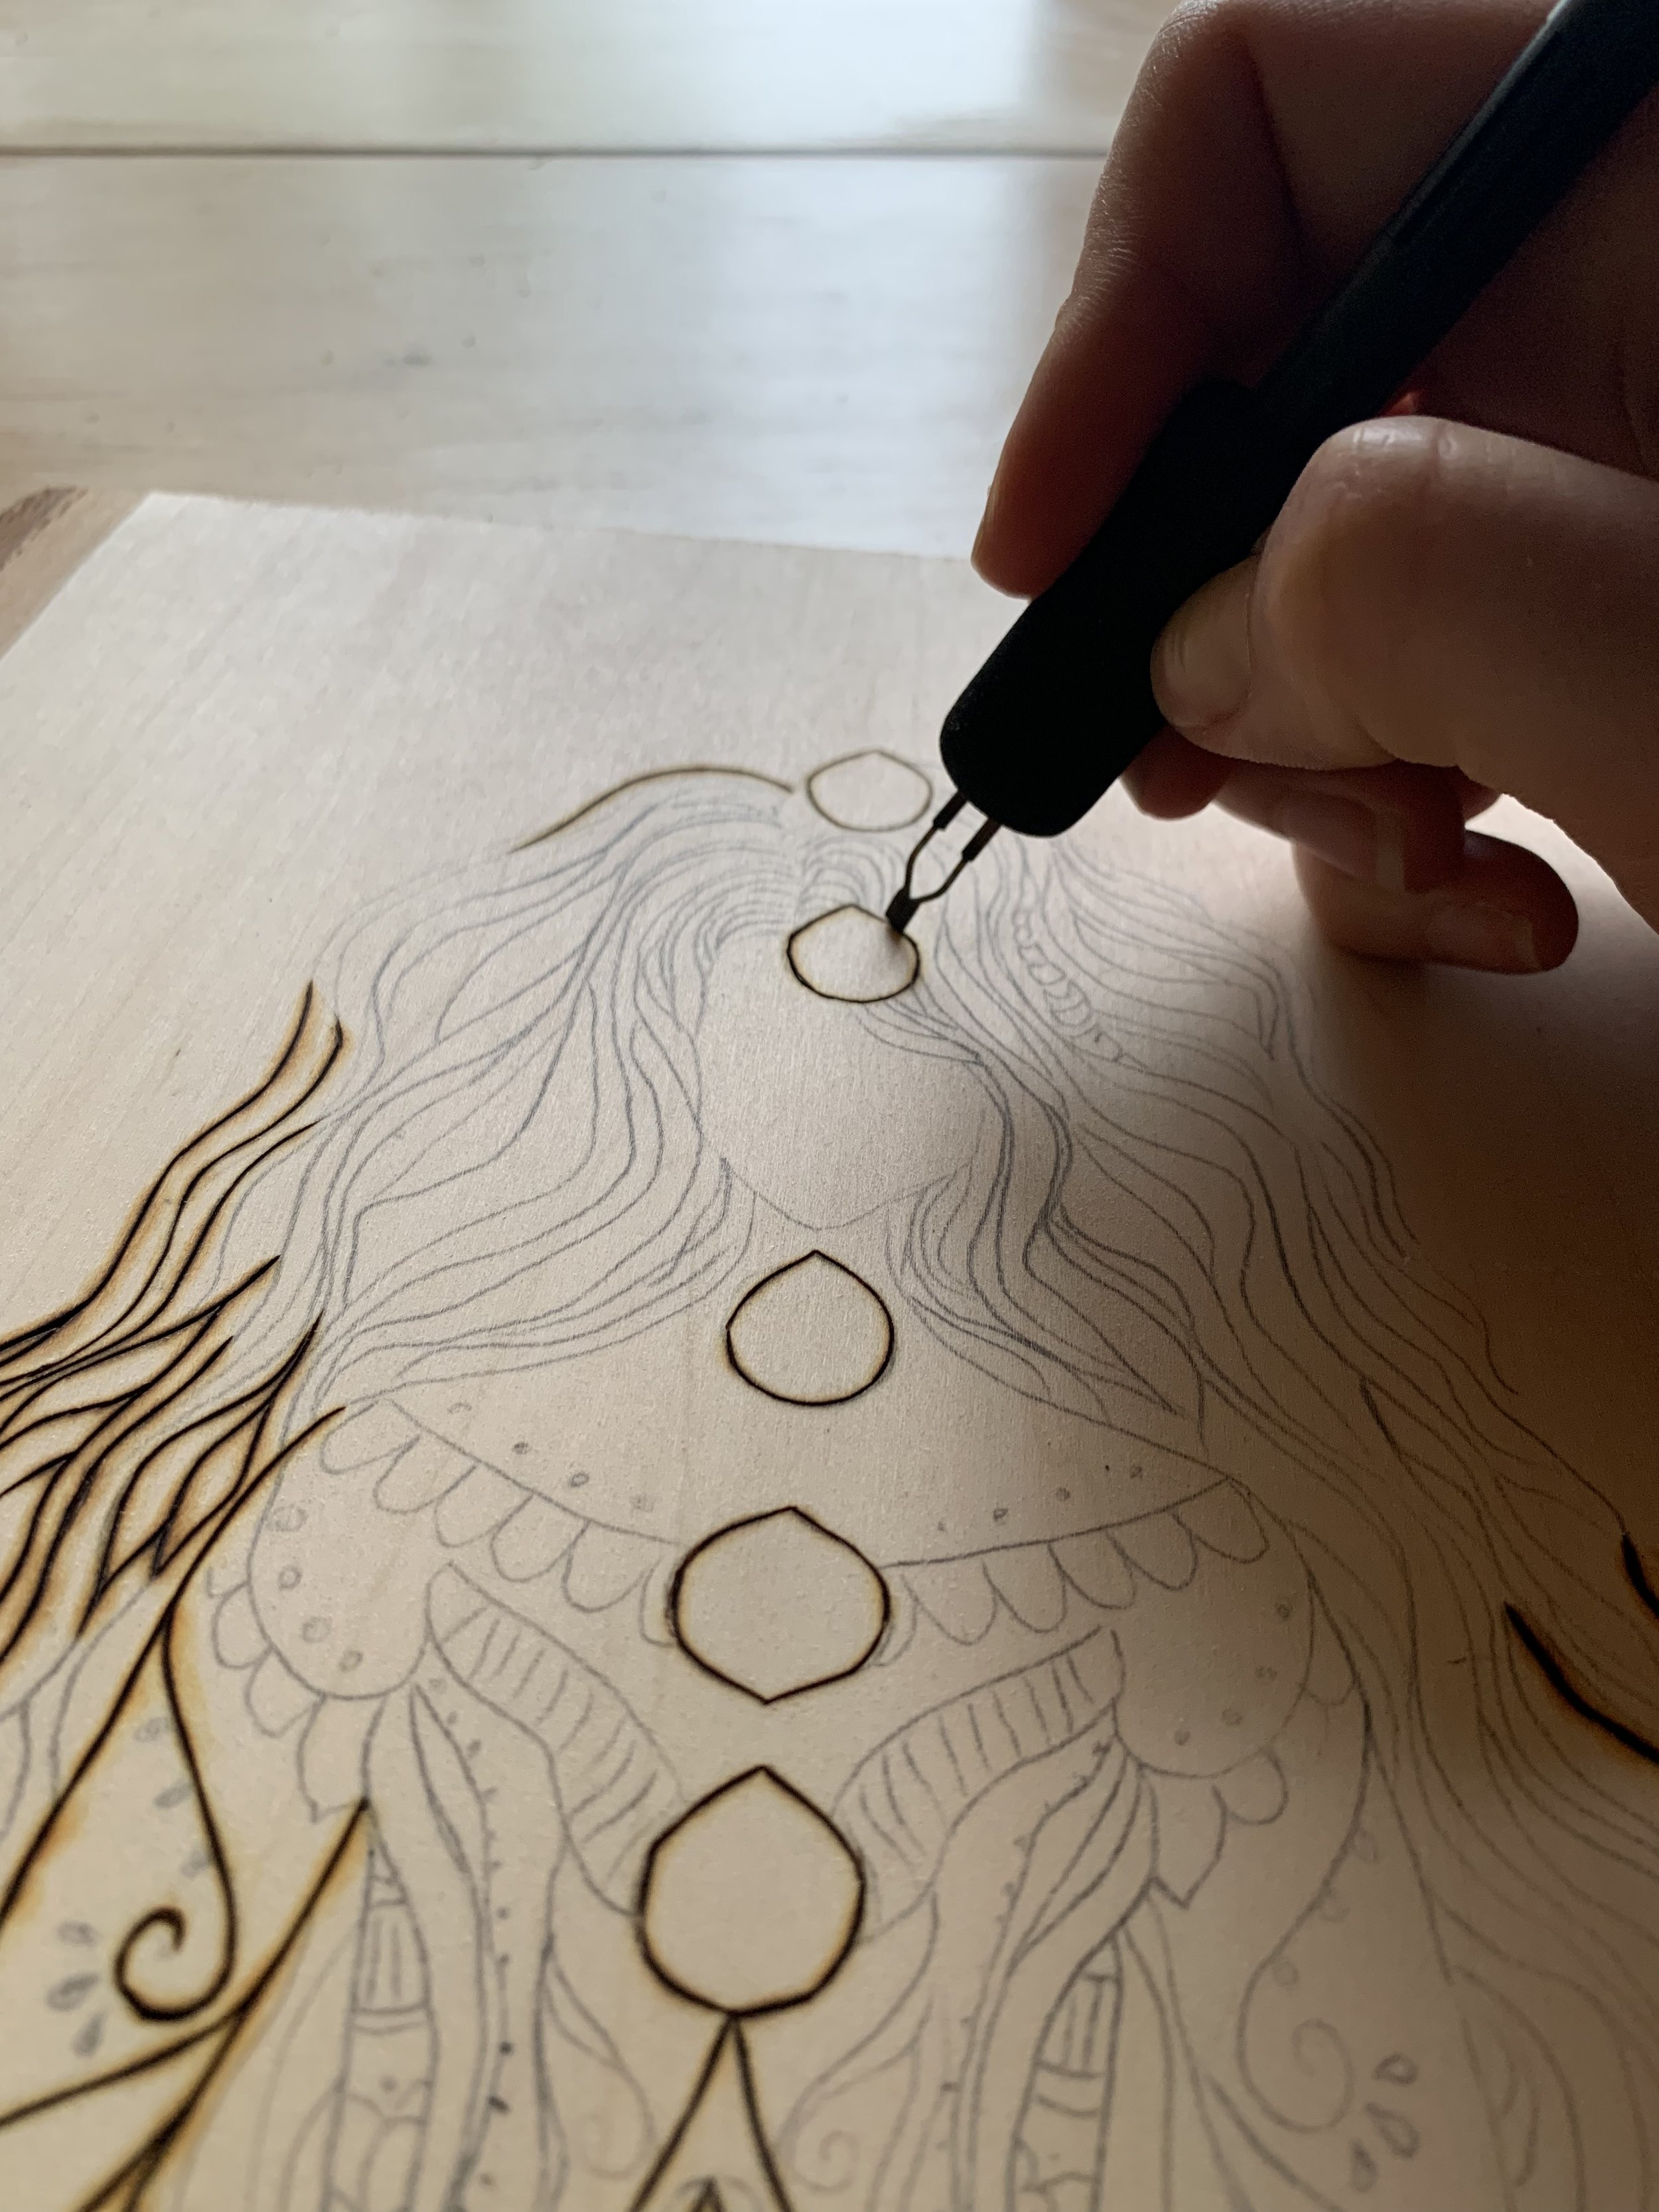
heat up your tool by plugging it in and turning it on. some burners heat up super quickly and some take a little longer, so test out your pen on a scrap wood before you begin.
make sure to wear your safety gear and follow the safety guidelines.
step four:
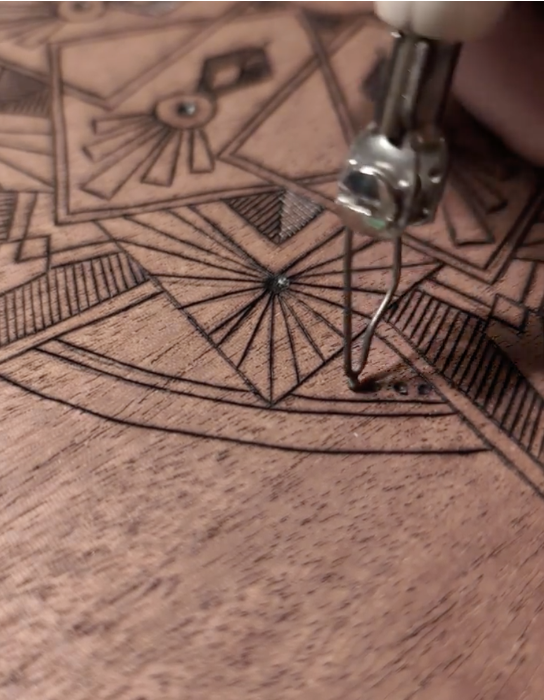
once you’re ready to burn, start at a low/medium heat point if you have the option. here are some tips to remember when burning:

go slow: seriously, go much slower than you think.
stay consistent: keep your speed consistent. staying in one place will cause a blob burn and moving too quickly will give you thin inconsistent lines.
don’t press hard: not a lot of pressure is needed so make sure to let the heat do the work for you.
play around with the heat: try different heat settings and see which one resonates with you. some people like to burn fast and hot, some prefer slower and lower… p.s. fast and hot is still a slow process but in detailed areas, you will need to be super extra fast if burning hot so when in doubt, start low and build up the heat to where you like it.
play around with different nibs: if you have the option, switch your nibs around and try all of them.
pushing versus pulling your pen: try both ways. after time, I am able to move the tool in all directions, but when starting out, pulling is generally easier because you’re not fighting with the wood by pushing, rather, you are dragging it along the surface by pulling.
step 5:
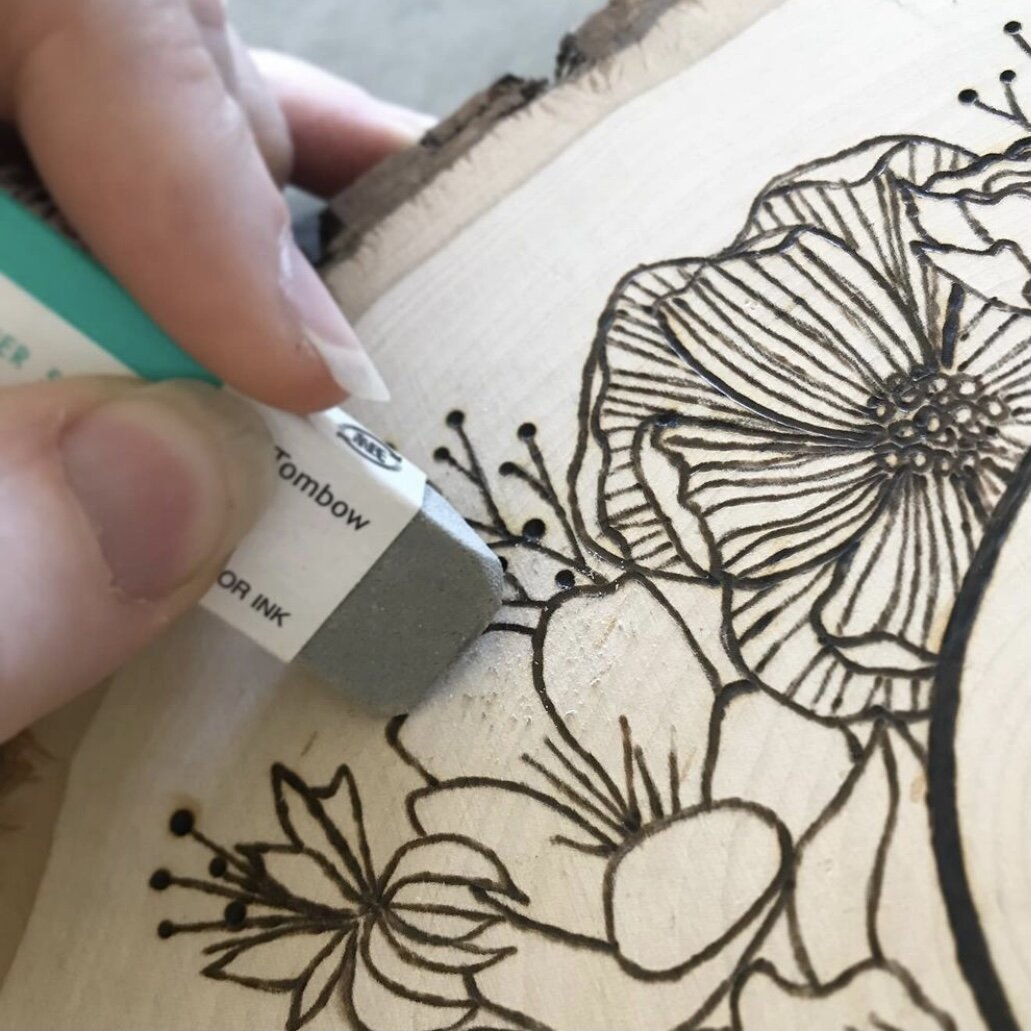
Once wood burning is complete, use a sand eraser to remove any pencil marks or graphite lines still showing. Check out: How to get rid of mistakes and graphite/pencil lines.
you can choose to finish your piece or leave it raw, but otherwise you are finished! woohoo!
One of the advantages of pyrography is that it is a relatively inexpensive art form. A basic pyrography pen can be purchased for a reasonable price, and wood is readily available in many stores. This makes it accessible to anyone who wants to try their hand at this art form.
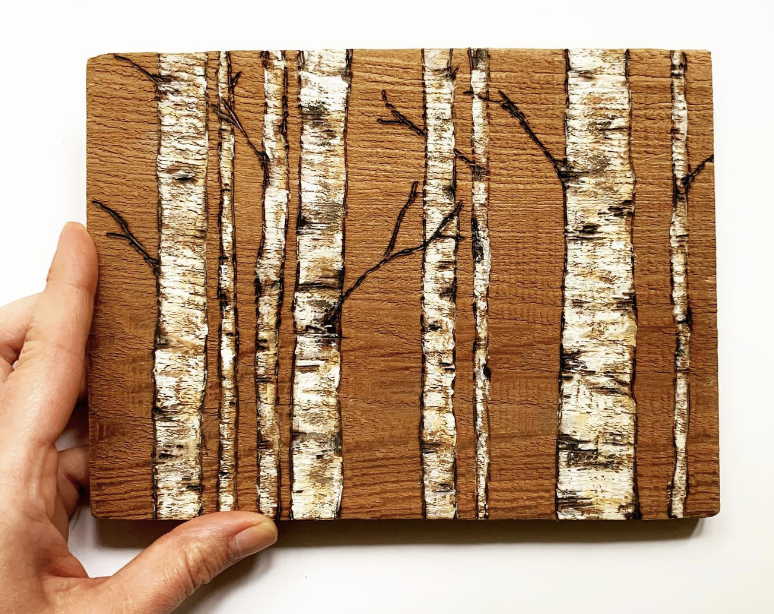
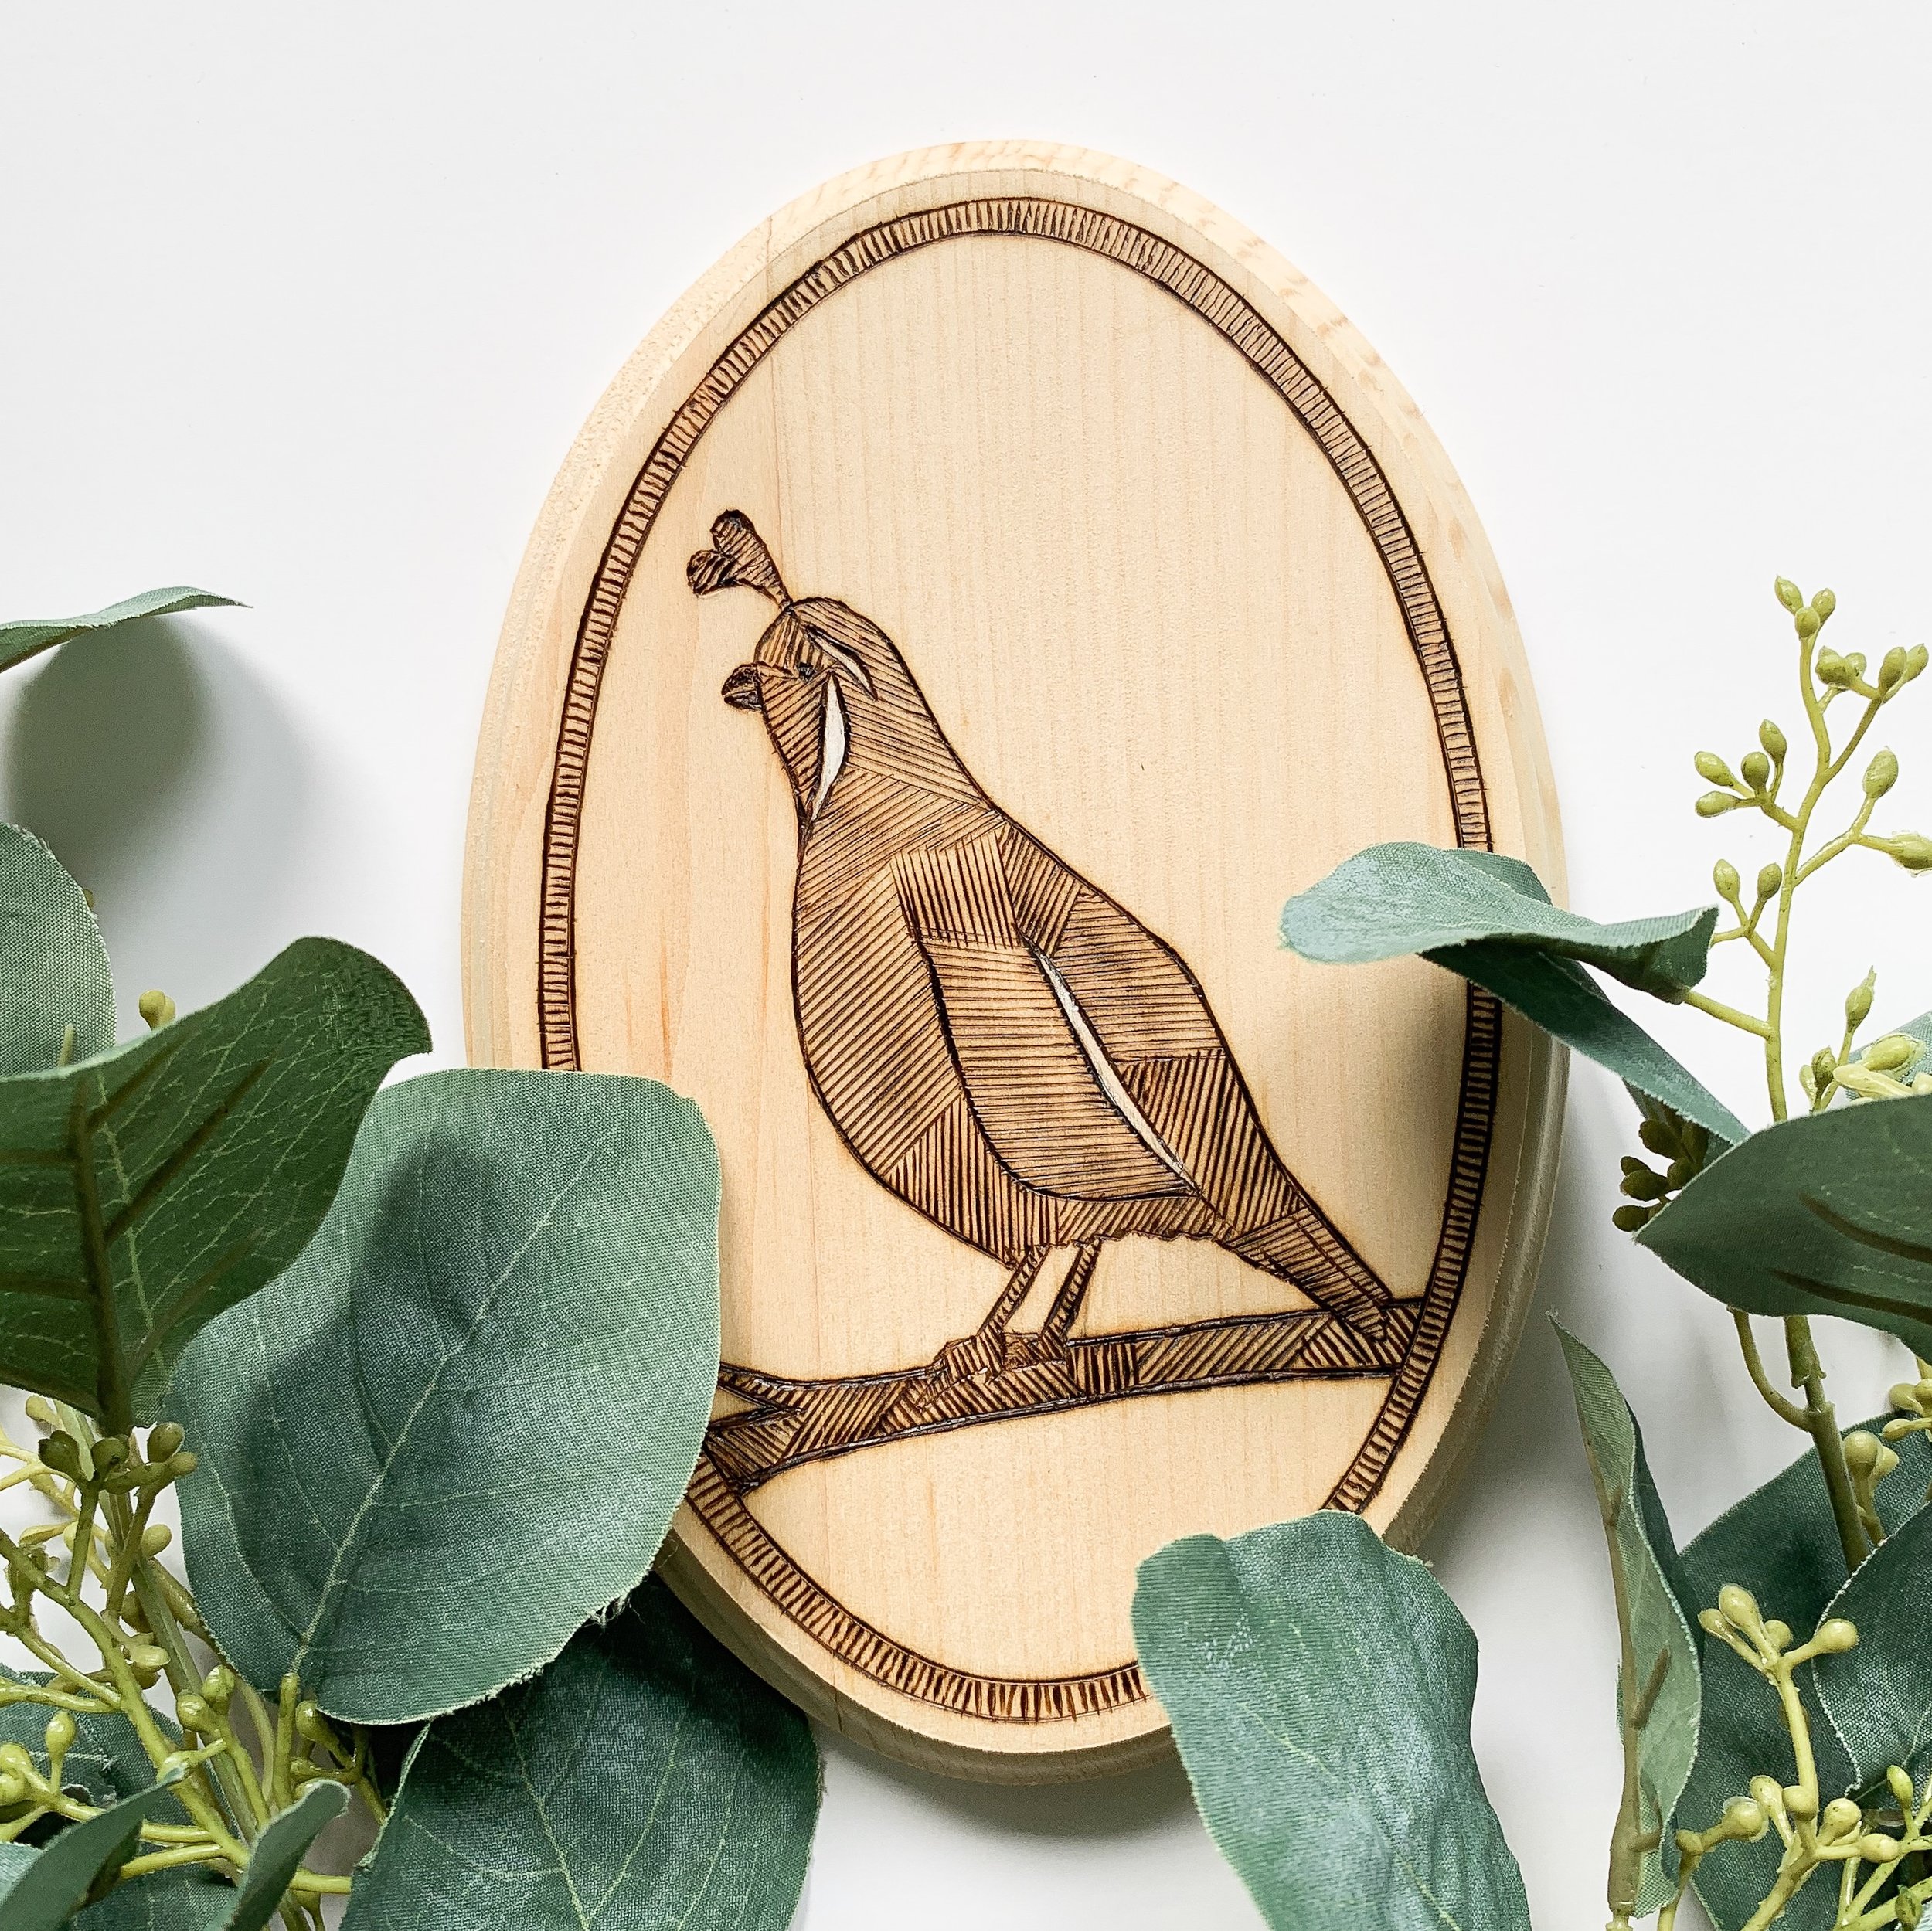
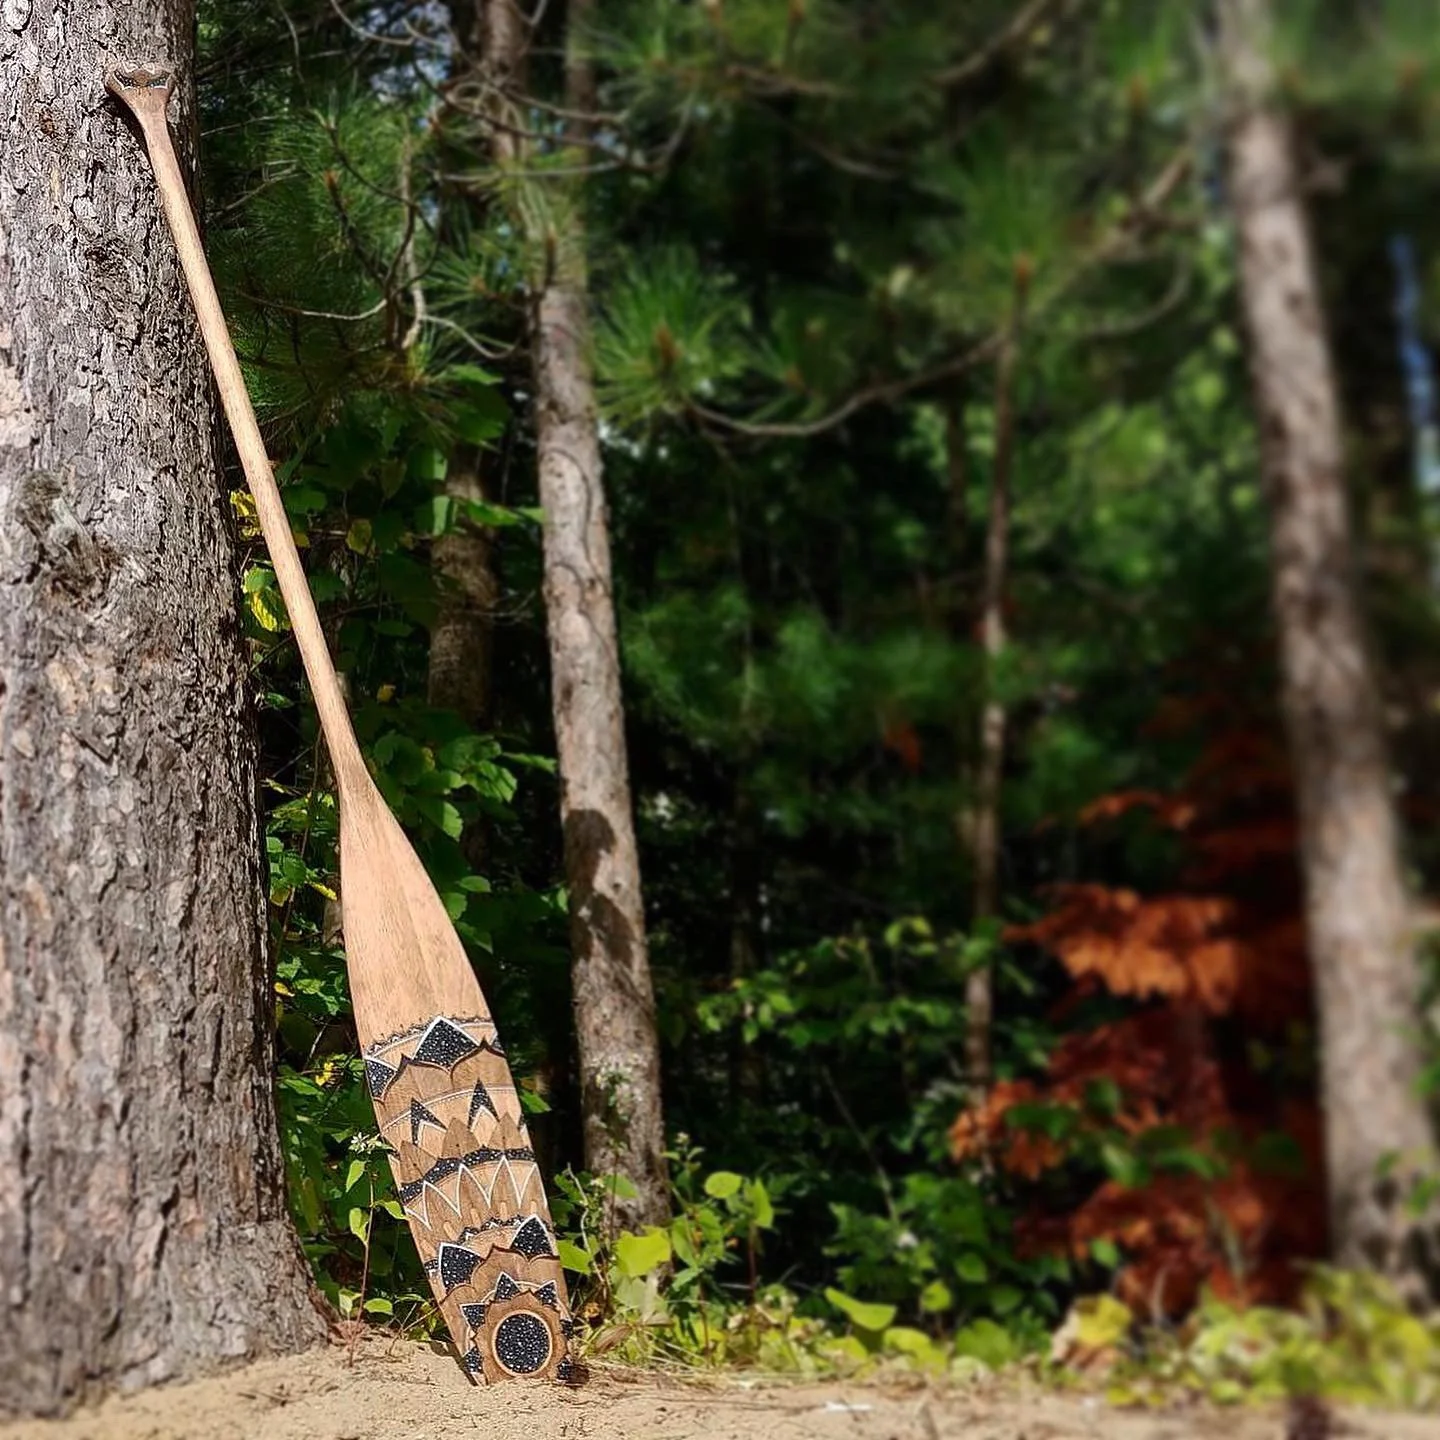
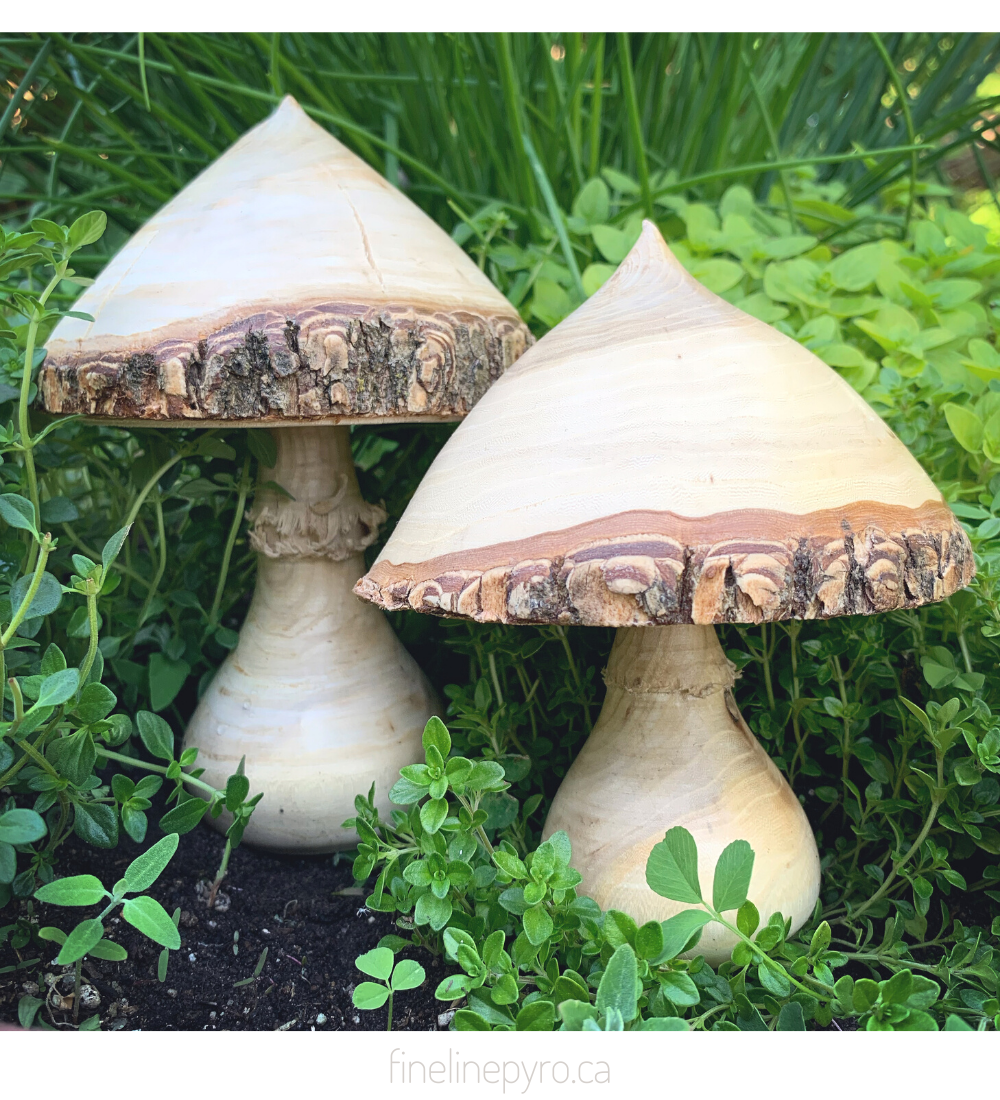
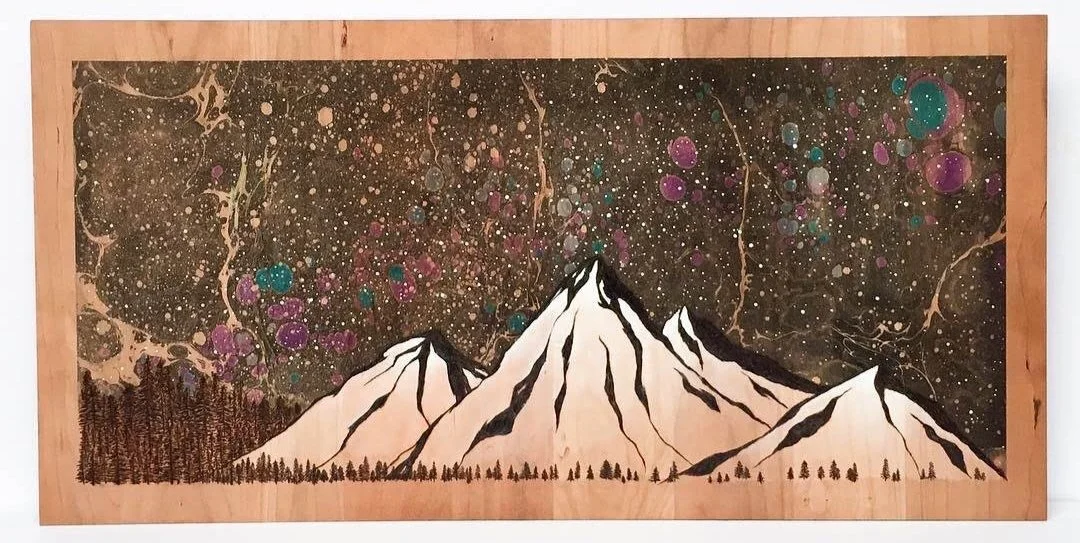
Pyrography can be used to create a wide range of items, from small decorative pieces like keychains and plaques to larger items like furniture and wall art. It is a versatile art form that allows artists to express their creativity in many different ways. Check out my pinterest board full of ideas of what to burn next.
In addition to creating beautiful artwork, pyrography has some practical applications as well. It can be used to mark and label items, such as tools and equipment, and it is often used by woodworkers to add decorative details to their projects.
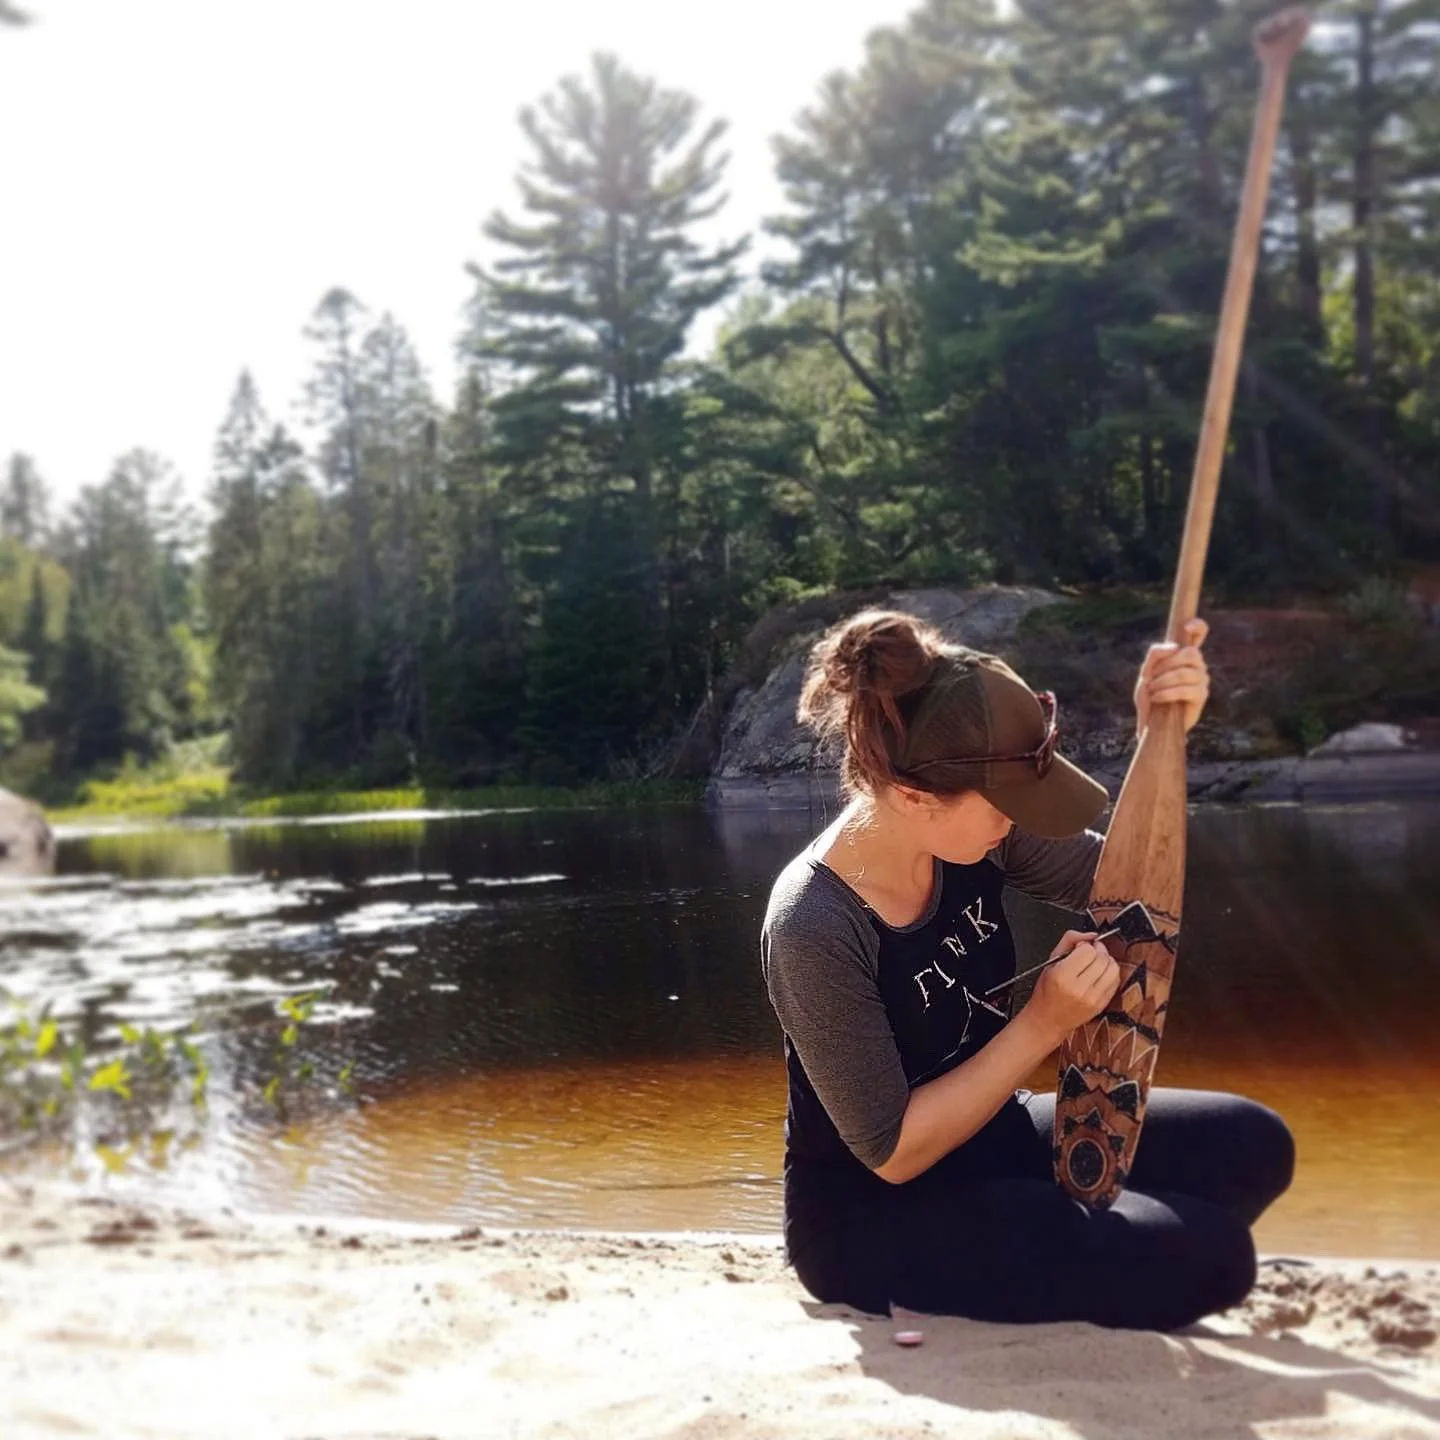
THe slowness and satisfaction of burning something really is like a meditative journey for me. I hope you enjoy the art of pyrography as much as I do!